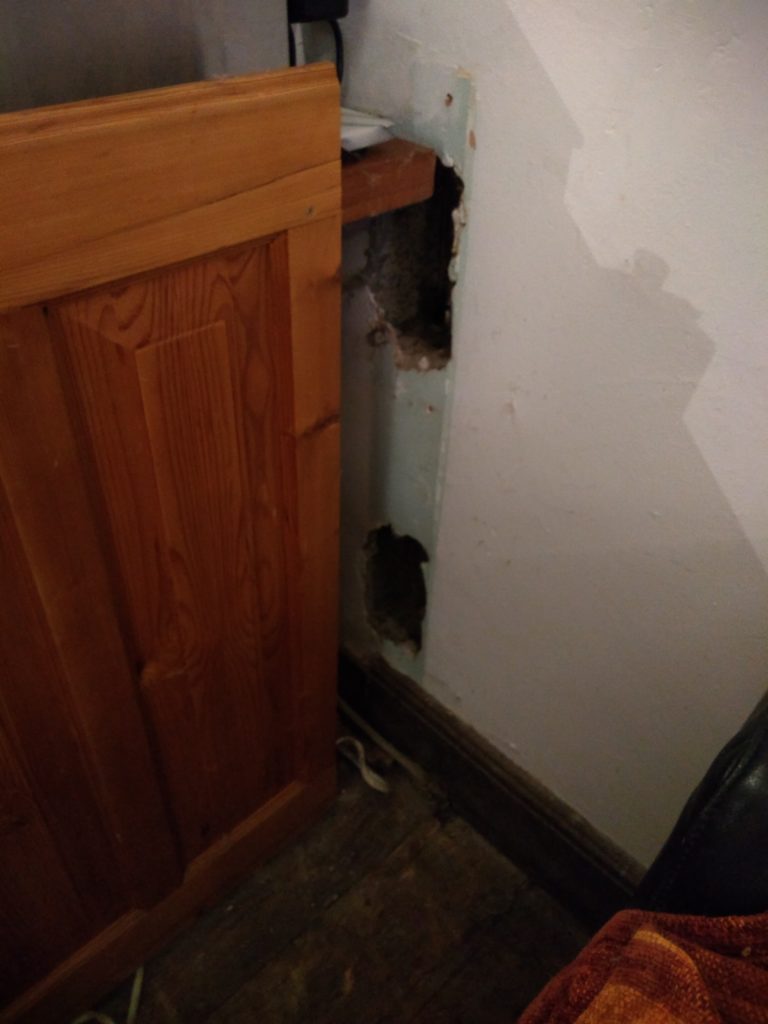
This should have been done a year ago. We made a kitchen, mostly from scratch, but we reused a back panel for some units which ended up being six inches too short.

For various reasons, this hasn’t been finished off. It just needs a little panel to cover the gap.
I’d recently broken up a pine bed frame and the varnished pine looked to be a reasonable match for the OSMO treated pine of the cupboard.
I cut a top piece to keep the grain directions roughly aligned, keeping it the same depth as the top piece of the back panel.
Then it was just cutting a piece of the correct length and shaving off a couple of millimeters to make it a snug fit in the gap. To my great astonishment it turned out that the panel edge was straight and parallel to the wall. It must be the only part of the house which is straight and square.
I notched it out for the skirting and the Rayburn’s oil pipe, then pocket hole screwed the two parts together.
I like pocket hole screws. There is a wonderful amount of engineering in them. From the cutting point which helps prevent splitting, the long straight shank which allows the joint to be screwed tight, the extra wide flat head which allows suitable pressure without splitting like a countersunk head would right up to the Robinson square drive which allows the screw to be securely held on the end of the driver. They are expensive, but there are reasons for all the features on them.
Anyhow, what did it end up looking like…
So, not quite perfect, but it is in place and covers the ugly holes.
So… what did I learn from this.
Well, I’d had a rough day at work and came home really tired. I absolutely did not want to start doing something. However, almost as soon as I did I was wide awake and full of energy. This tells me that I just need to start. Plus this little job has been waiting for me to do it for over a year – even if it isn’t the finest solution, it’s more done than it was.
At some point, I’ll pull it out, run it through the planer to take the varnish off and match the thickness of the back panel properly and give it some OSMO so it matches properly. It’ll do for now though.
