
I live in a reasonably old house. It is heated by a Rayburn, usually heating engineers run in fear of the Rayburn. Or rub their hands and start wondering how many Zeros they can add to the bill.
It does look the part, but if I could replace it with something more reliable, more efficient and less carbon-y, I would. However, for now I’ve just got to tolerate what is essentially a cast iron box that burns diesel and goes wrong at least once a year.
This time, it had been heating the water but not running the central heating.
A heating engineer will diagnose a faulty pump, drain the system down, fit a new pump, new isolation valves, new three port valve and walk away with a very nice payday. This is not my first rodeo. I’ve been here several times.
The three port valve is a motorised valve which selects hot water or hot water + central heating. It has a silver box on the top which contains a motor, a reduction gearbox and a return spring. The common failure mode is for the reduction gearbox to shed some teeth and not operate the valve properly.
Removing this valve is expensive, you need to drain the system. There are isolation valves which allow you to work on the pump and the 3 port valve without draining, but they are always stuck. A valve and actuator costs about £80, but the labour cost of draining down (4 hrs) fitting a new valve (2 hrs) refilling and bleeding (3 hrs) makes it cost significantly more.
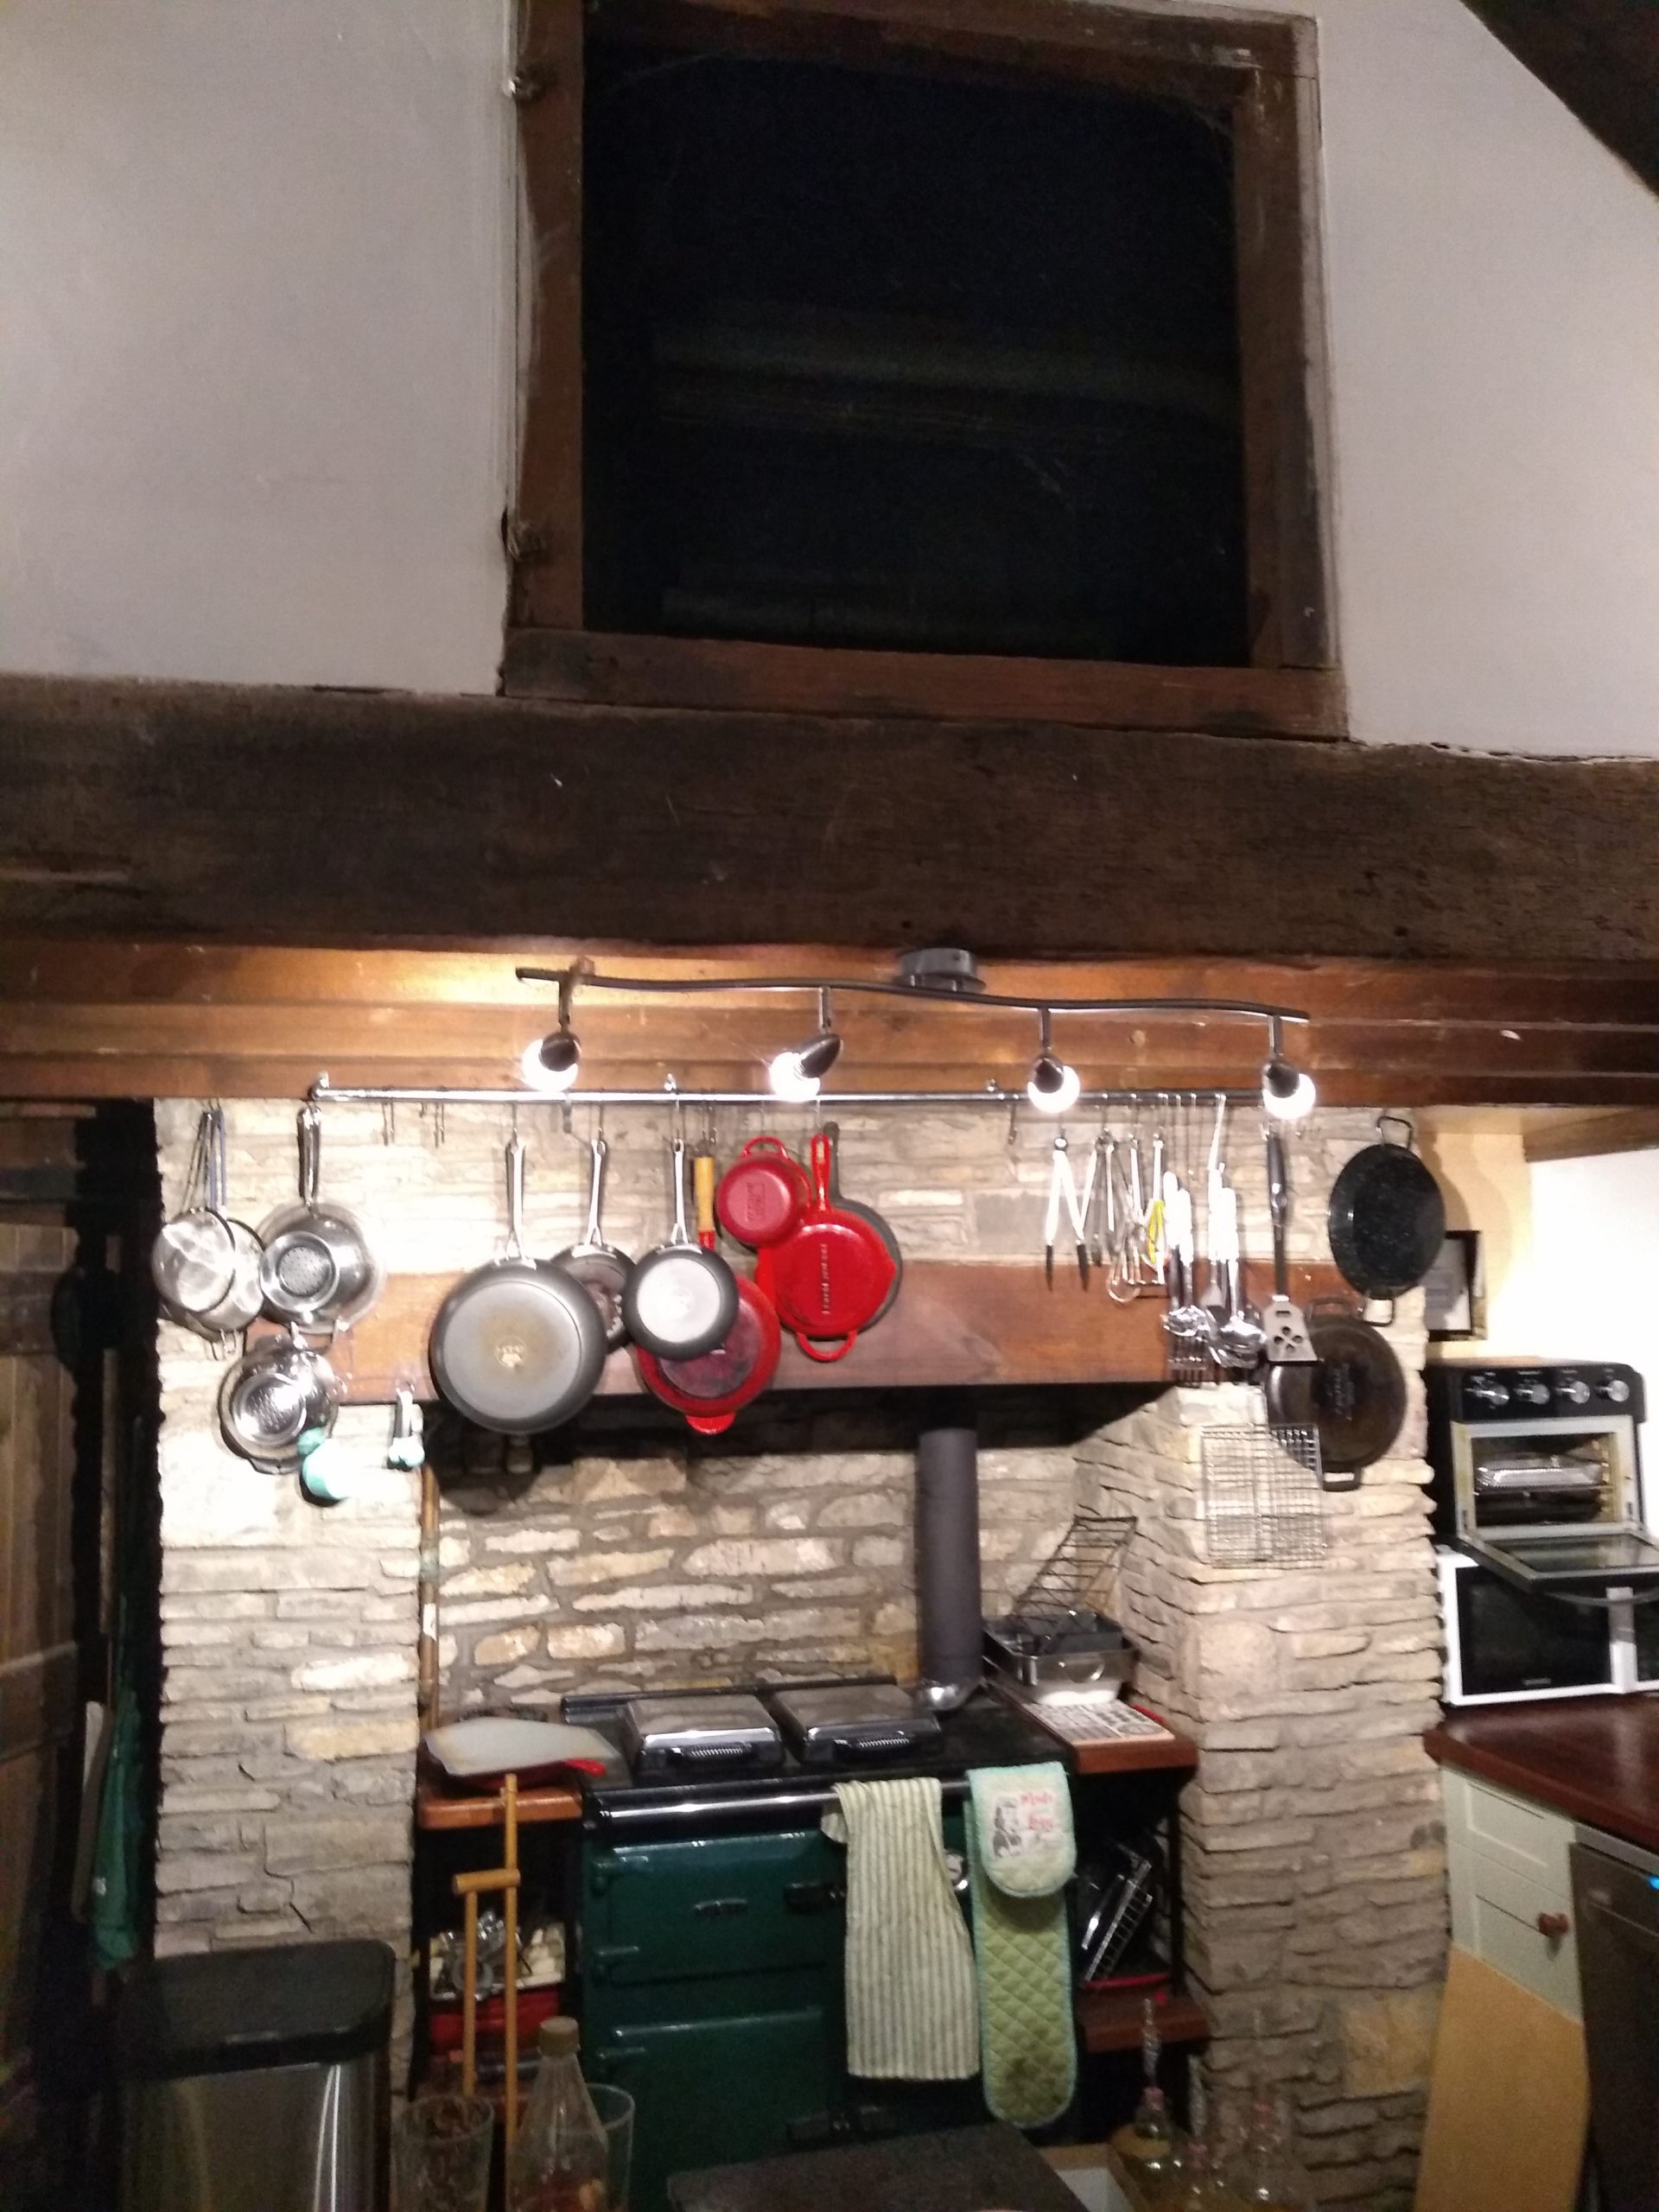
However, there is another option. Usually, the valve is fine, just the reduction gearbox has died. You can buy a new actuator head (£40) and they are usually not difficult to fit. I, however, have a heating and hot water system shoehorned into the space above my kitchen. You can see the door in the picture above. I call it the portal to hell.
Anyhow, find the 3 port valve. Pull the top off it.
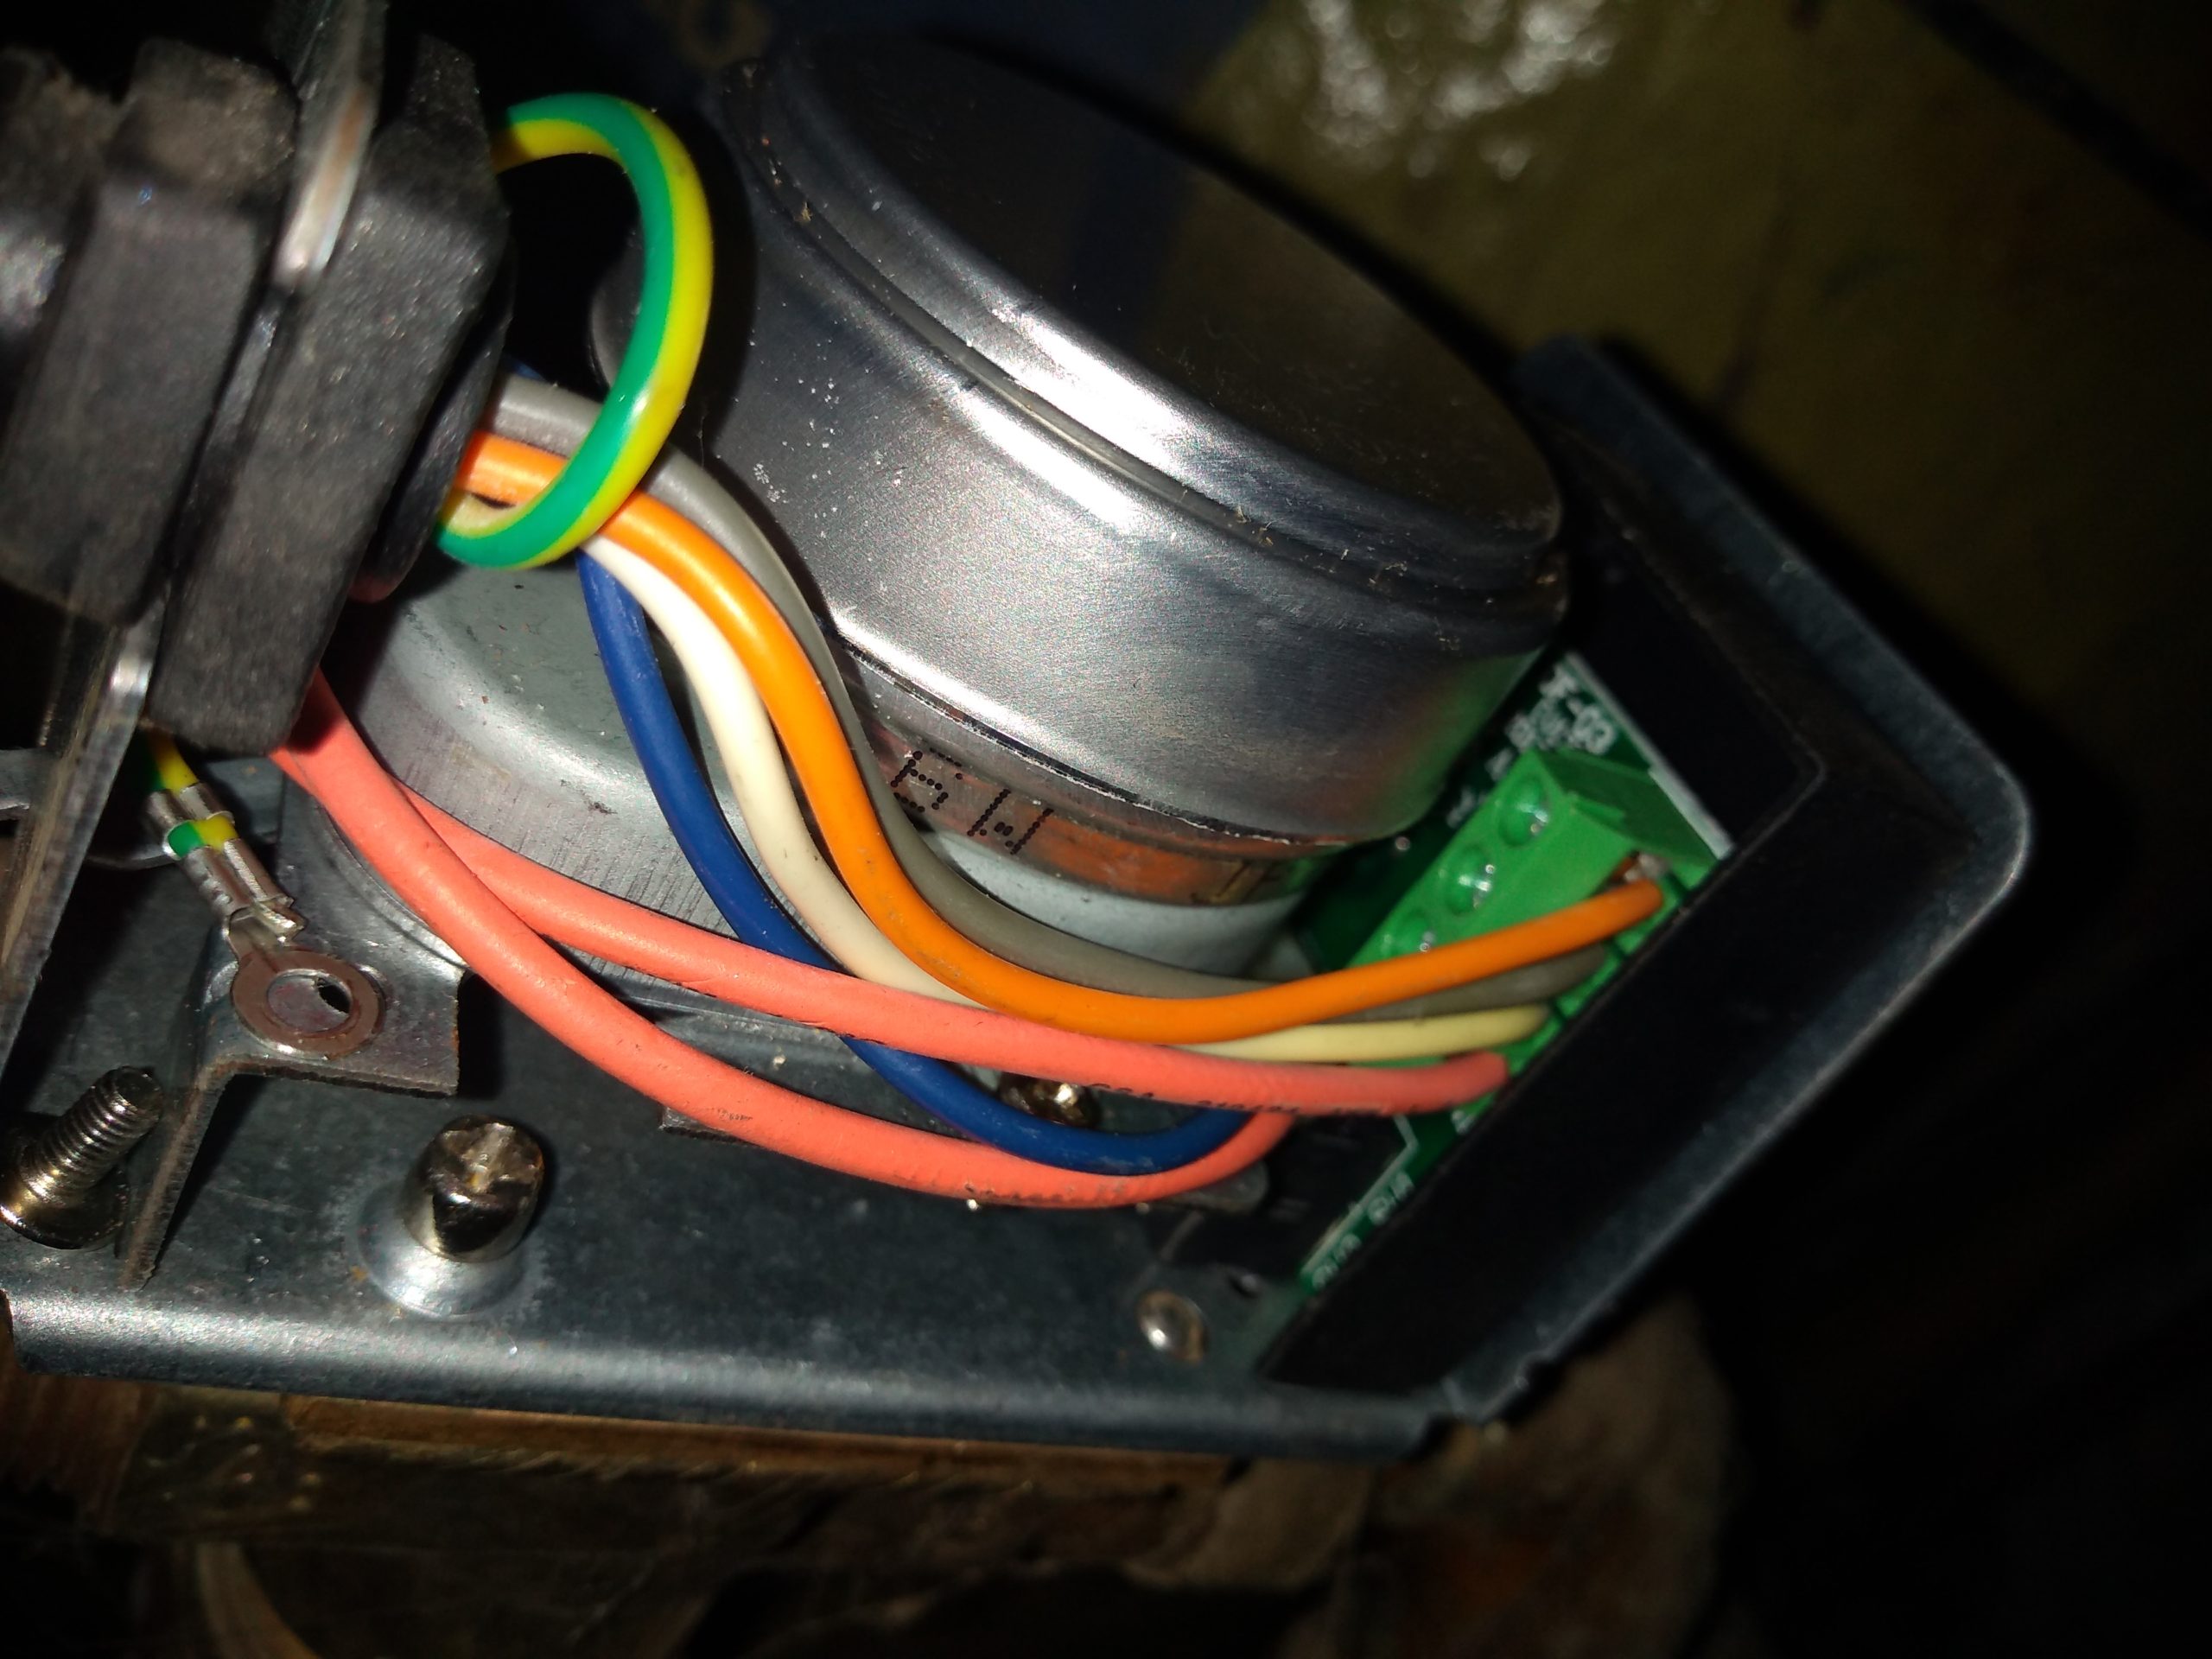
It is held on top of the valve by two locating pins and two phillips headed (not pozi) bolts.
You can see one of the bolts in the picture above, it looks like a cap head screw with phillips instead of hex. Note you can also see that I unscrewed the earth cable because I couldn’t see the bolt, it was round the back of the actuator and I was reaching round with a screwdriver and hit the earth connection first. Space was at a premium, I was kneeling on a joist, leaning forward, overextending and supporting my weight with my head against a heating pipe.
Once you have undone the two bolts, the actuator can be lifted off. Remember to set the actuator to “manual” before taking it off, so the new one can fit on the valve shaft easily. Maybe I should have mentioned that earlier. It is problematic if you forget.
When you forget to set the actuator to manual, you’ll have to get the new actuator and position it in about the right place, but the valve shaft won’t go into the actuator. So slide the switch to manual and push it gently into place. As the actuator return spring slowly moves the coupling it will eventually engage and the whole affair should then click into place. Bonus points for doing this while kneeling on a joist supporting your weight with your head against a pipe.
You can then tighten up the two screws which secure the actuator. They are kinda held captive so you don’t need to thread them into the holes yourself. That would be quite tricky.
You can then put the top on. I strongly advise not doing up the bolt which holds the top firmly in place unless it is visible and easily accessible.
You then just need to wire it up. Hopefully your wiring box will be more accessible than mine.
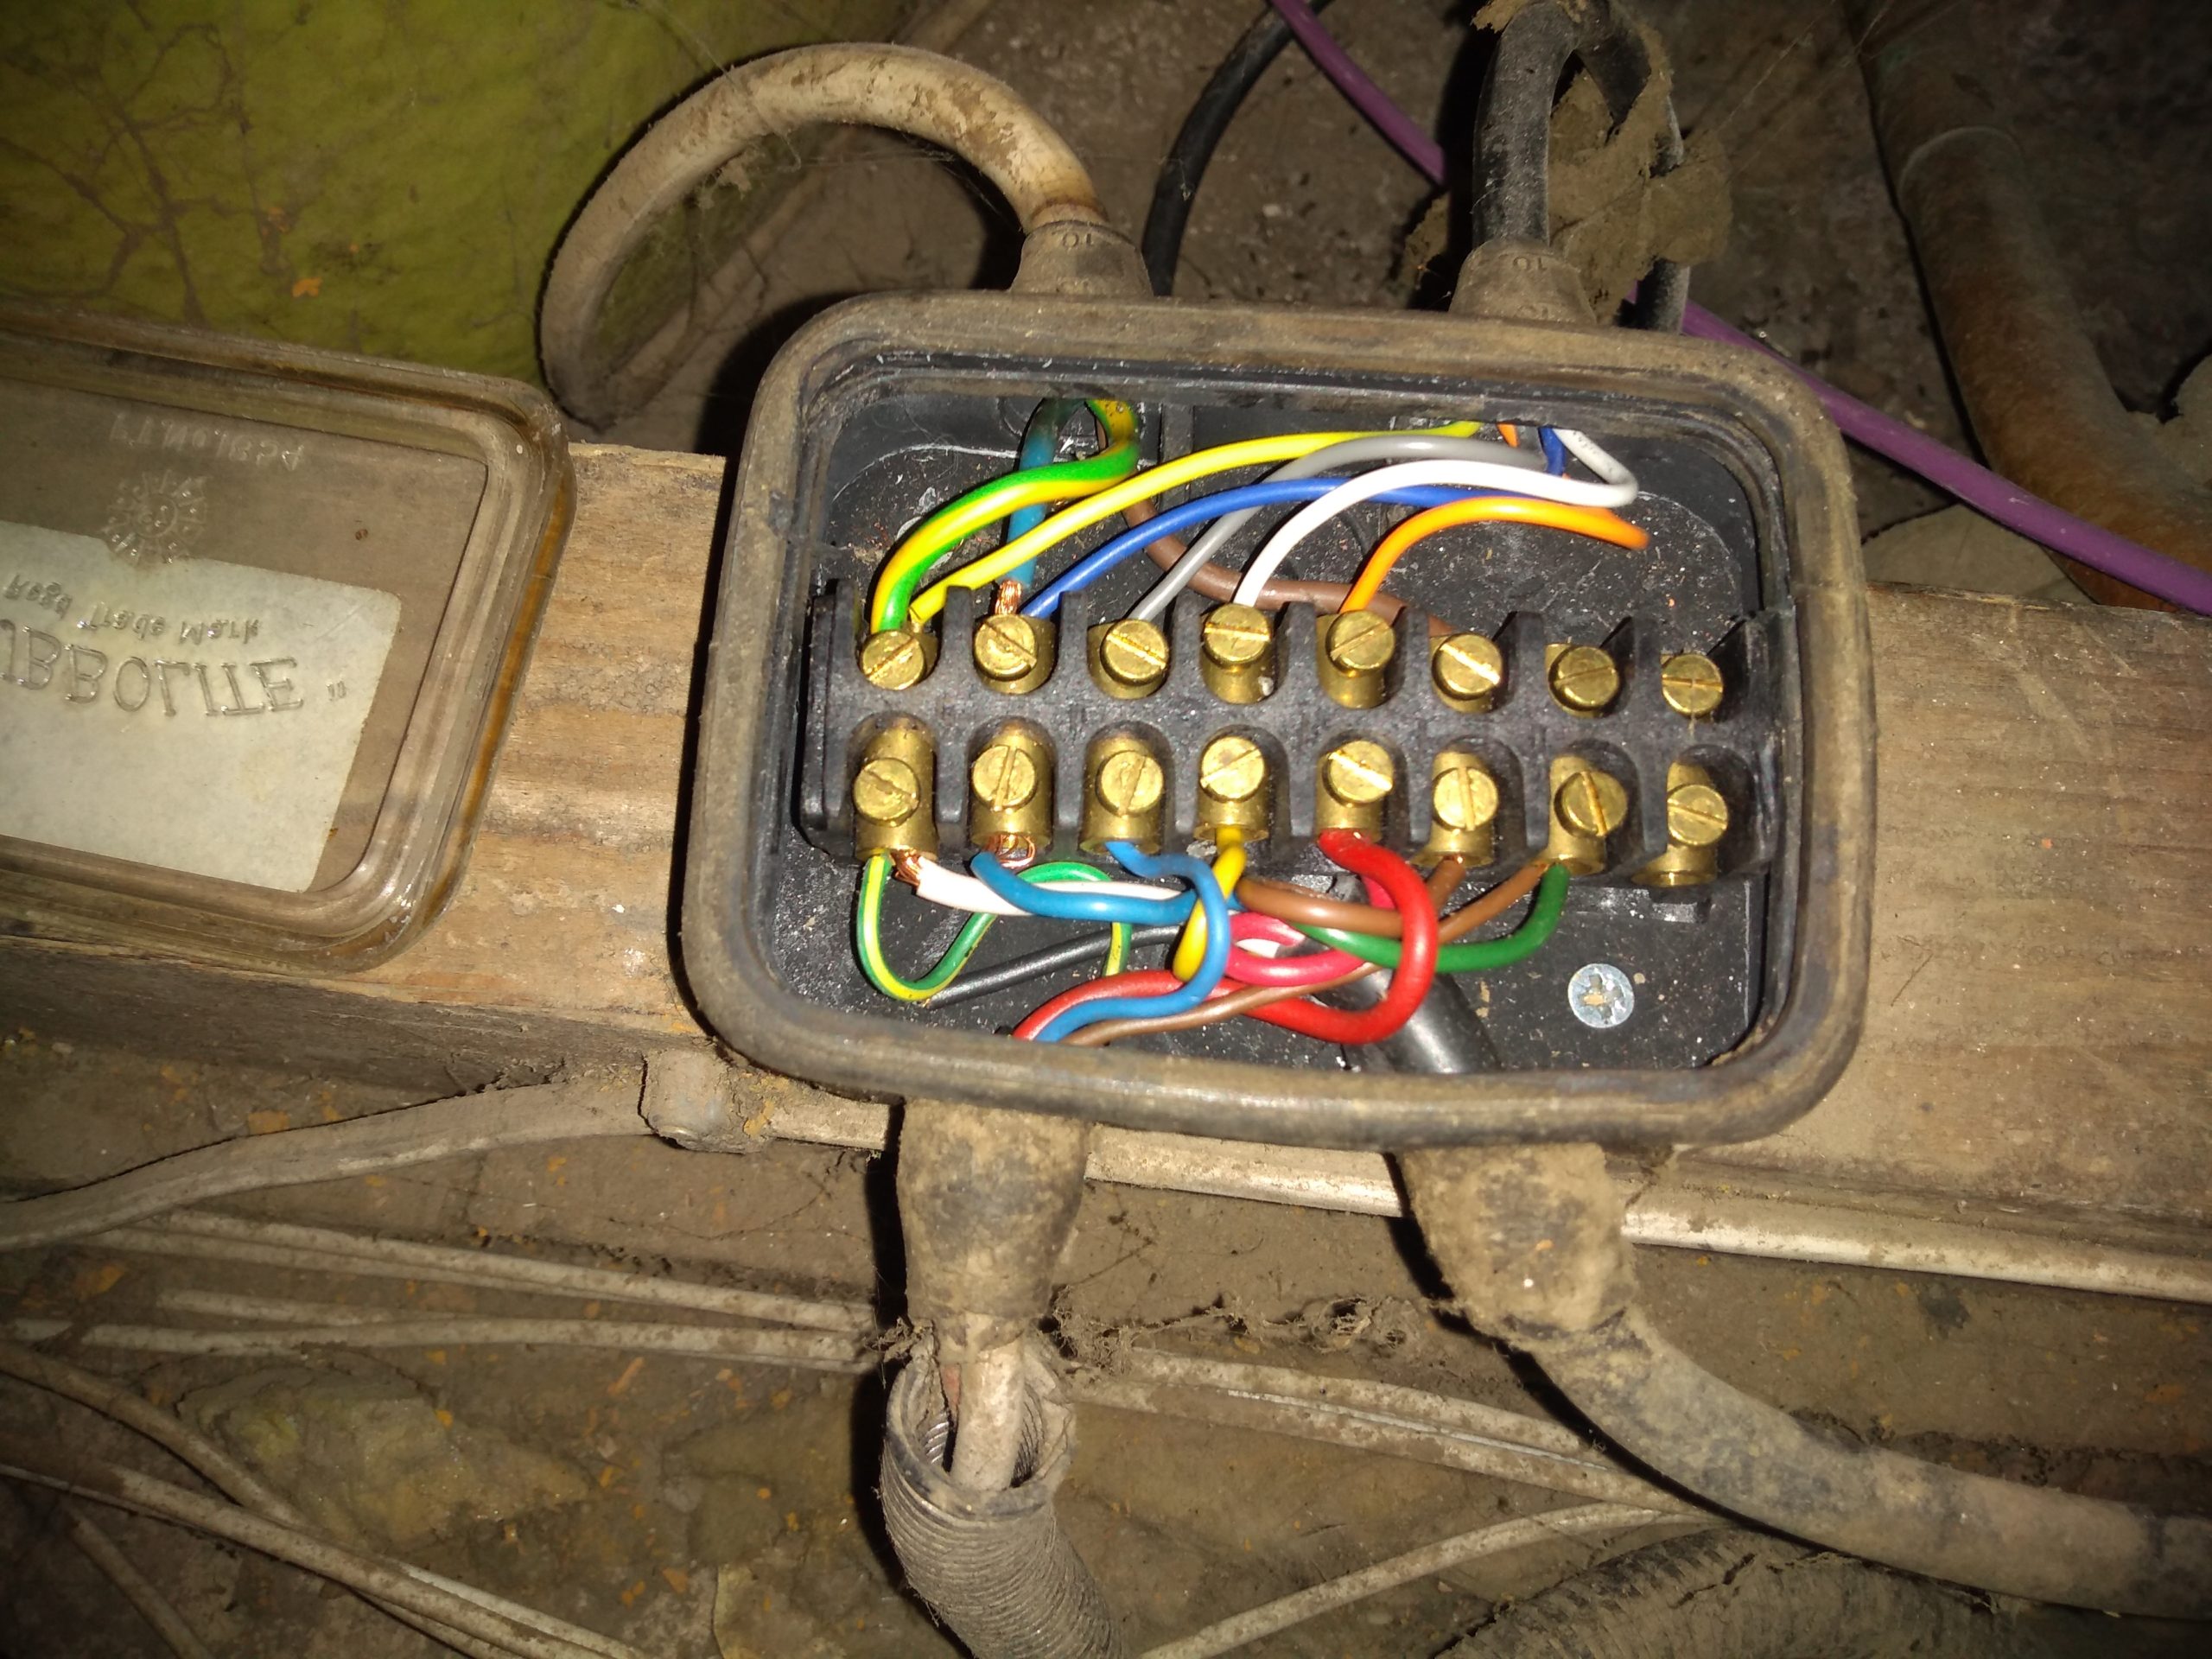
The actuator wire goes in on the top right. It has 5 cables. I didn’t enjoy wiring it in. I was in a degree of discomfort by the time I’d finished. However, I particularly appreciated the rubbery box with transparent lid.
All that completed, I ran the hot water until it was cold. Set the Rayburn to supply heat and waited. Heat arrived throughout the house.
So, if you have similar symptoms then it’s worth having a look at the valve actuator. A new one costs less than a heating engineer call-out charge, and maybe you’ve got a less painful installation than I have. Maybe you’ll find yours in the airing cupboard right next to the hot water cylinder.
So… what did I learn from this… It’s always a good idea to do some basic debugging yourself before calling out a professional. However it is often worth just paying the money to avoid the discomfort of an unpleasant working environment.