
Back on the 1st, I made an inaccurate temperature sensor. I’m revisiting this to make it more accurate and see if my lathe cover makes any difference.
So, back on the 1st, I created a temperature and humidity sensor that used the MQTT protocol to report temperature and humidity. It worked, but it didn’t work very well at all.
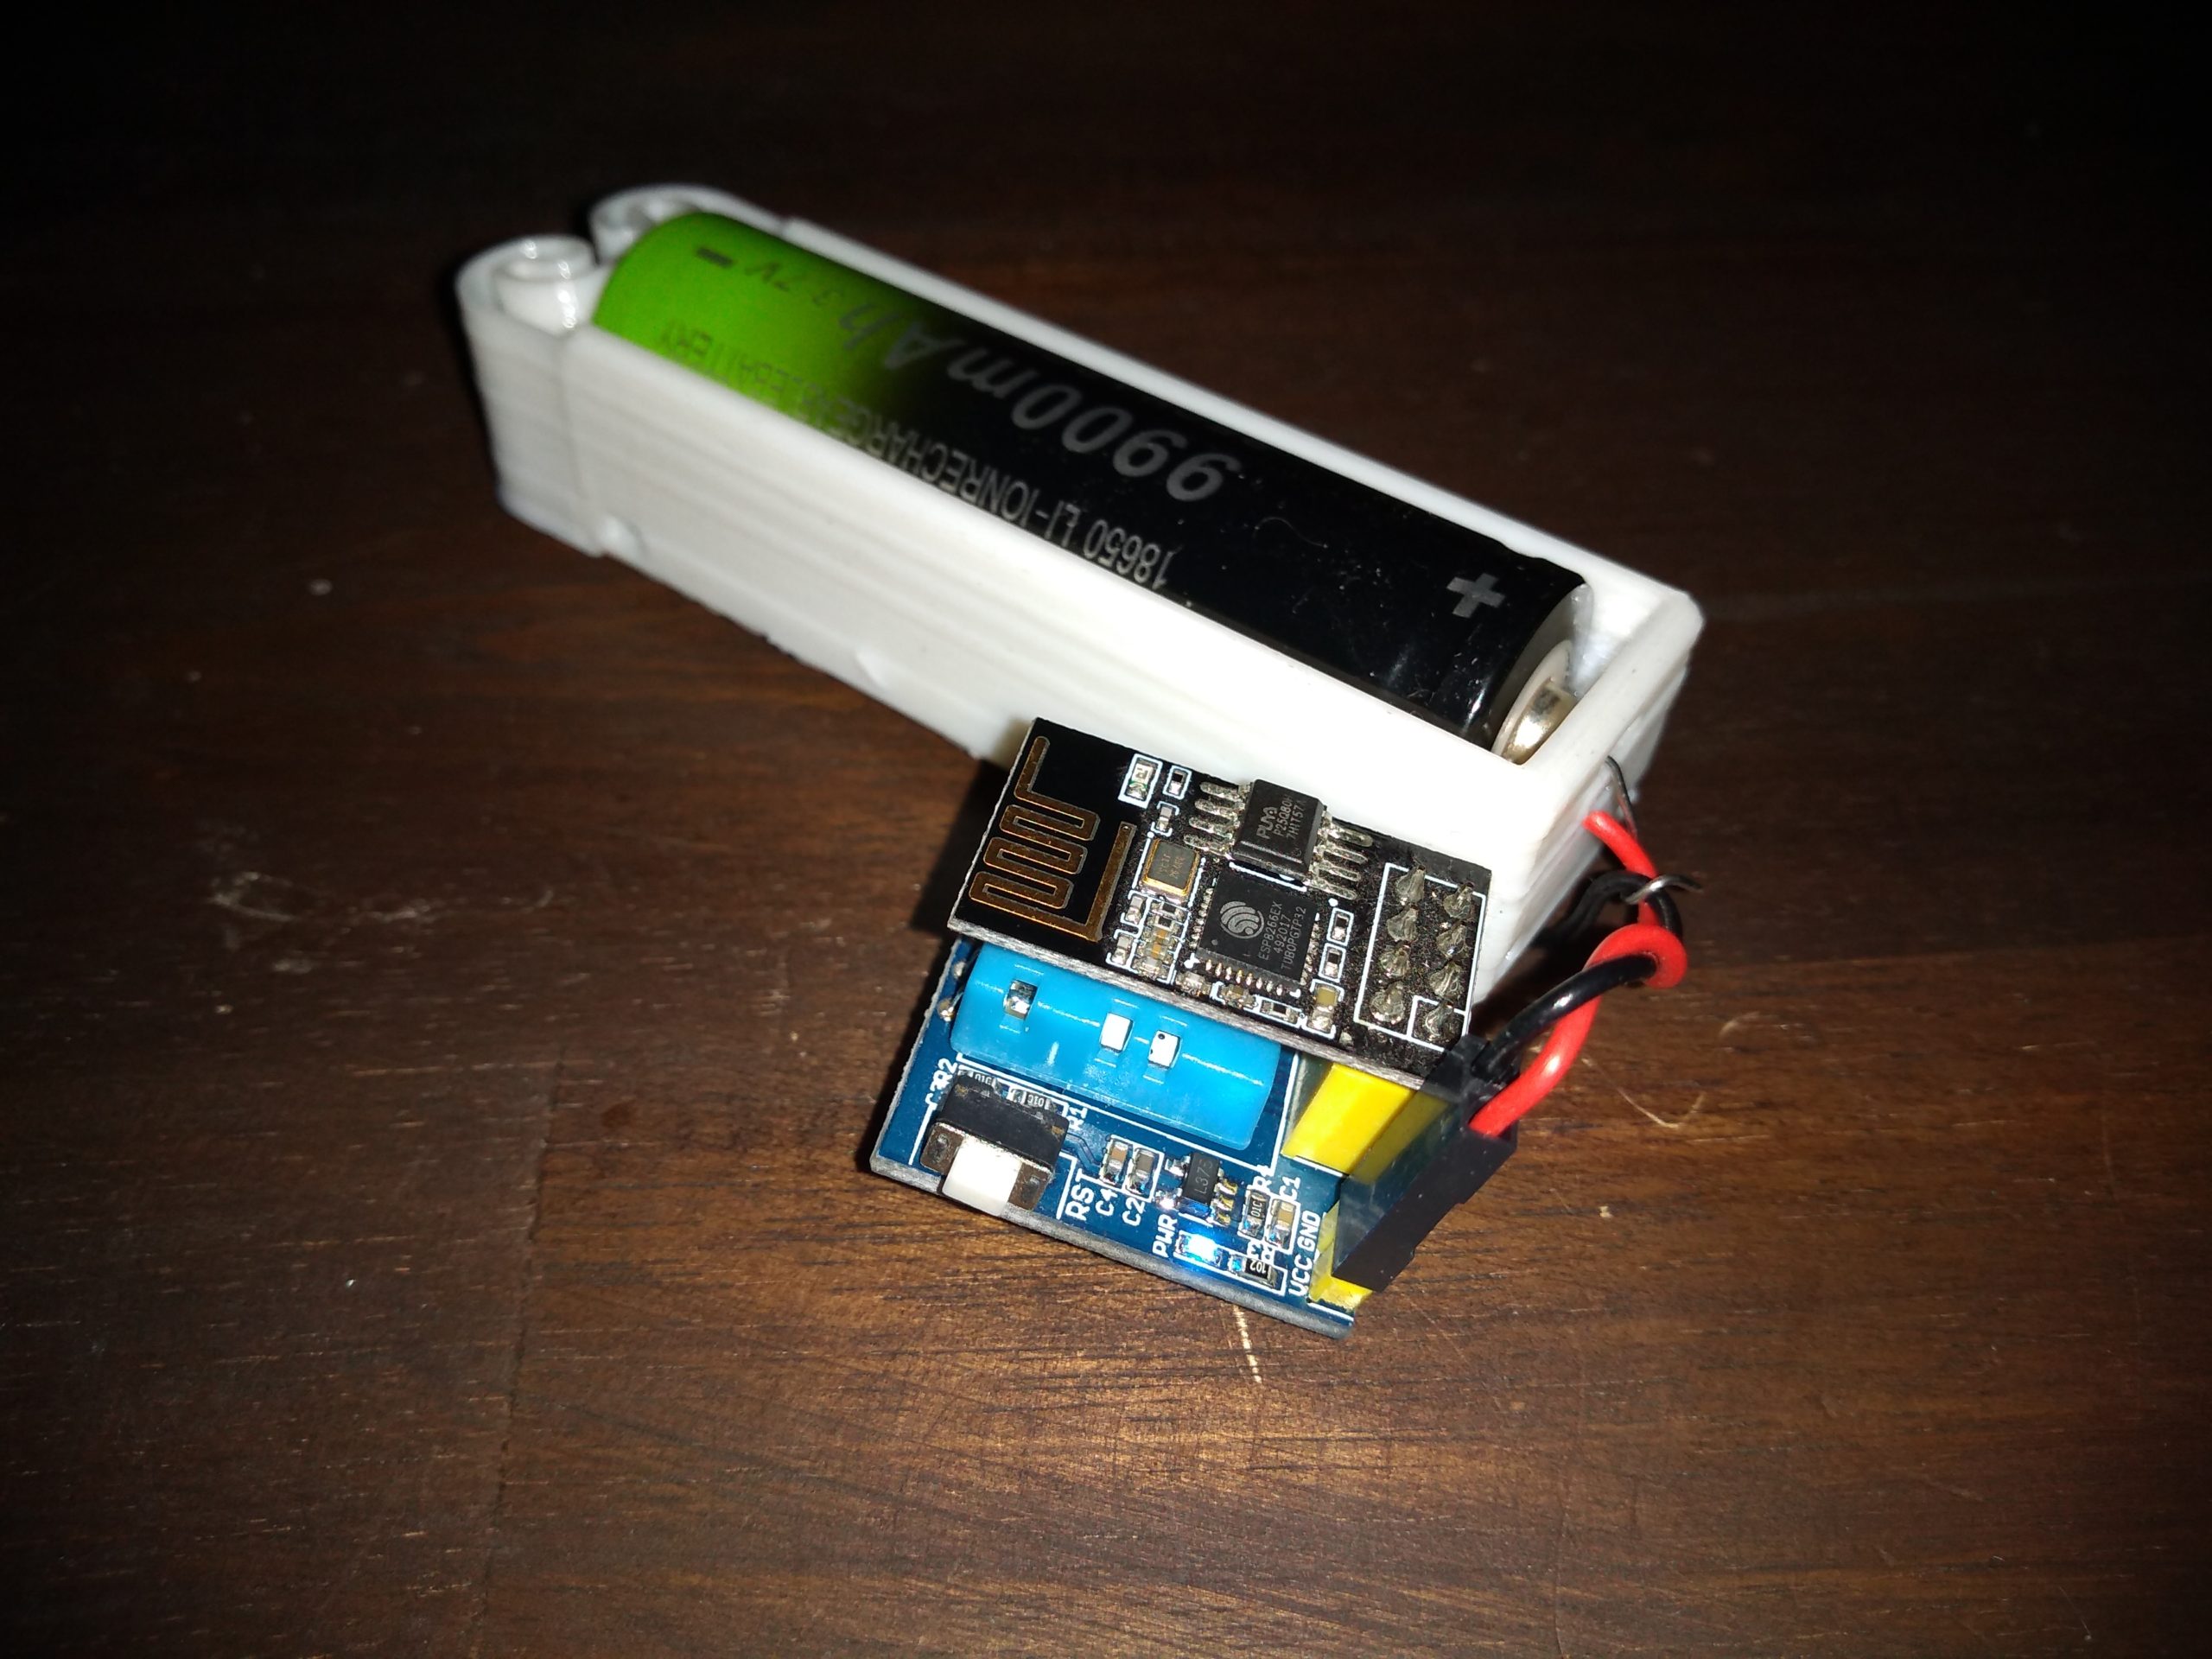
The small size of the board meant that the ESP01S on the top warmed up the blue plastic blob which was the temperature sensor. Not brilliant.
One smart idea would be to put the ESP8266 into deep sleep mode and have it wake once every, say, 15 minutes to take a reading and then go back to sleep. The reduced activity would generate less heat and use less power – improving battery life rather a lot and being more accurate.
Enabling deep sleep would involve soldering a wire between one of the pins on the cpu and the reset pin. I didn’t fancy doing that. Even though they only cost about £1 I’d still annoy myself if I broke a bunch of them.
I could just desolder the sensor and stick it on longer cables to move it away from the heat source. I may well do that (i.e. move it outside a case) at some point in the future.
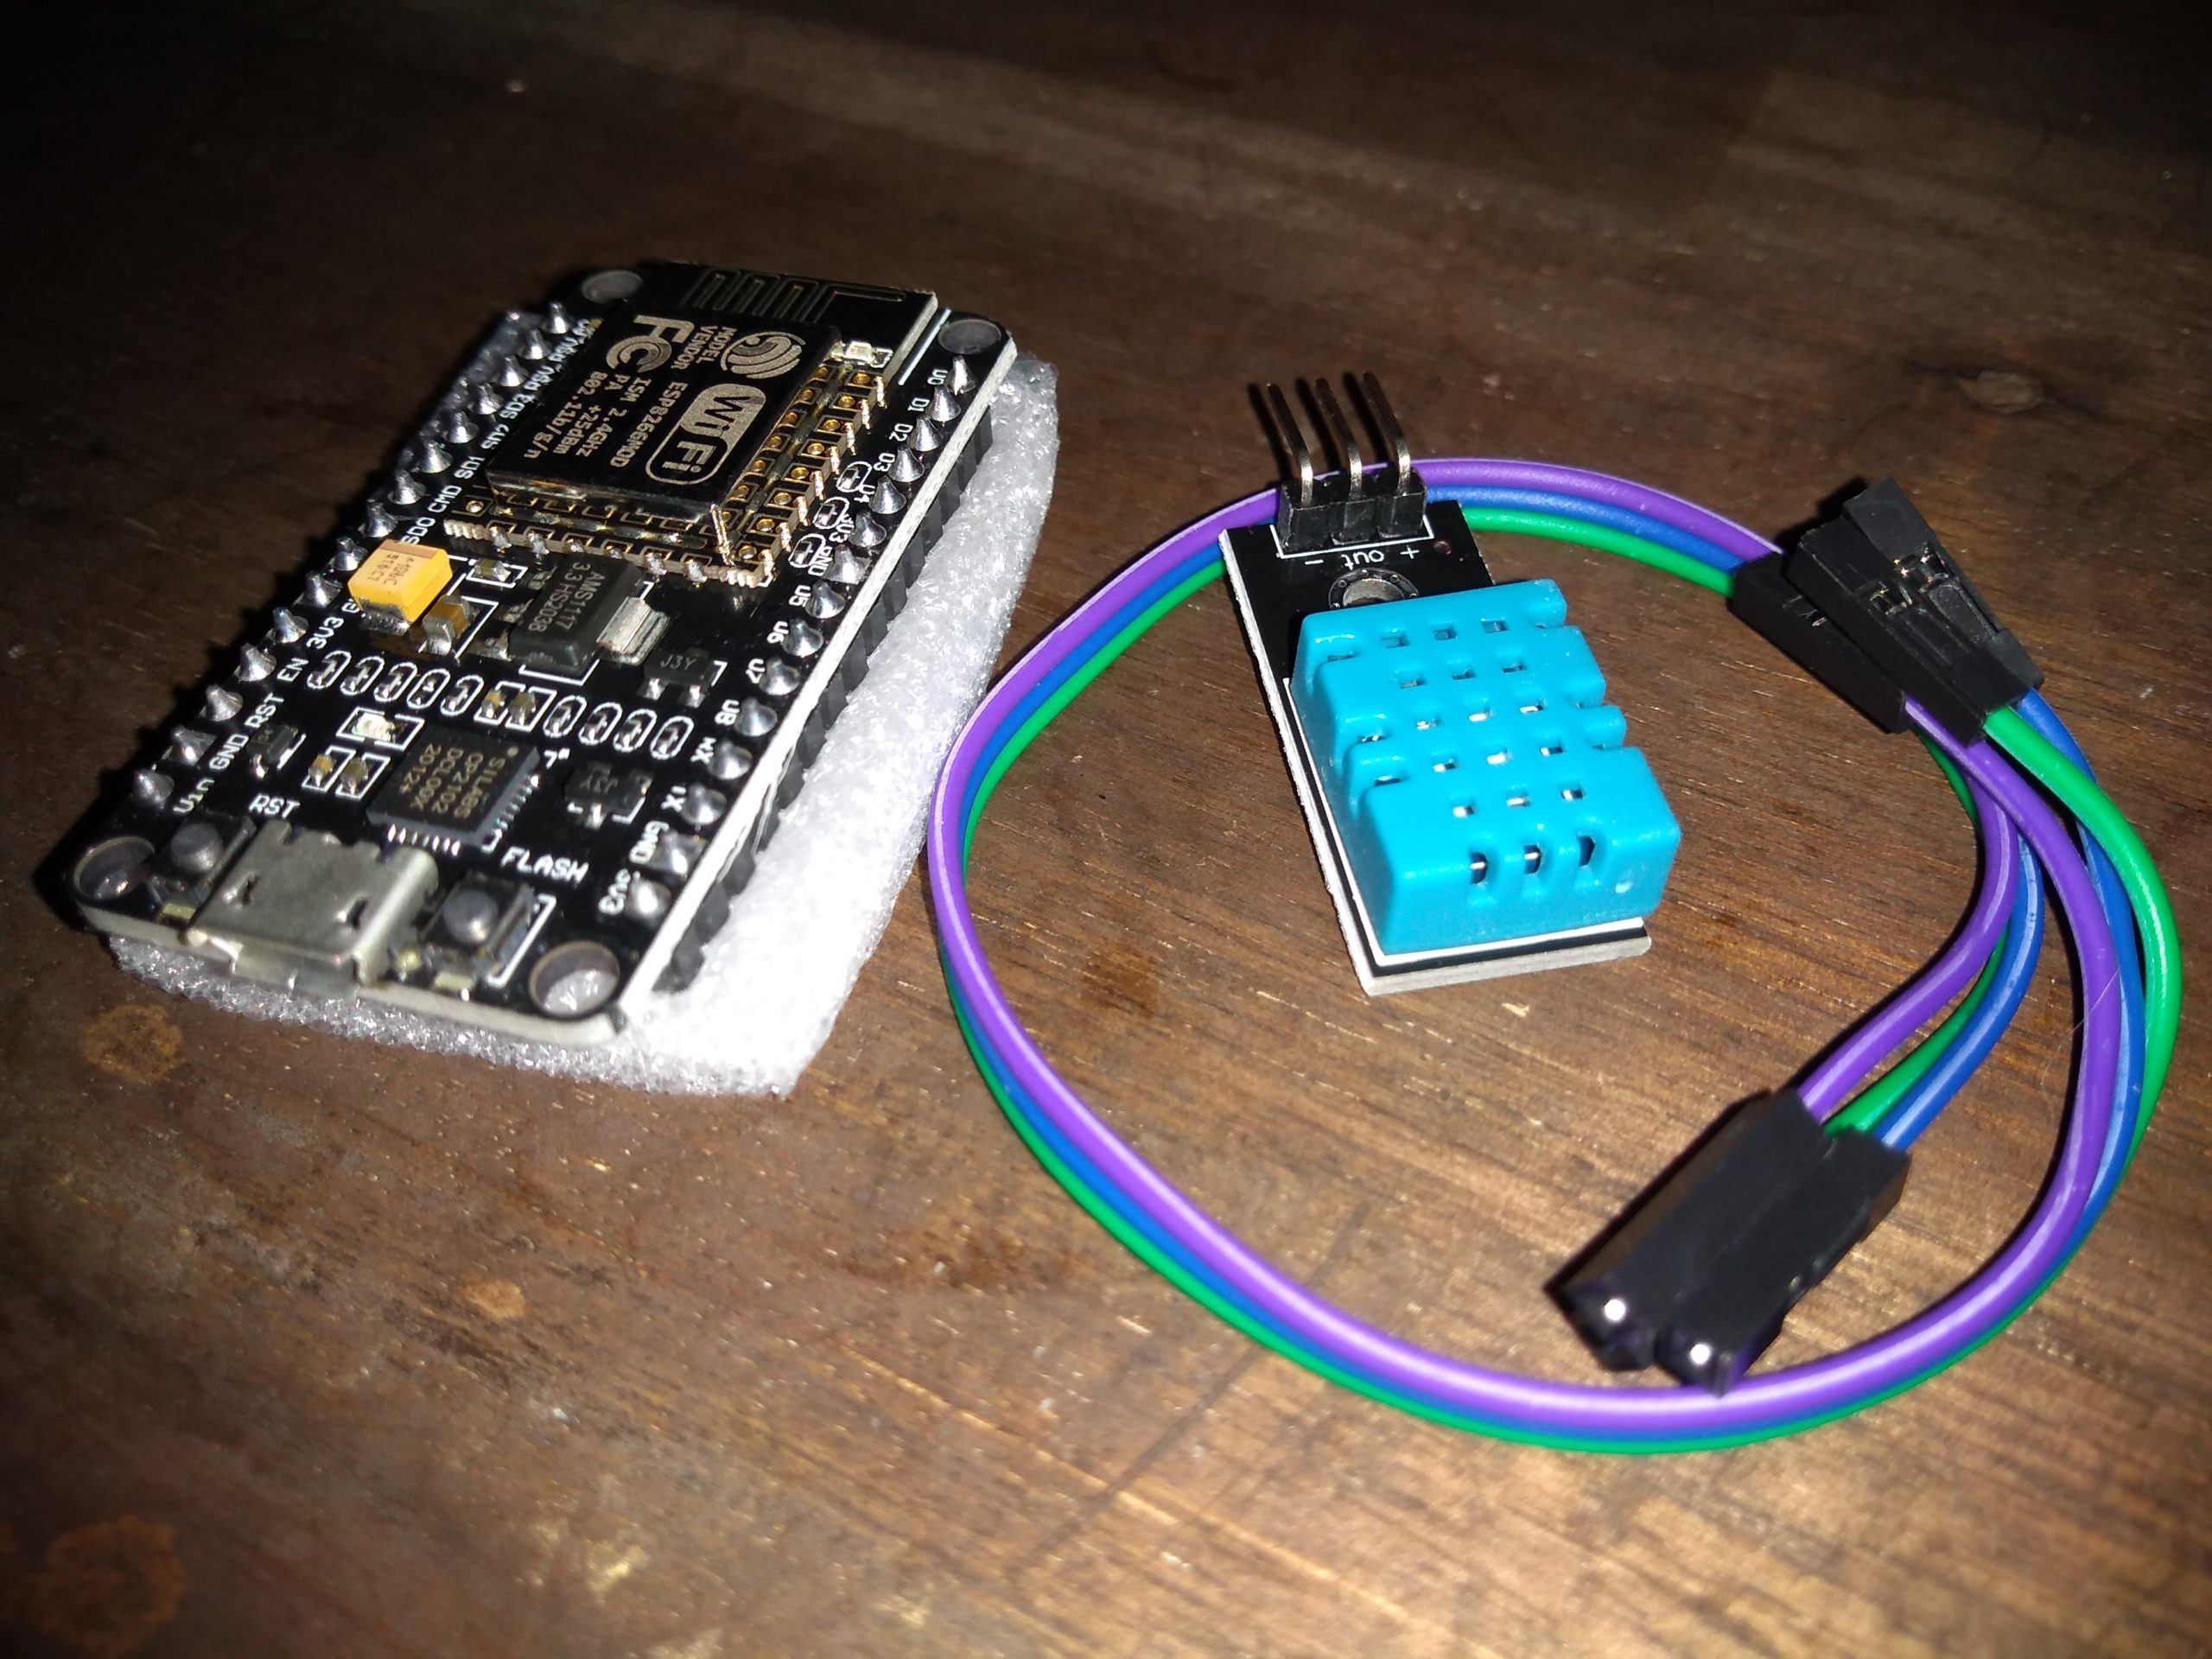
Checking my random parts drawers, I found that I already had several NodeMCU boards and several temperature sensors on breakout boards. They even have wires so I don’t need to crimp DuPont cables!
So I put one together, flashed the Day 1 MQTT code and it worked first time. Well, it worked first time I figured out that pin 2 is actually D4 *shrug*
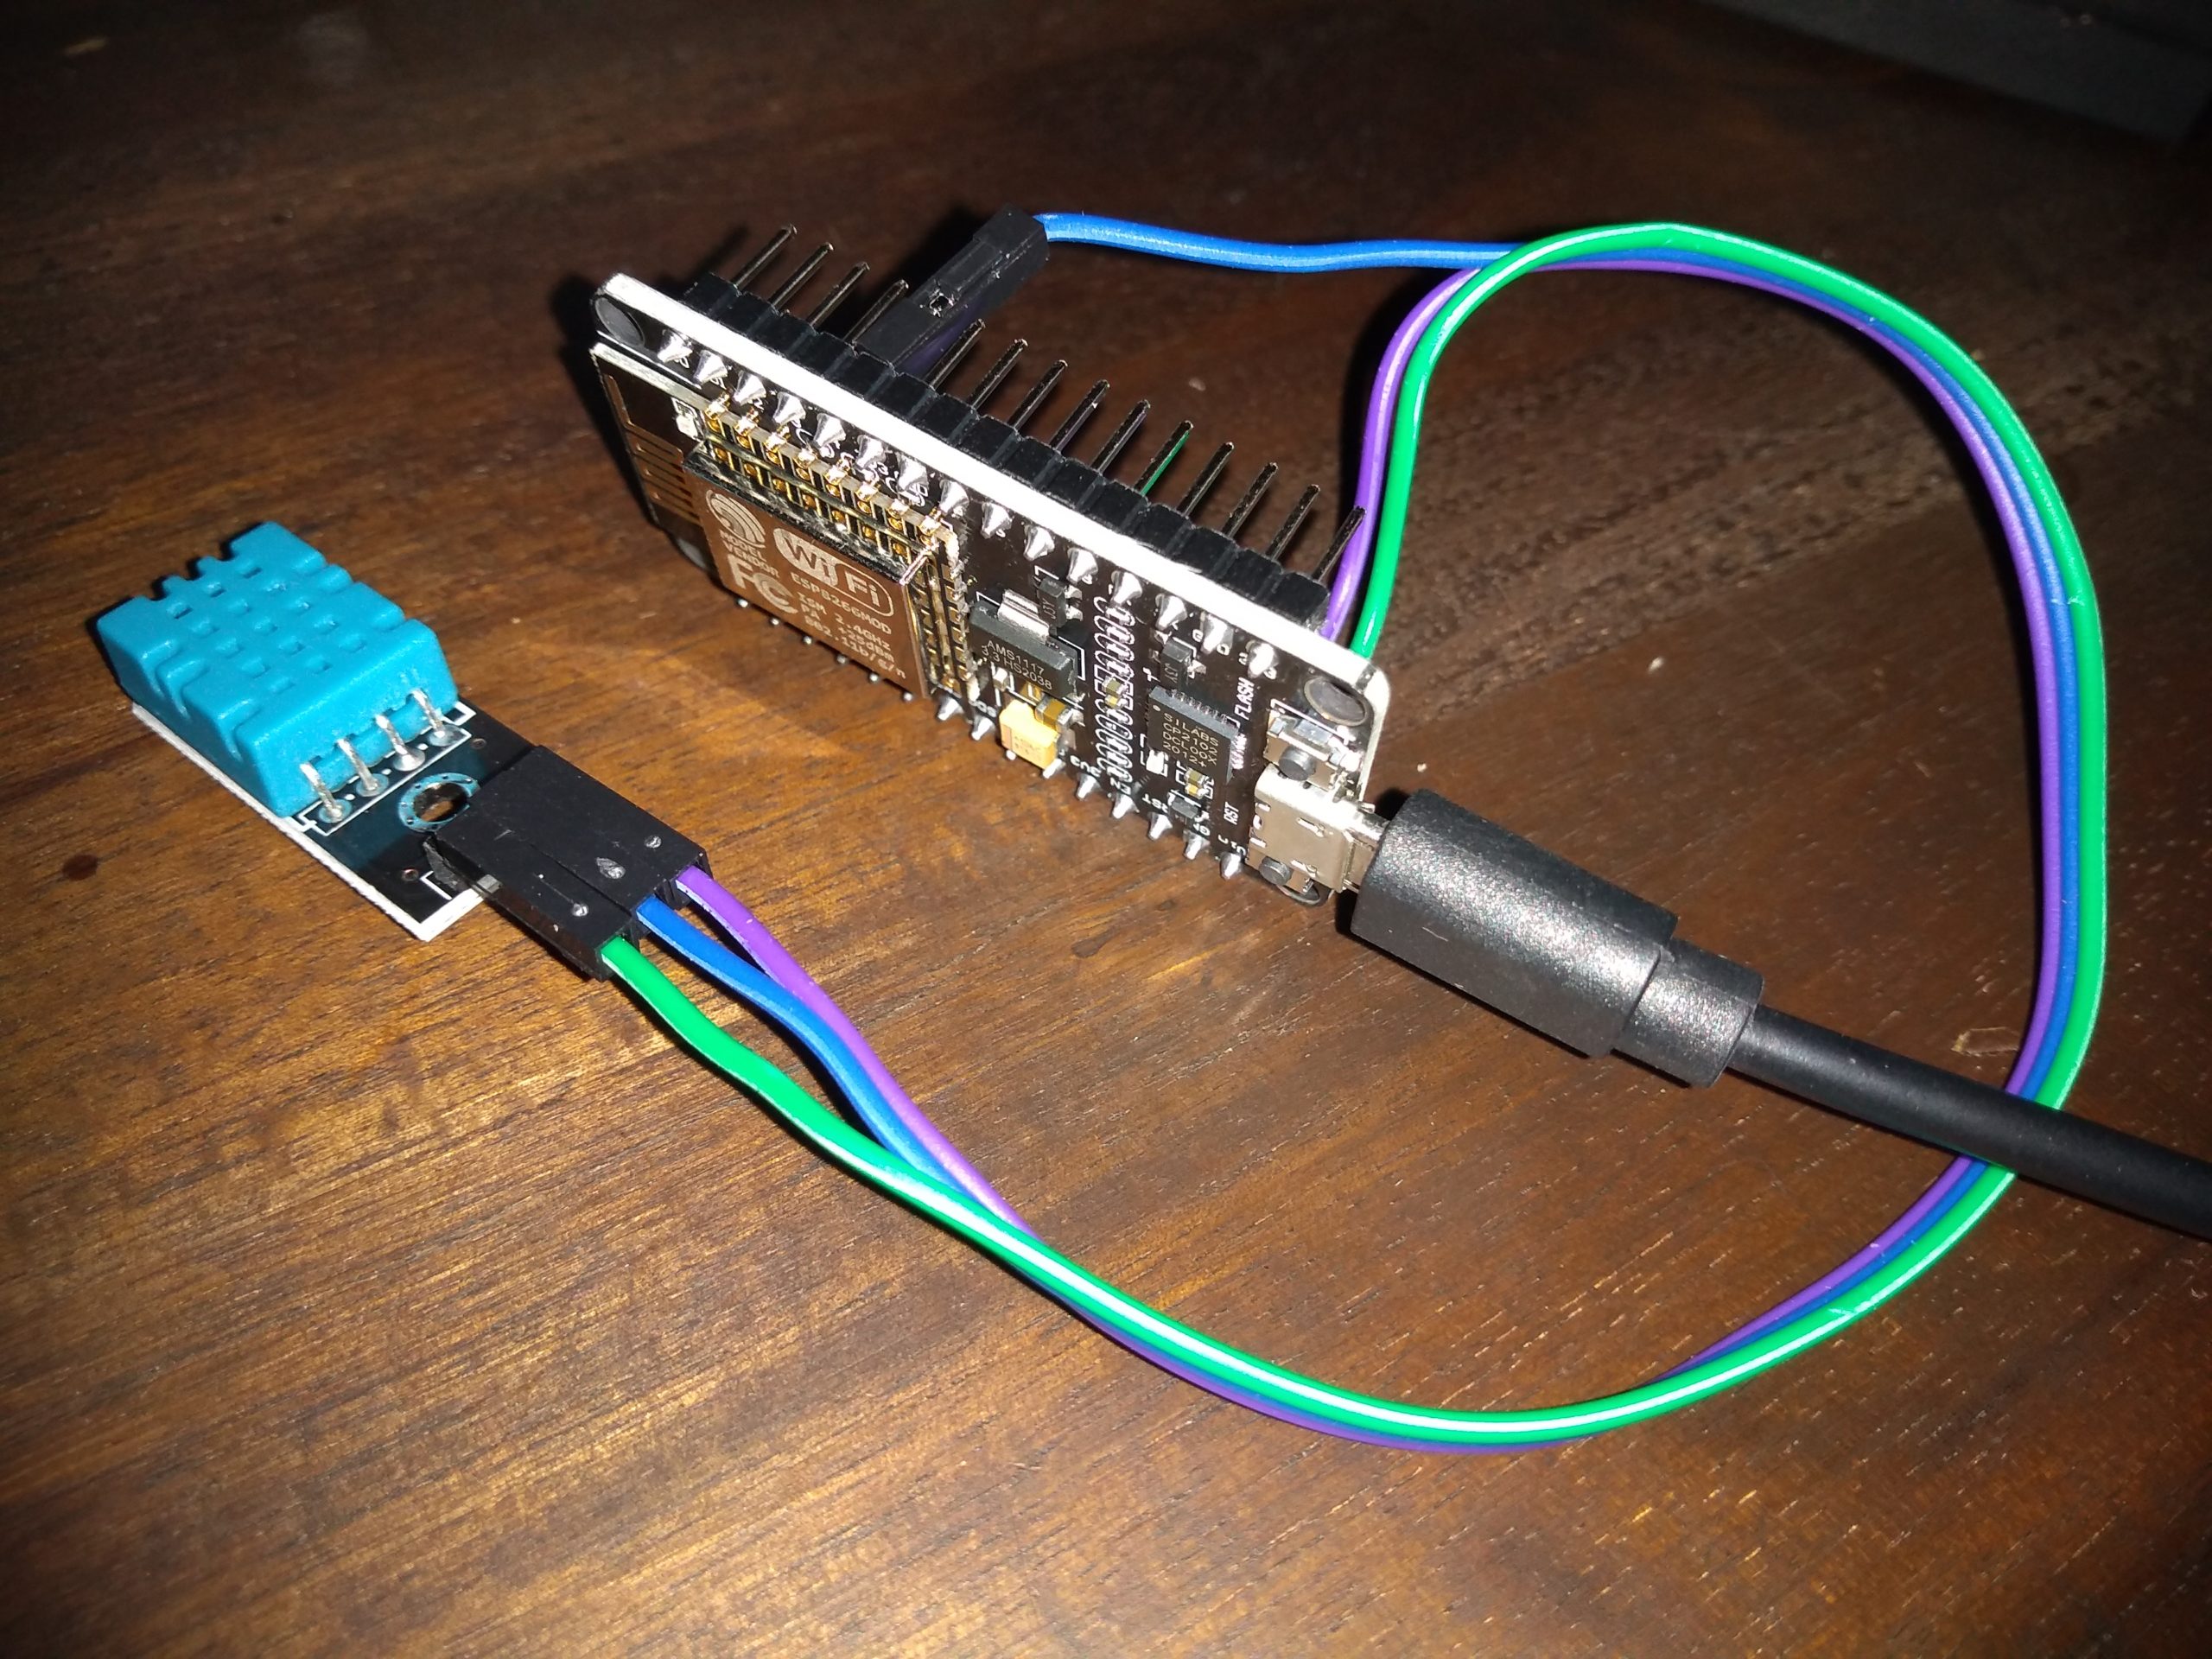
I’m powering this directly from USB rather than the previous battery method.
So, I then made another one, reflashed with different MQTT topic names and installed in the barn. One goes on top of the lathe box, and one goes inside the lathe box. This should show me how much the box and dehumidifier reduces the humidity (and prevents rusting).
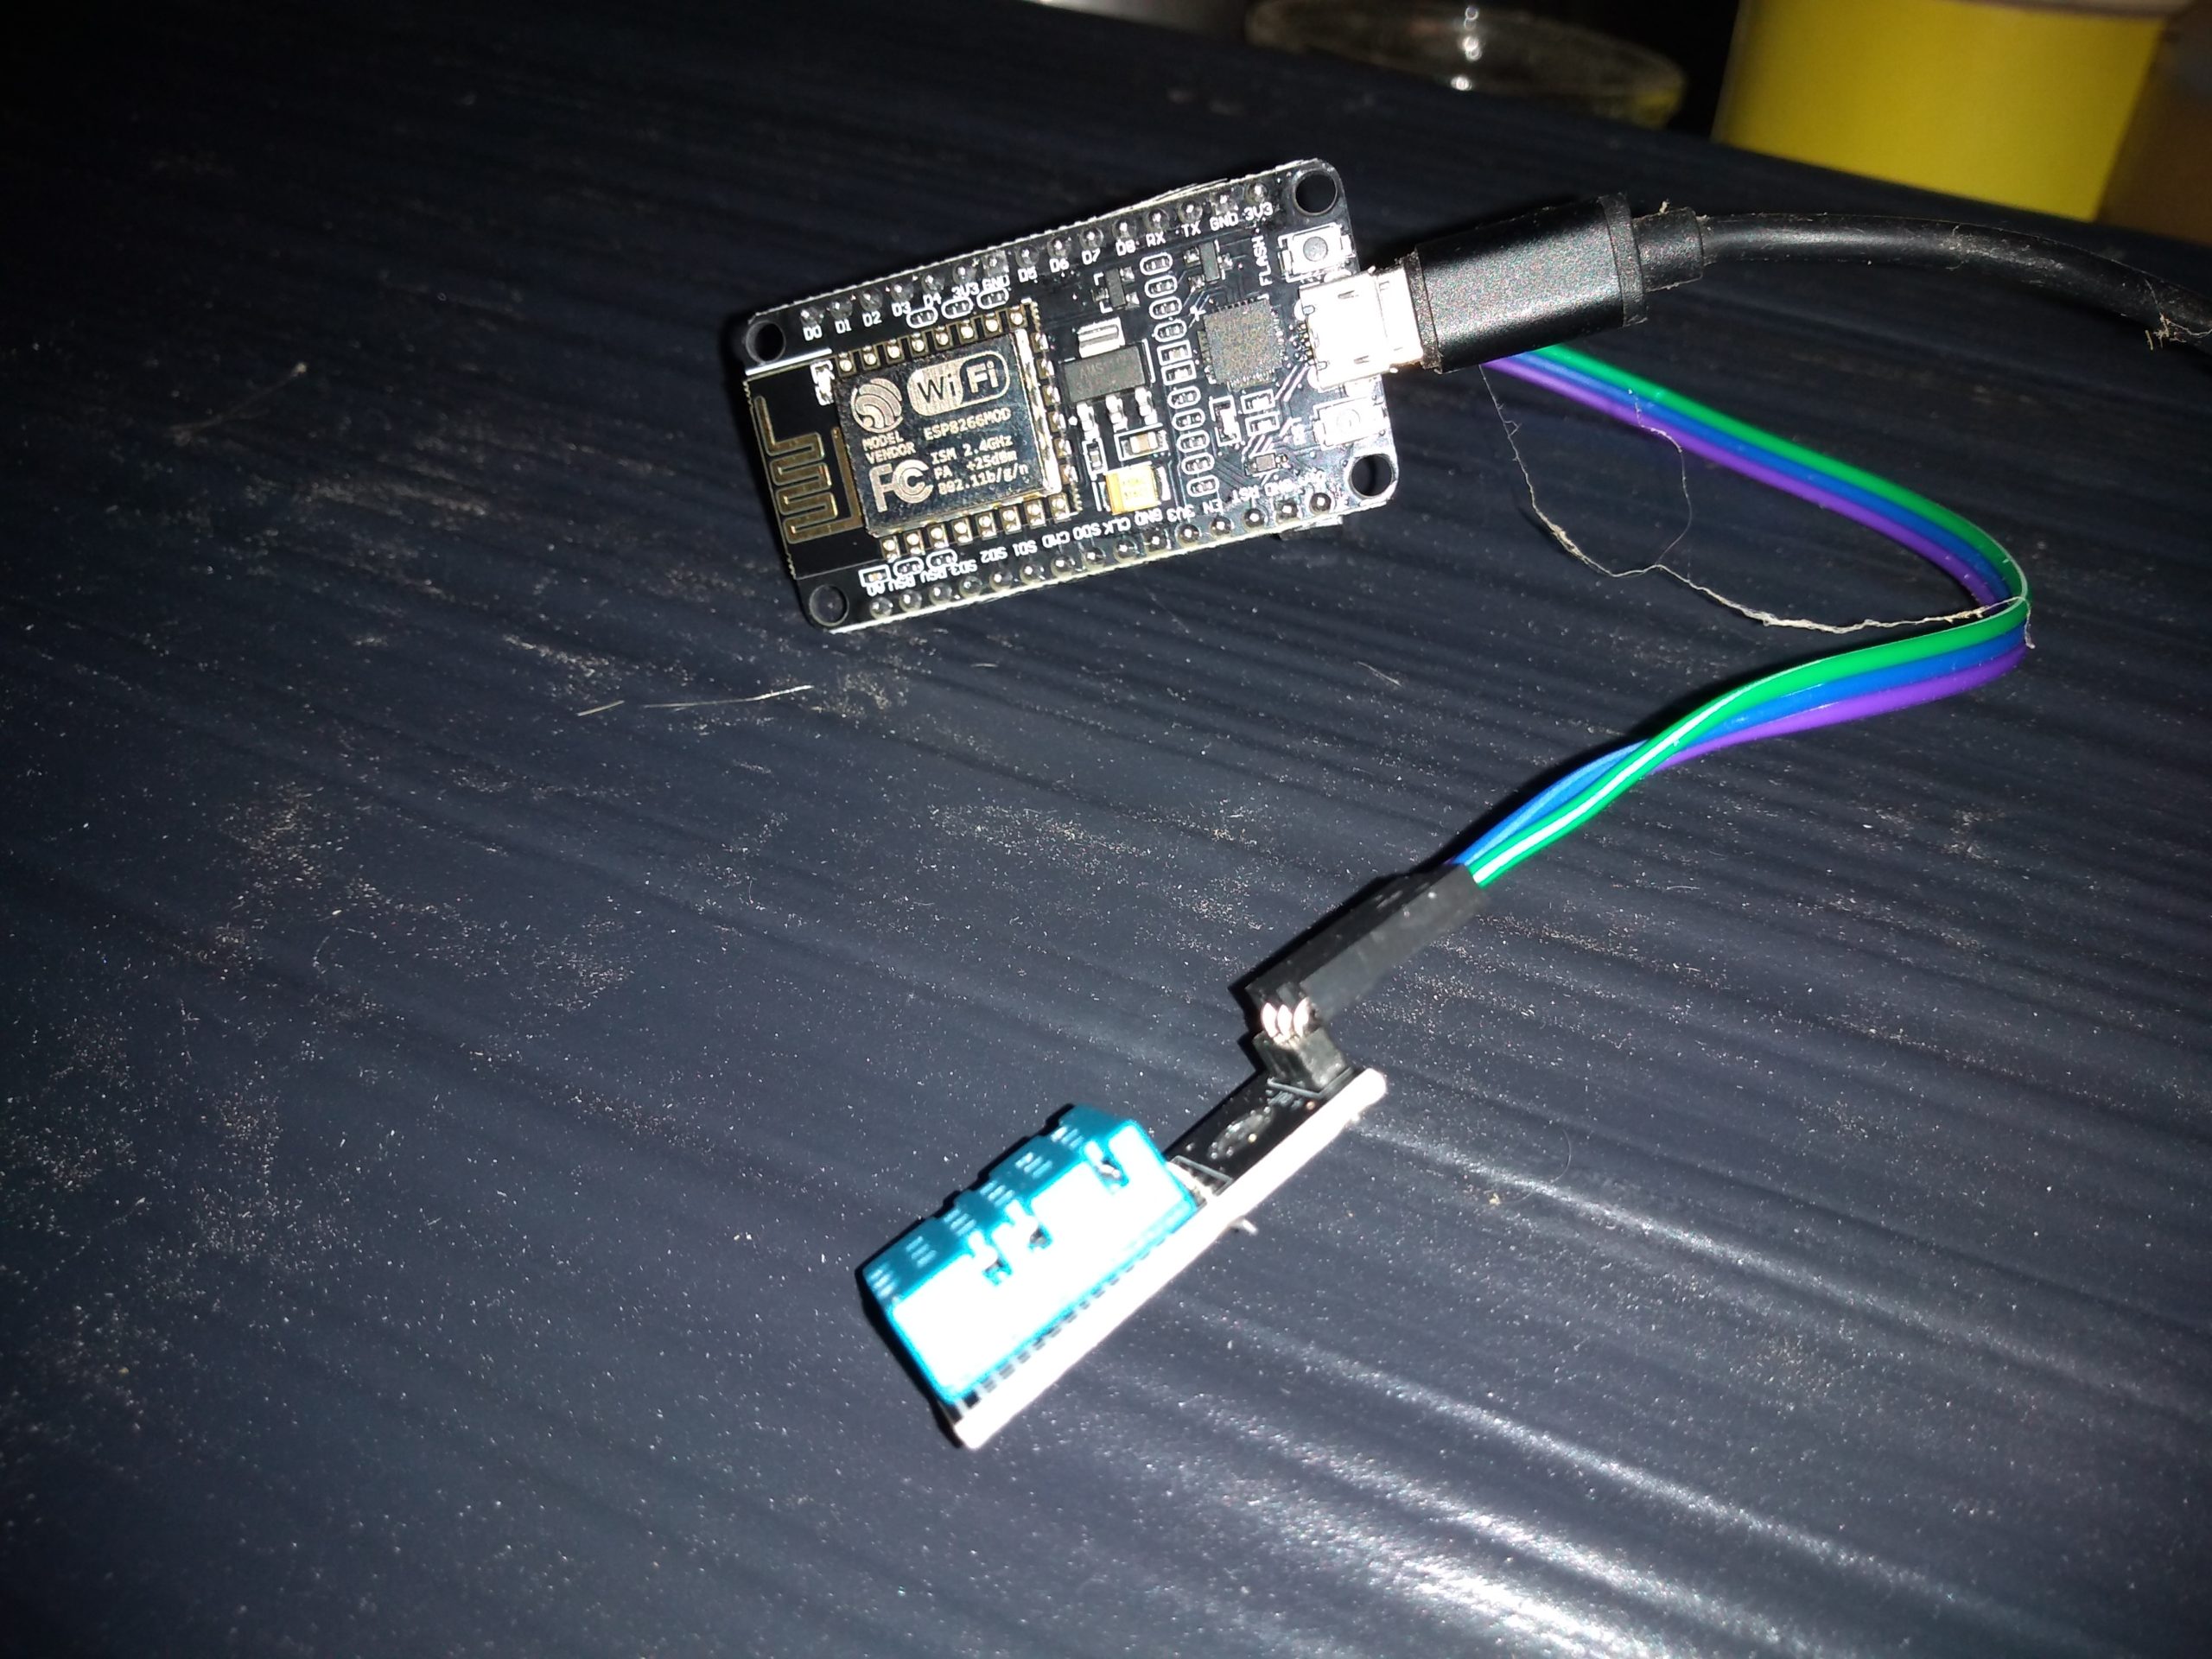
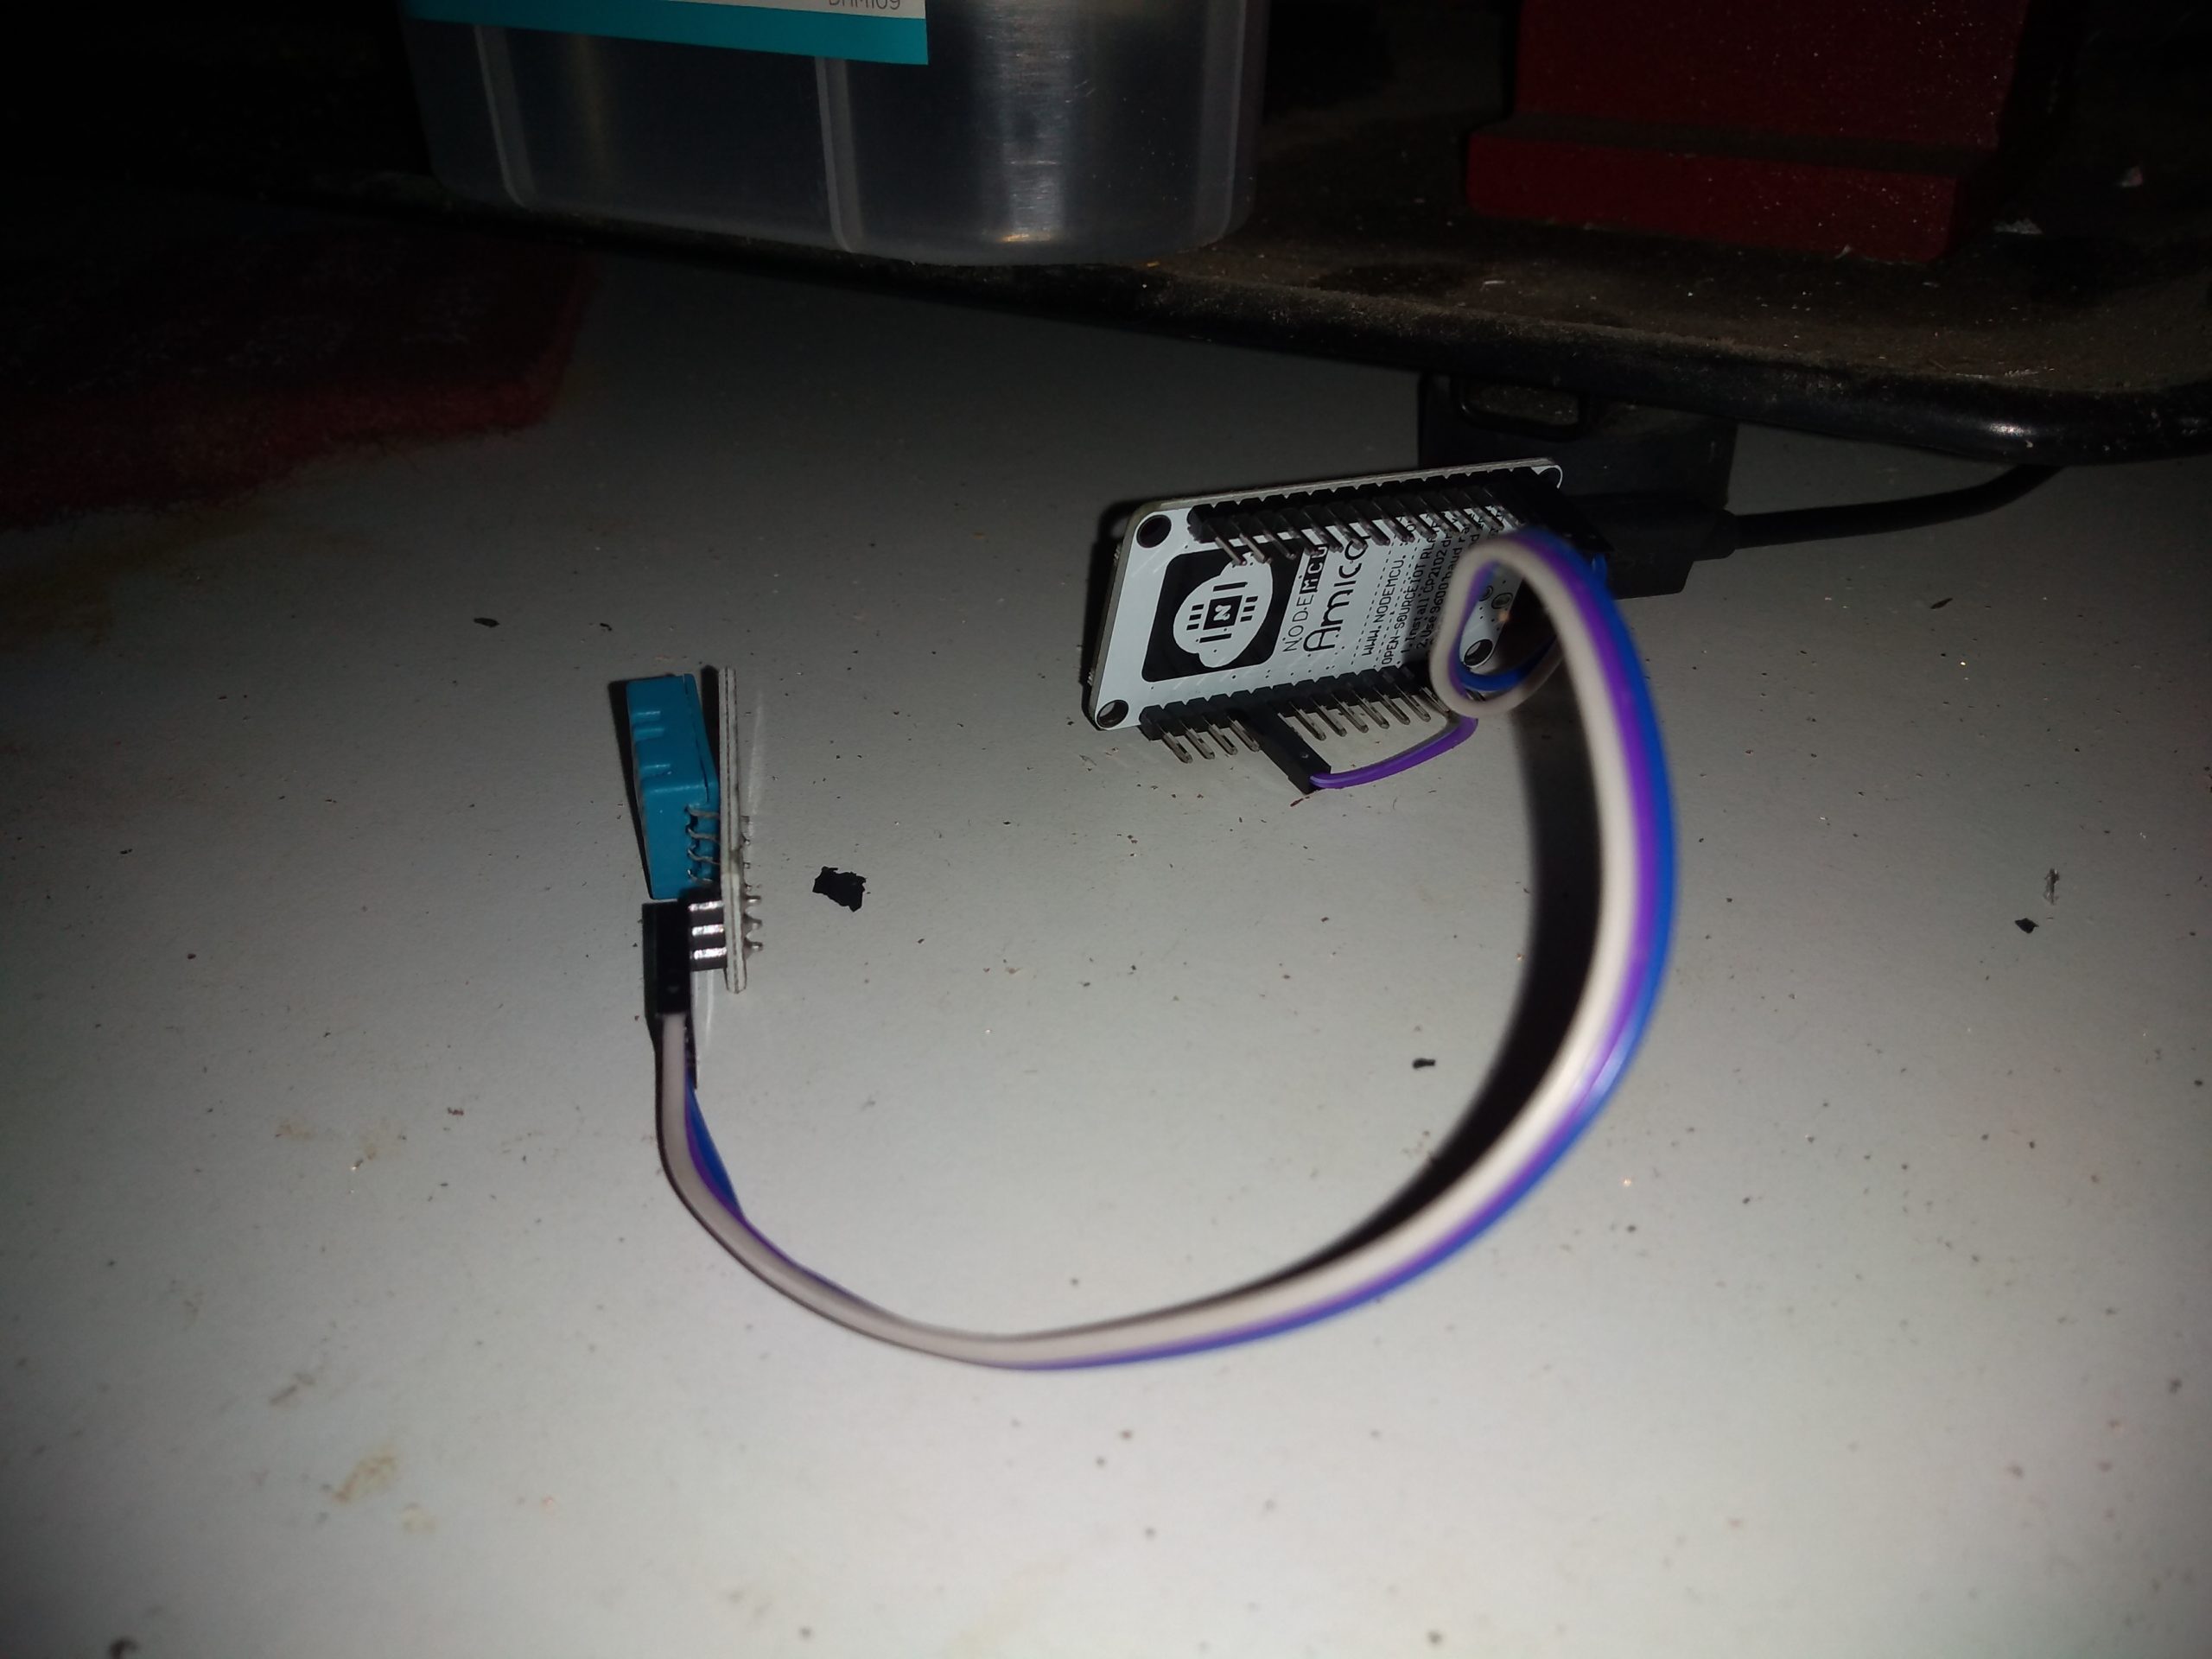
The dehumidifier is the plastic box just above the sensor in the second picture.
As I’m not a total philistine, I’m printing a couple of cases for the NodeMCU boards. The 3d printer is being rather uncooperative today, seeming to want to print a half a mm below the surface of the bed. I’ll need to spend some time making it work as well as it used to.
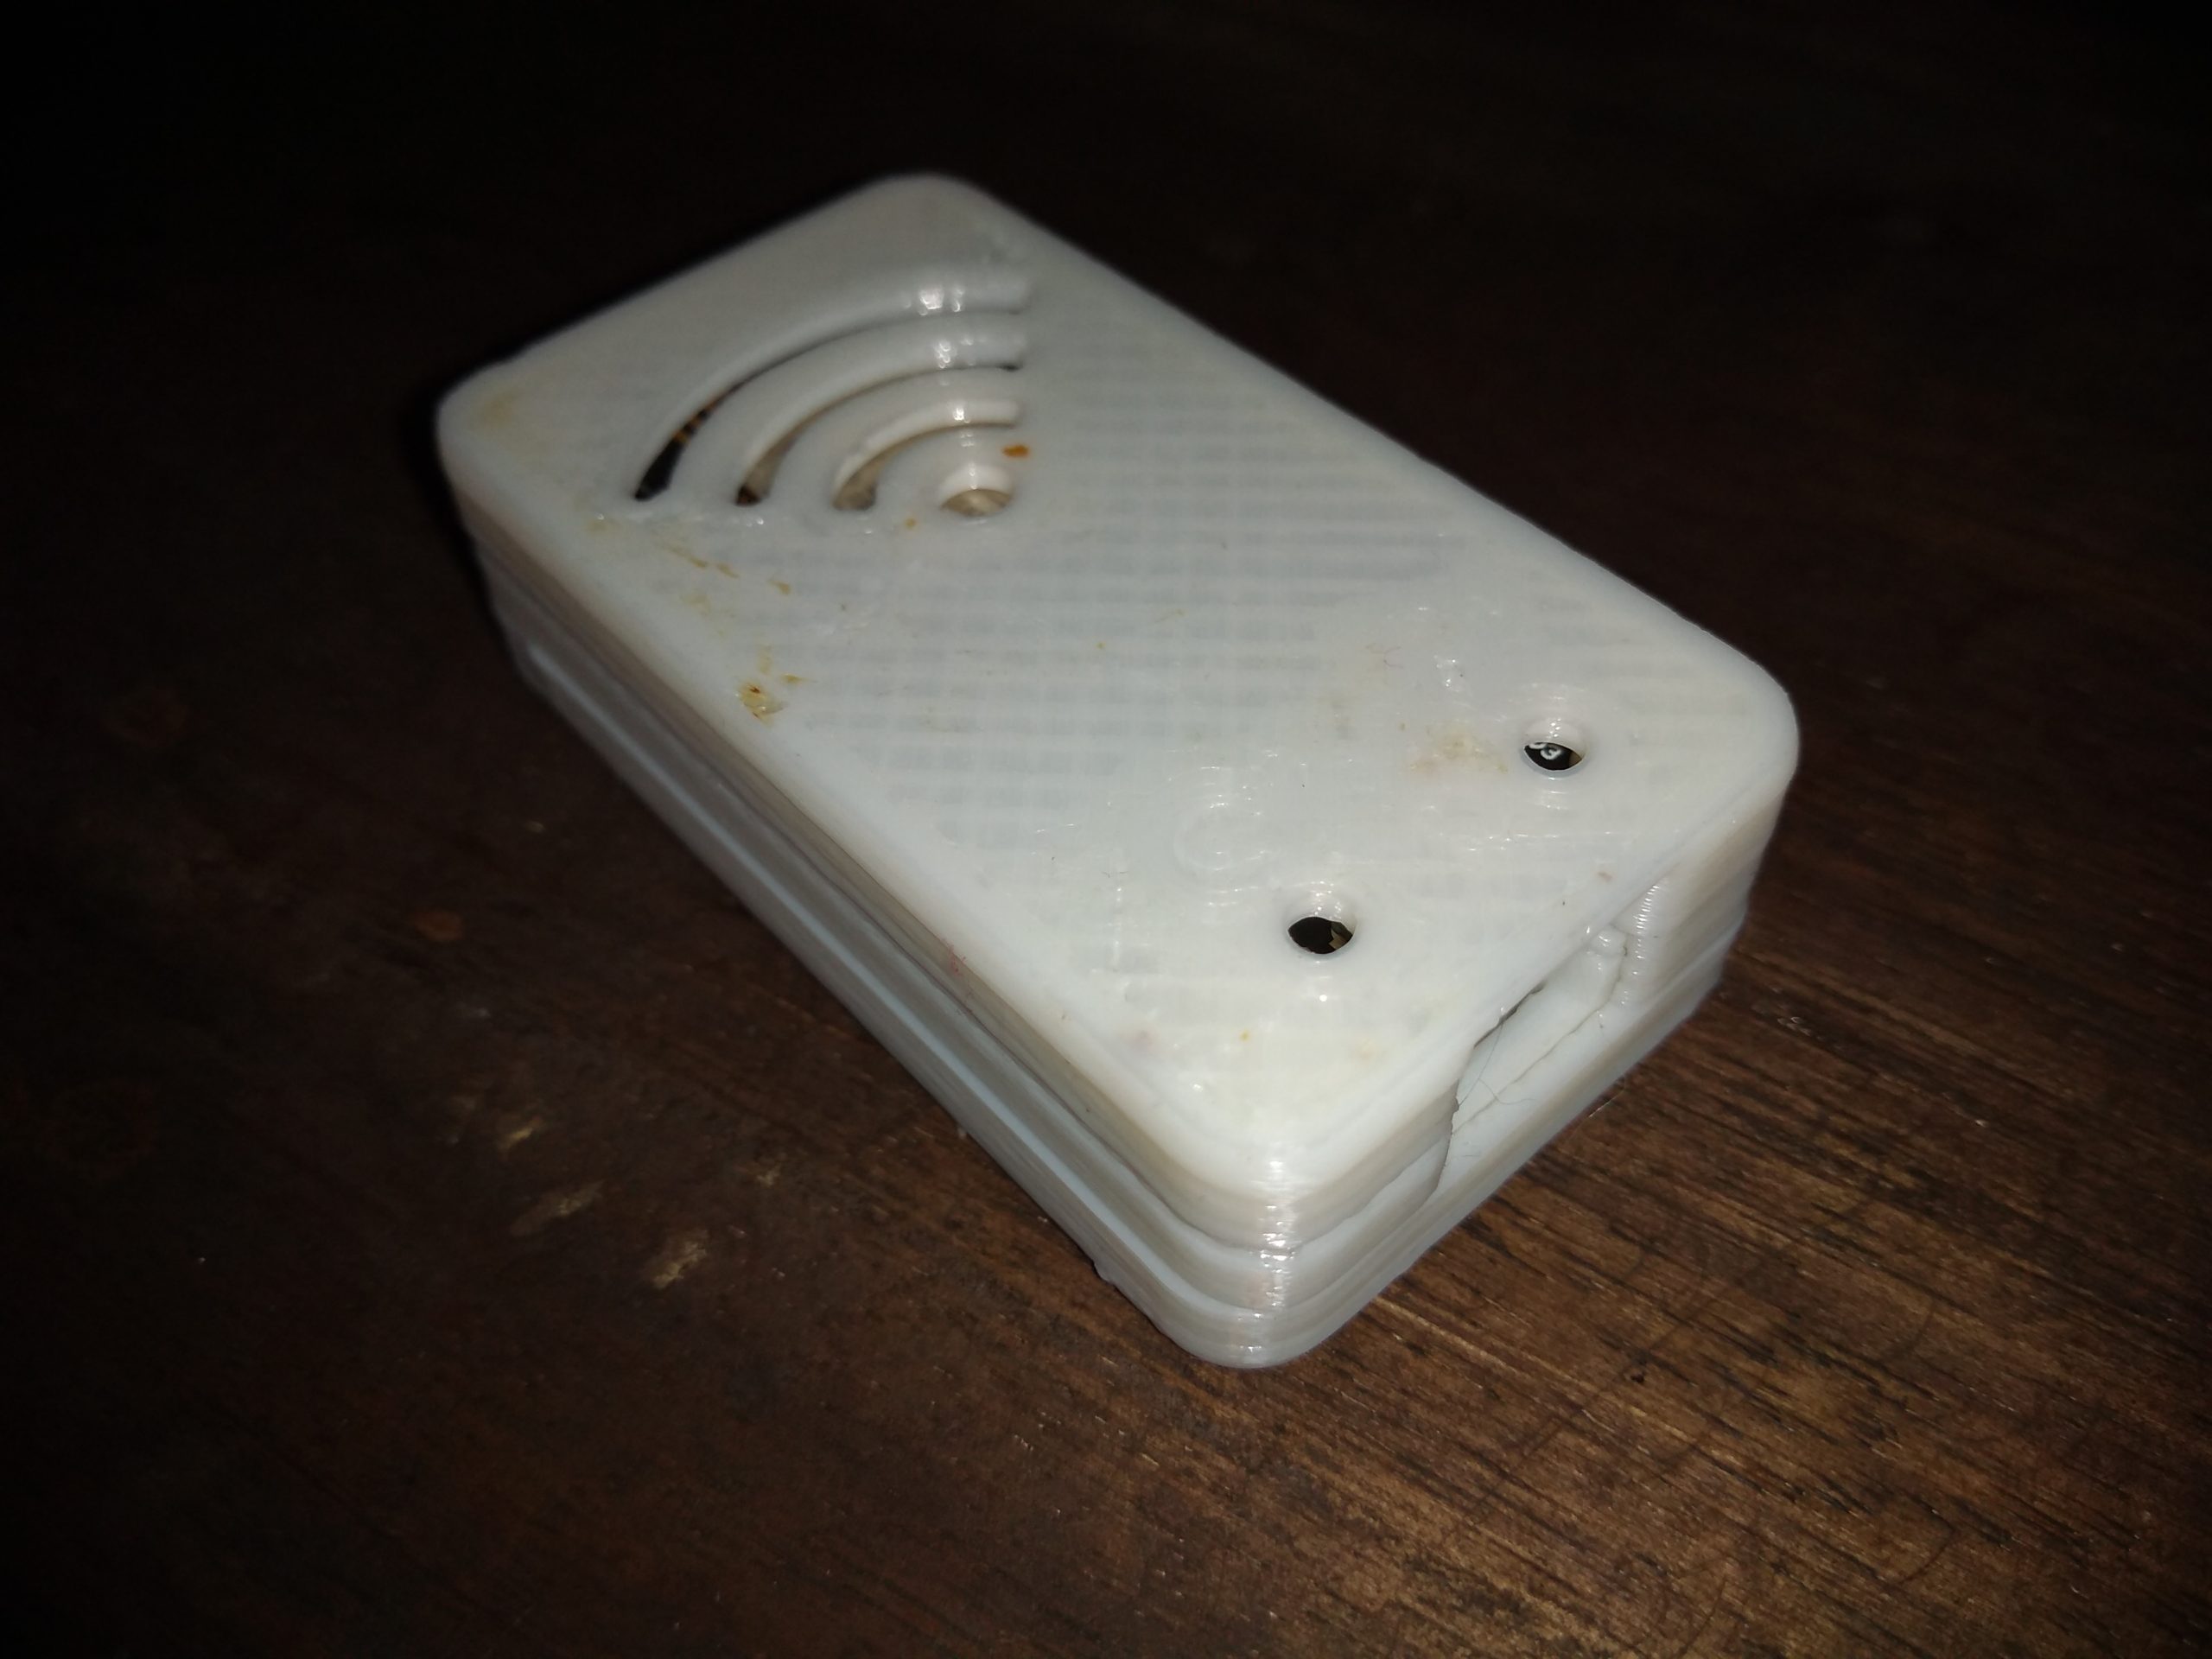
However, I did manage to persuade it to produce some prints and I’m quite a fan of this little case…
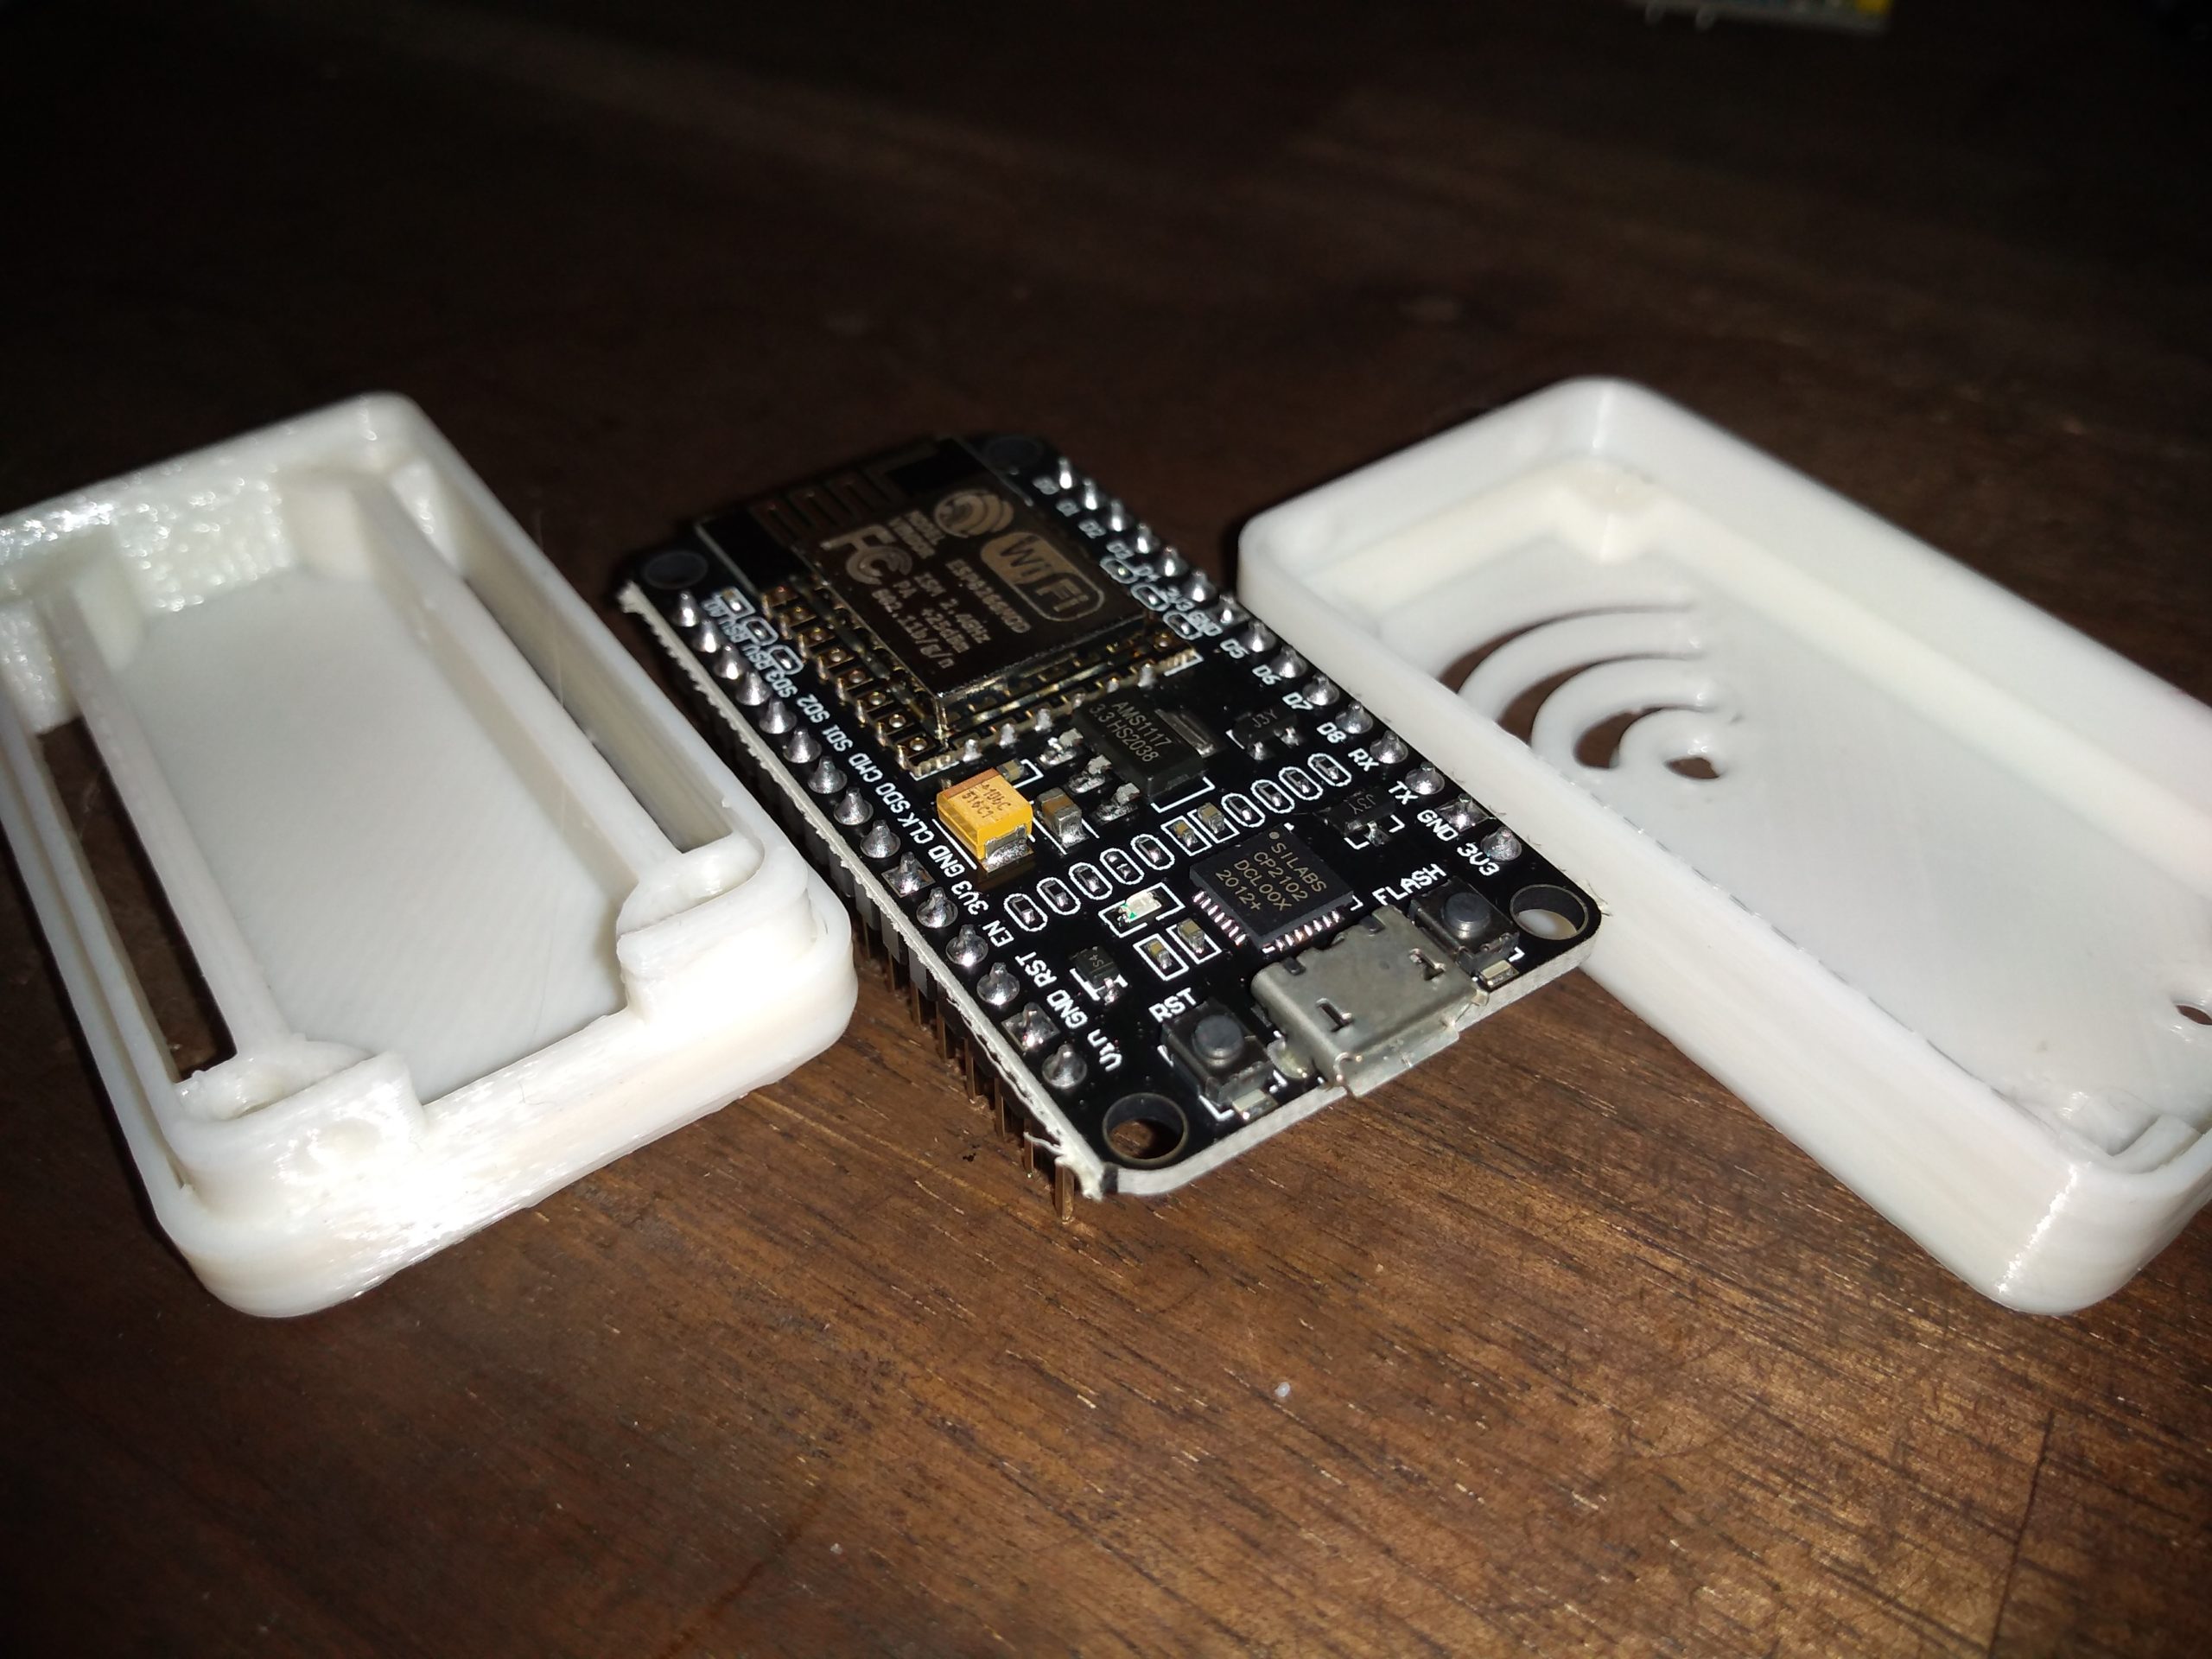
The NodeMCU drops in and there are cutouts to attach things to the pins directly. It friction fits together quite nicely and makes it look a lot less “homebrew”.
I’m quite liking the ESP8266 and various variants. It reminds me of when I first started using the Arduino Nano. I know I’m a few years late to the party, and I probably should be looking at the ESP32 as a better supported board, and I’ve got a few of those I might play with, but I do appreciate the cheapness of the ESP01s and the good breakout of the NodeMCU