Knurling update

image

A quick update on the knurling.

A little musing and I realised that the wheels on the knurling tool were 3/4″ diameter and had 48 knurl features around their circumference. This means that if they were an inch in diameter, they would leave 64 features. This is a nice round number in imperial-world.

So I needed to ensure my diameters were in 64ths of an inch for the pattern to repeat properly.

I also did a bit of reading up and discovered – much to my amazement – that you can/should feed the knurling tool across your work. Which seemed a bit counter intuitive to me.

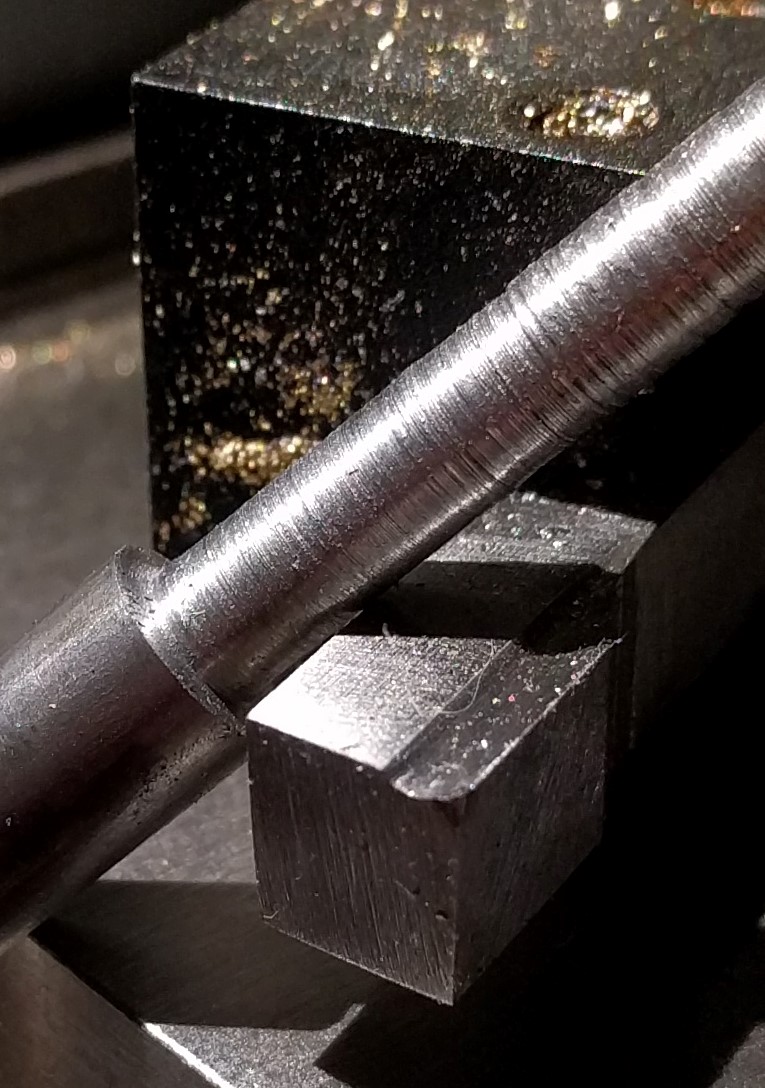
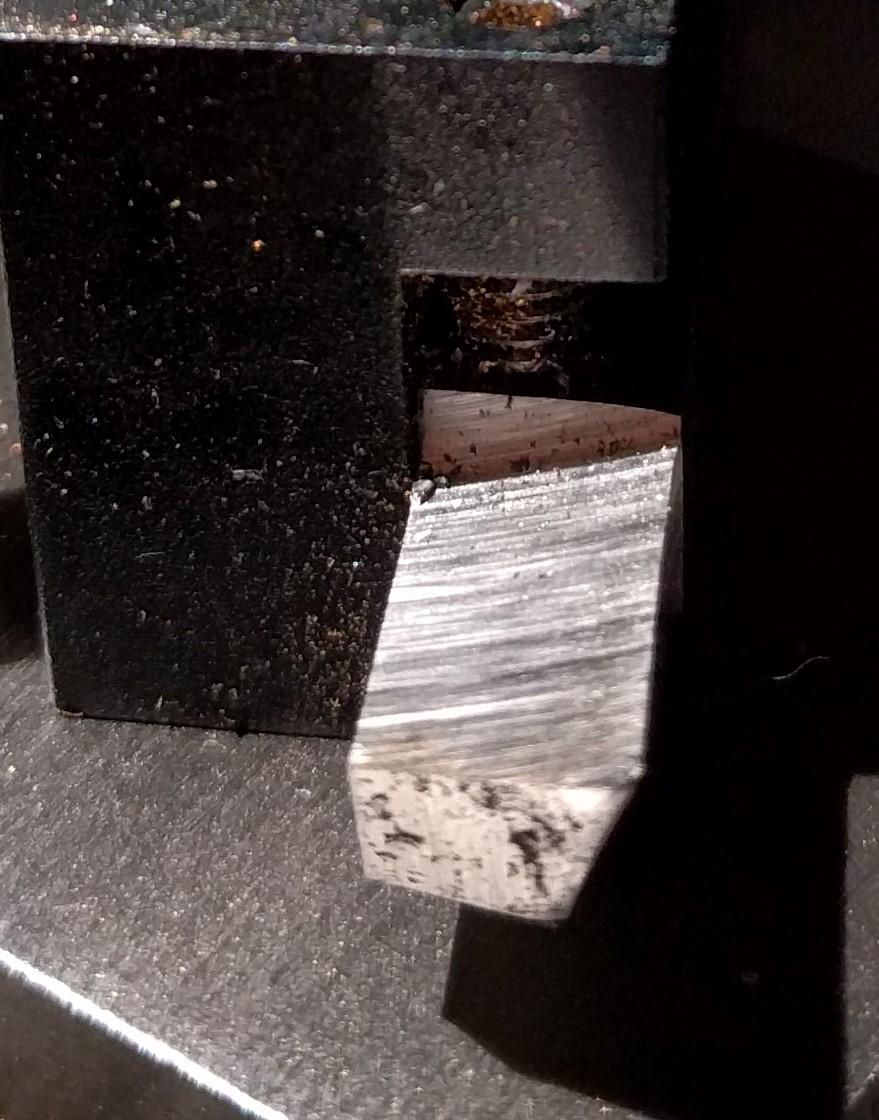
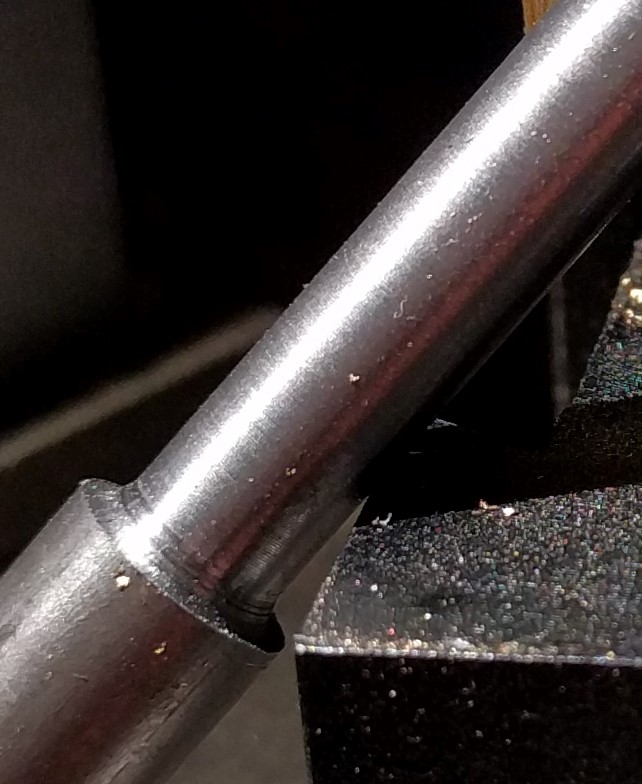
So I gave it a go, turned my nice 14mm metric brass rod down to ‘arf hinch, set the centre of the knurling tool on the right height, clamped it reasonably tightly and started at a very slow speed.

Once the knurl had picked up, I was able to tighten the clamp nut a bit more and noted the roughened surface. I kicked in the feed and it very slowly traversed.

After it had done a bit, I gave it a squirt of cutting oil, just to see if there was a difference.

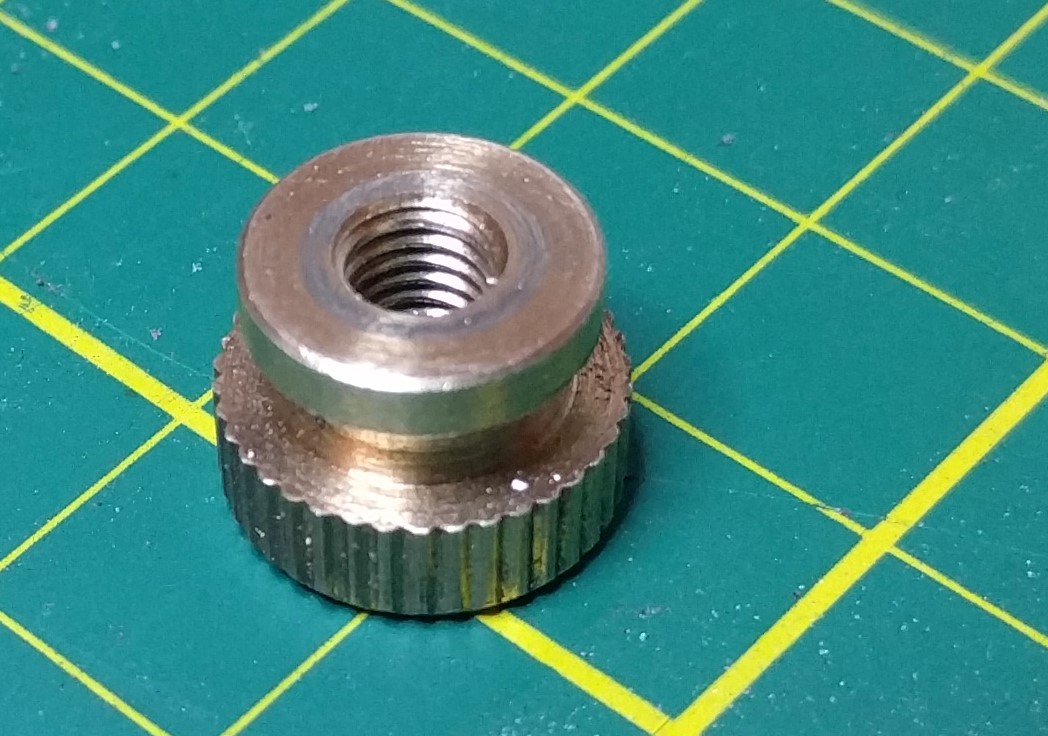
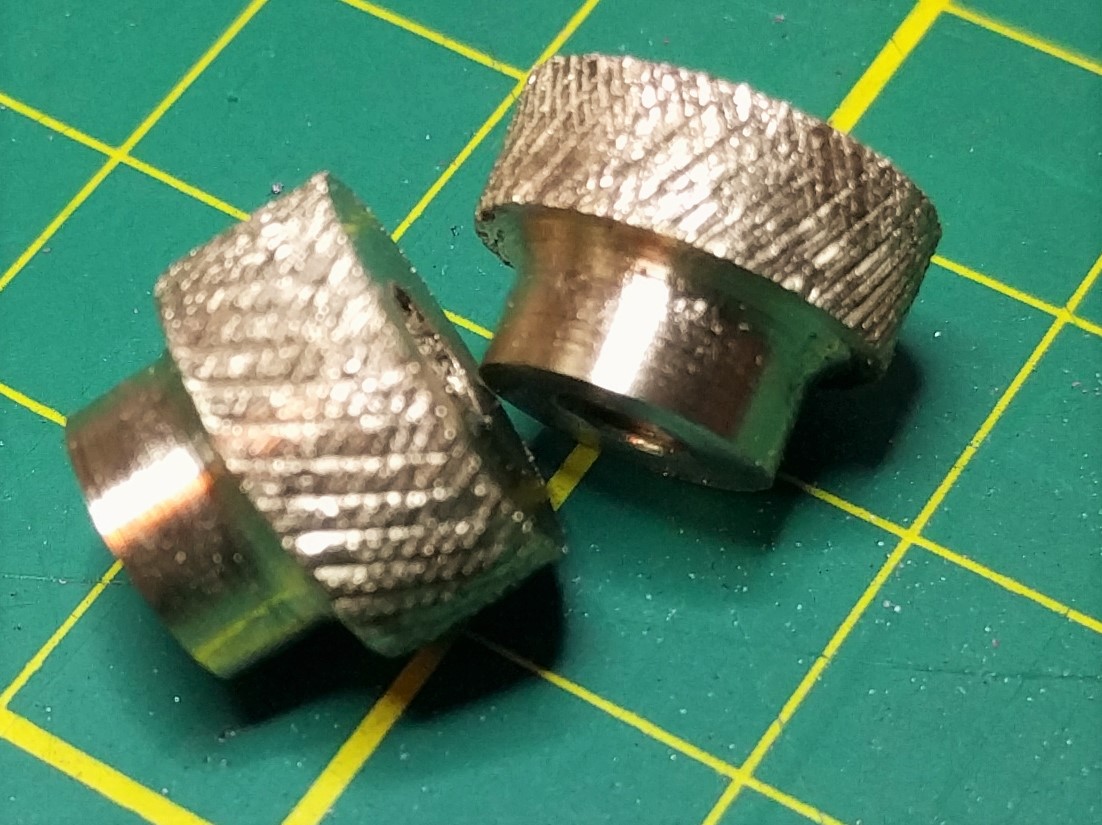
So, looking at the picture above, the knurl is pretty (there are a couple of flaws where I held the nuts in pliers to tap the holes), but I’m quite happy with that.

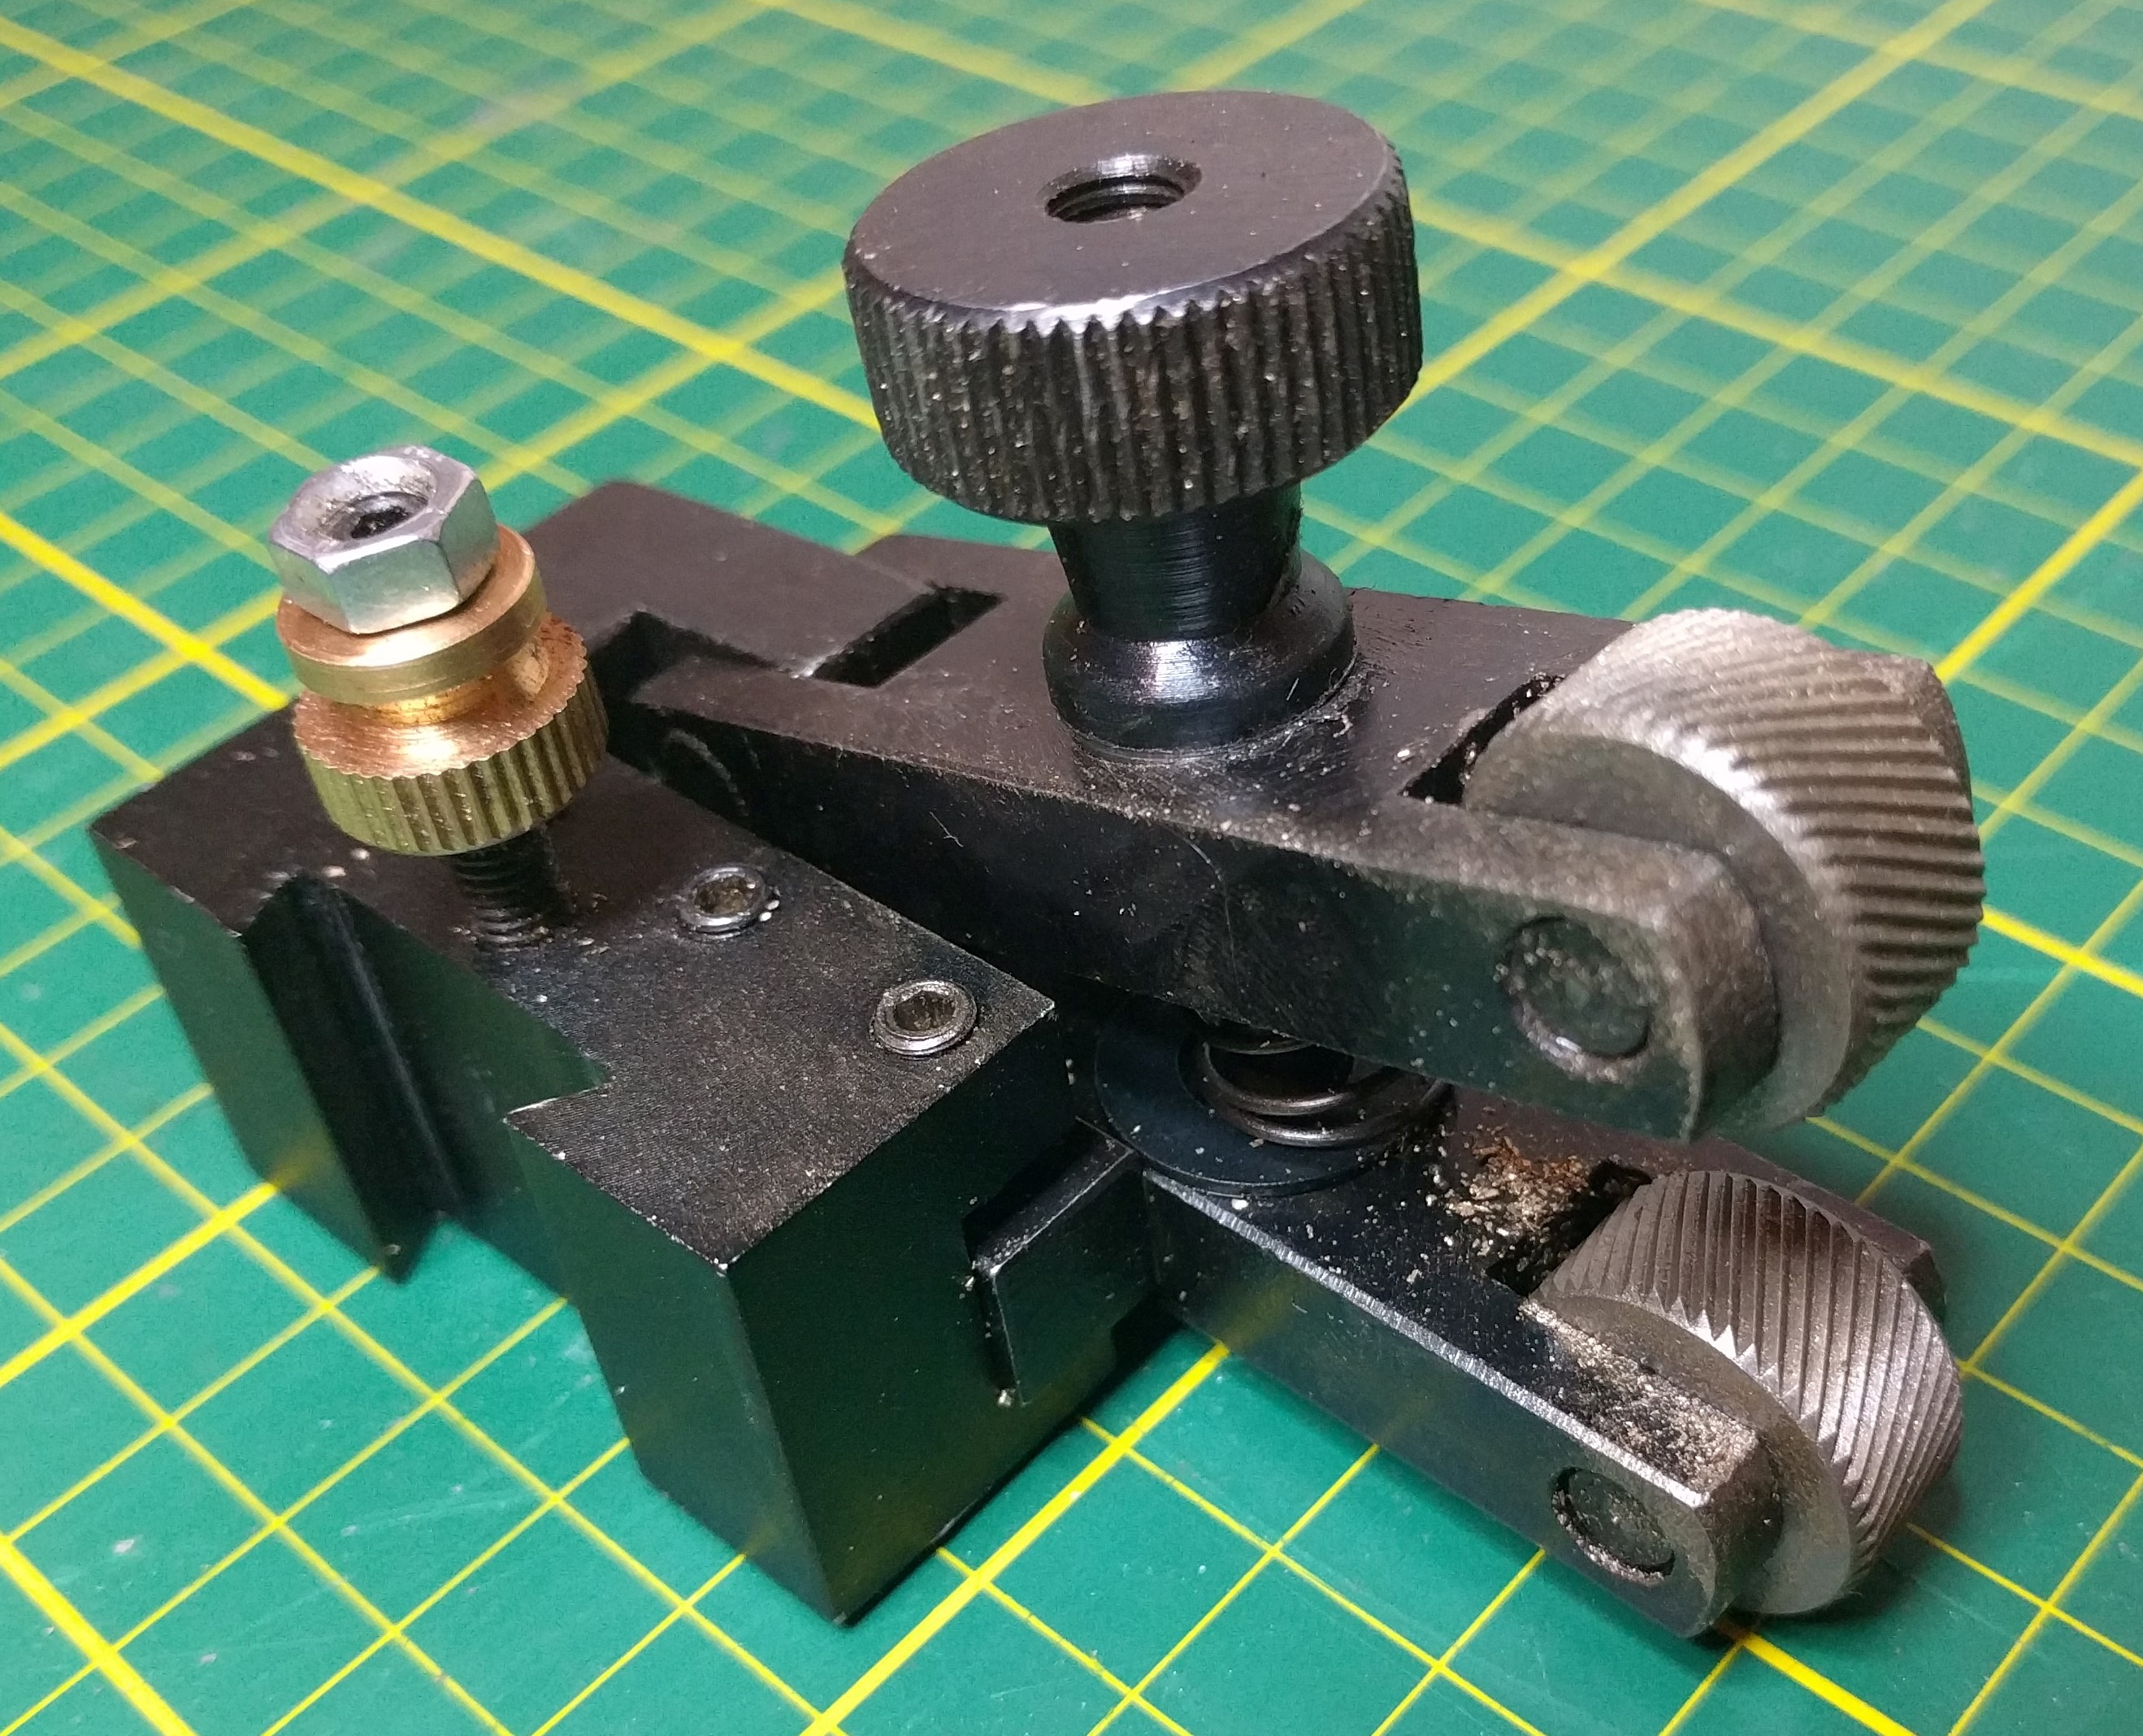
So, I now have four knurled nuts, two nice, two satisfactory (grumble) and can move on to making a batch of four tool holders.

Knurling

Some time ago, I bought a cheap “Clamp type” Knurling tool from eBay there are many sellers.

I stuck it in a tool holder and bashed it onto a couple of bits of aluminium rod. One bit knurled really nicely, the other didn’t. I’ve not really played with it since.

IMG_20160125_211216 (2)

I’ve recently been making tool holders for my quick change tool post. I’ll blog about that when I get round to making half a dozen of them and can document the process. You can see the tool holder above, the ones I’m making are tighter and better…

Anyhow, these tool holders need a knurled brass knob to adjust the height of the tool.IMG_20160125_211230 (2)

So let’s make some.

Somewhat naive, I just turned a rod to the approximate diameter required and clamped the knurling tool onto it. This merely produced a roughened indistinct surface. Clearly a bit more subtlety is required.

So I measured the knurling wheels in the tool – 19mm diameter. then I counted the number of knurling features on the wheel. There were 48 features.

So, each element of the knurling pattern occupies pi*19/48 of the circumference of the knurled part.

Using this, I turned my brass rod down to 13.06mm diameter, this is 33 knurling patterns. The results were OK, but not massively impressive. Alignment of the knurling tool is important, the pressure is important, the exact diameter is also important. I’m guessing a bit more experimentation is called for.

Anyhow, I tidied up the edges, added a bit of shape to make them similar to the original one, drilled and tapped them to M5 and while I’m not overly happy with the result, they are satisfactory for the purpose.

IMG_20160125_211314 (2)

I think a bit more experimentation is called for to get a really crisp pattern, possibly allowing an offset of half the depth of the knurl when calculating the circumference is called for.

Still, I made a thing 🙂


Grinding

I’ve recently been attempting to turn some mild steel. I wasn’t getting good results.

I started out trying to use a HSS bit which was included in a set supplied with the lathe. I can’t say it was particularly sharp. I’d used it on a bunch of brass and aluminium and it had performed well.

The results with steel were, frankly, awful. Scored and lumpy (and this was supposed to be a bearing surface).

IMG_20160114_212858 (2)


So I was inspired to try grinding my own.

I followed the Little Machine Shop guide to grinding tools that I’d found through google, http://littlemachineshop.com/instructions/grindingtoolbits.pdf

It is quite a simple guide to follow.

I don’t have a particularly good grinder. It is a cheapie B&Q special, upgraded with a wider pink wheel for sharpening my woodworking lathe tools and a newly fitted tool rest that I picked up cheaply at Cardiff Axminster’s opening day. Other grinders are far superior.

Anyhow, I set the rest to an eyeballed 10 degrees or so, angled the tool blank at an eyeballed 10 degrees-ish and ground the front face compound angle.

Then I put the bit parallel to the front surface of the wheel, overhanging the left hand side and ground the side relief to the 10 degree angle set on the table. This took some time and I dipped in a glass of water to keep it cool enough to hold comfortably.

The top relief was achieved by flipping the bit over to the right hand side of the wheel and angling it to an eyeballed 10 degrees-ish again.  This grind took a while.

Then I touched the point surface on the wheel – you have to elevate it from the table as all the compound angles mean it’s quite high on the wheel.

IMG_20160114_212957 (3)

So, all very approximate. I wasn’t expecting great things at all. I was expecting something that would cut, but probably no better than the blunt tool I’d used previously.

However, a quick check on some silver steel gave great results. So I pulled out my rough and horrible mild steel and gave that a spin. It cut like a dream producing lovely tightly curled long strings of springy swarf. The surface finish was vastly improved.

IMG_20160114_212957 (2)

Either I have been really lucky and hit some magic angles, or maybe it’s just that any sharp tool gives a decent result. I’m sure I’ll find out sooner rather than later.

IMG_20160114_211954 (2)

So that’s a happy bit of grinding 🙂