Back on the 1st, I made an inaccurate temperature sensor. I’m revisiting this to make it more accurate and see if my lathe cover makes any difference.
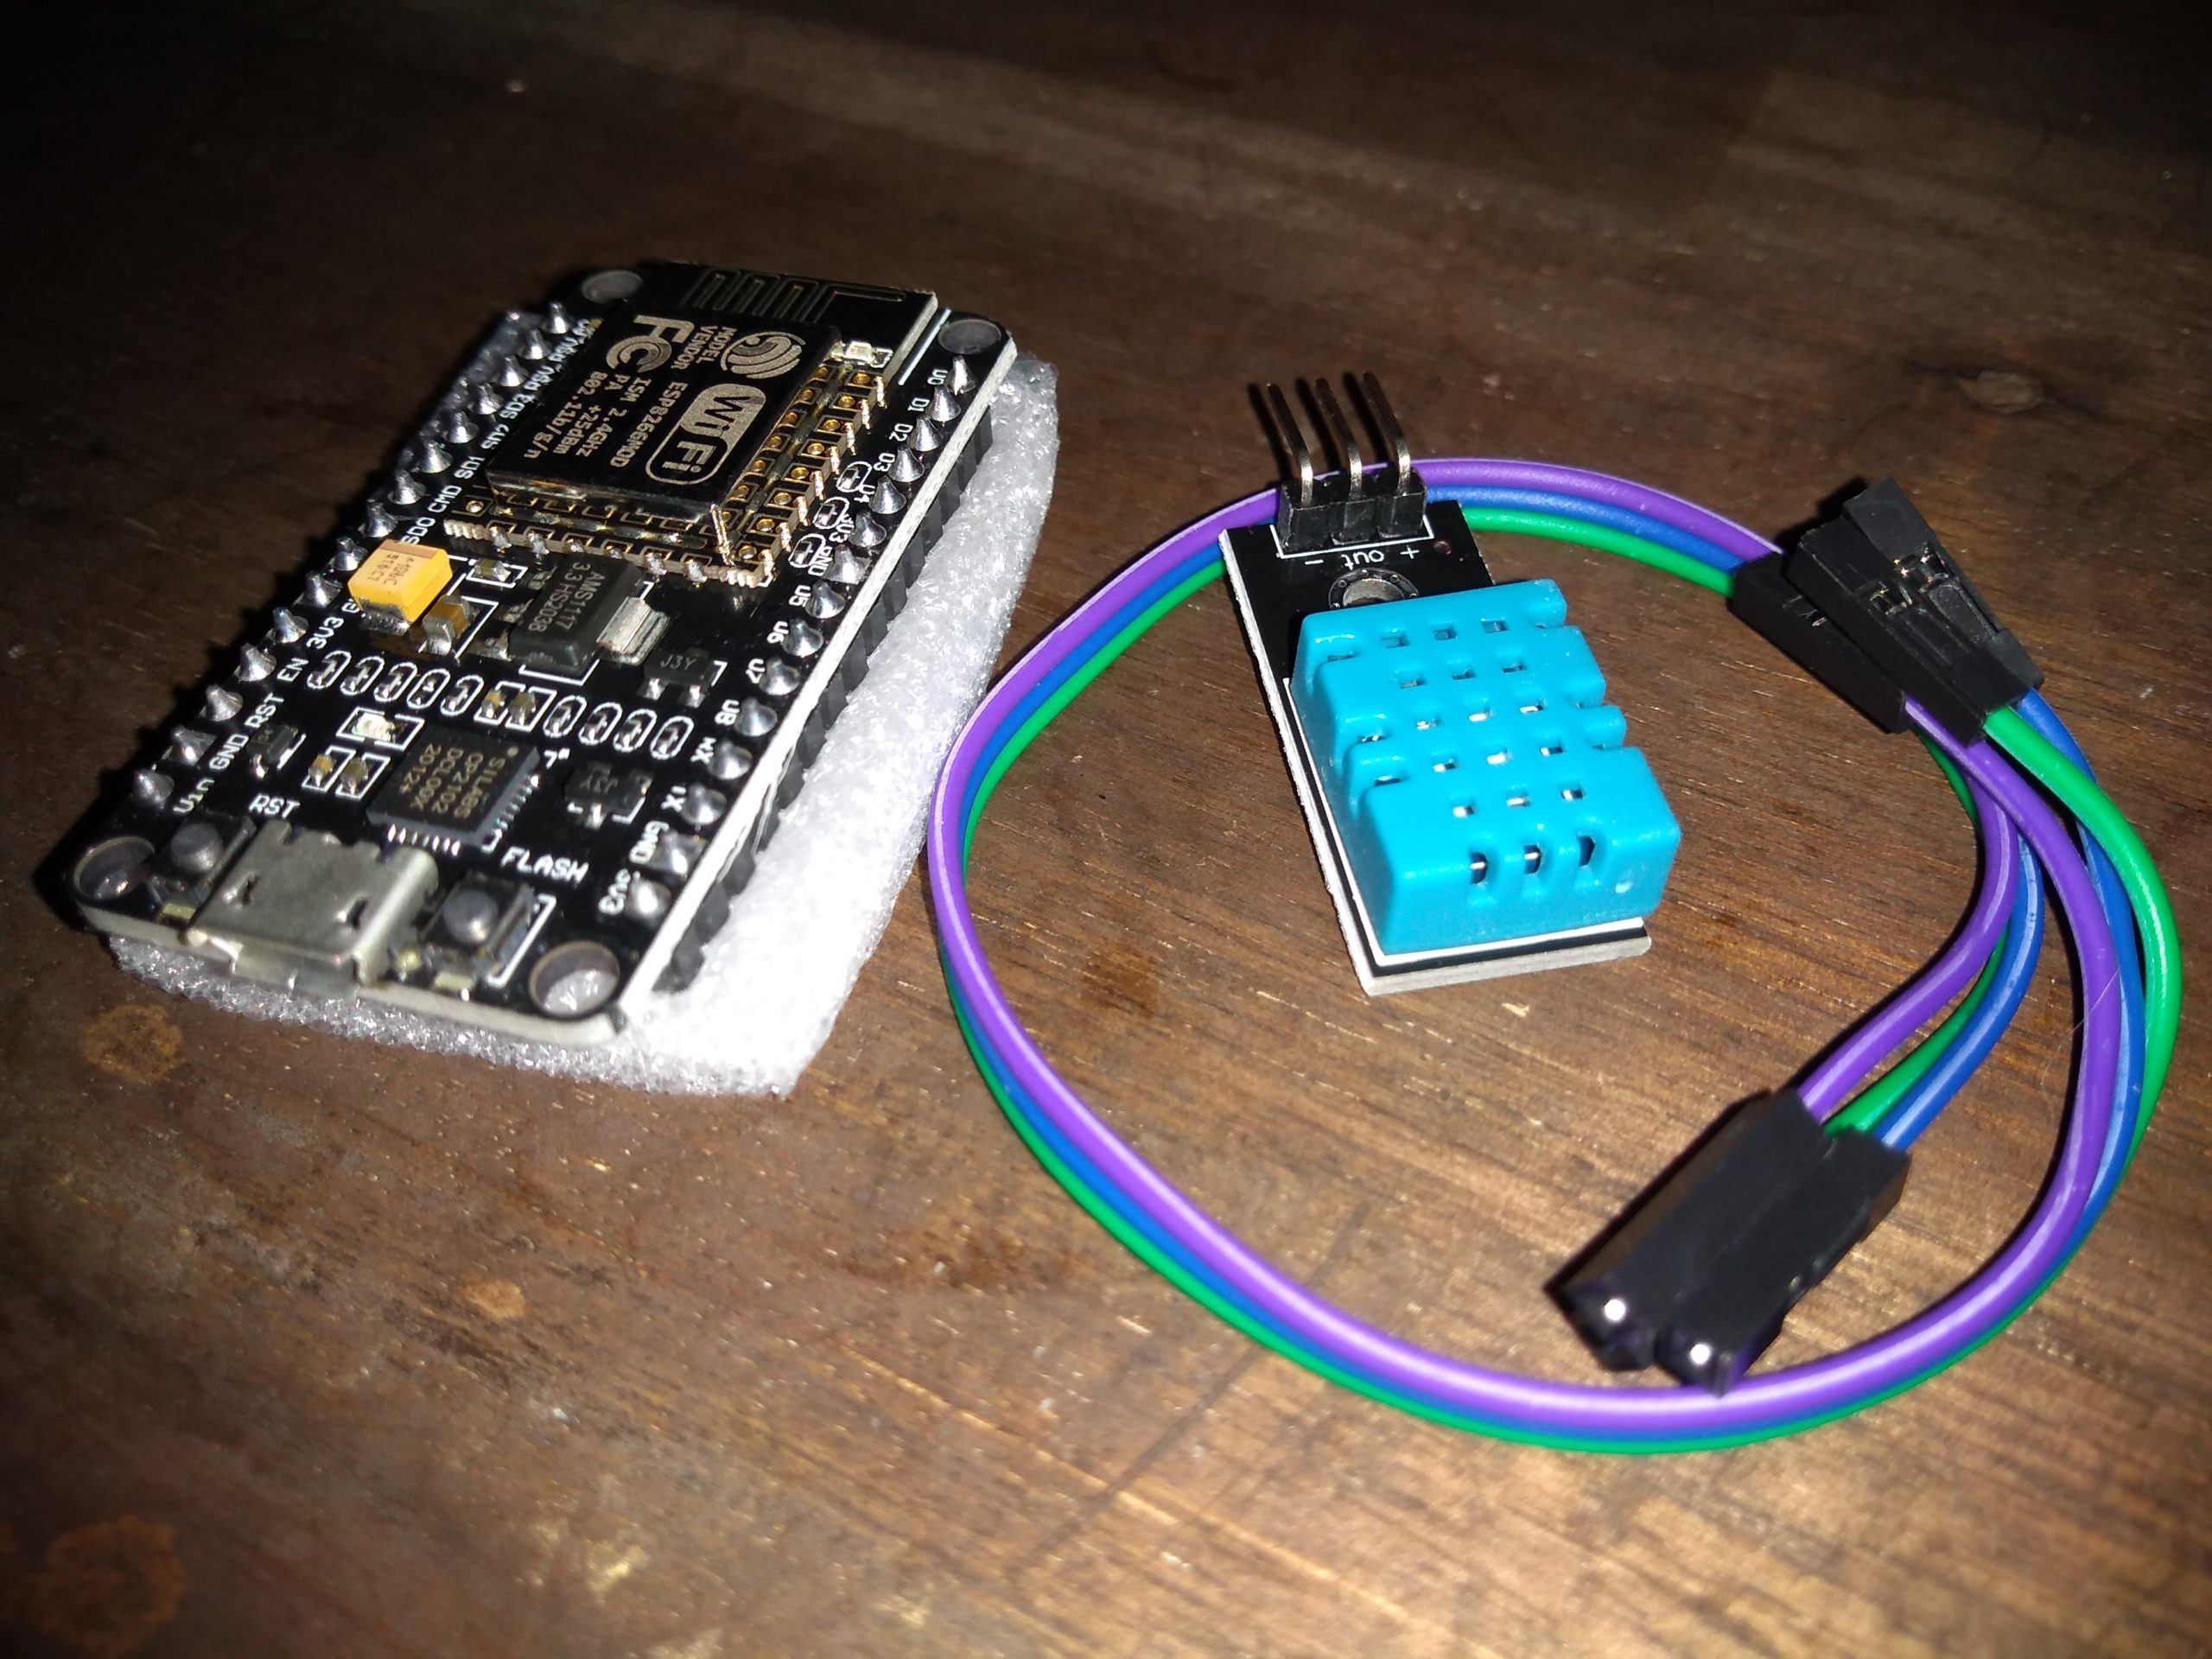
Back on the 1st, I made an inaccurate temperature sensor. I’m revisiting this to make it more accurate and see if my lathe cover makes any difference.
Following on from the box joint experimentation of the 7th, my partner has sanded, stained and finished her craft trays. She’s even put castors on them. All they need is handles. So I made some.


So… I noticed a couple of #makevember posts on twitter.
I struggle at this time of year. The shortening days leave me with progressively less and less motivation. Less drive to complete things and a generally low mood. I snap out of it sooner or later – there is generally a point where I consciously start to improve my immediate environment and that triggers a virtuous spiral of “doing stuff” which makes me happy.
So.. Makevember is about making something each day of November. It’s not a big thing, nearly 200 people follow the Makevember retweeter. I think it was more popular a couple of years back. The original manifesto is at… https://chickengrylls.wordpress.com/2017/10/31/the-makevember-manifesto/
Continue reading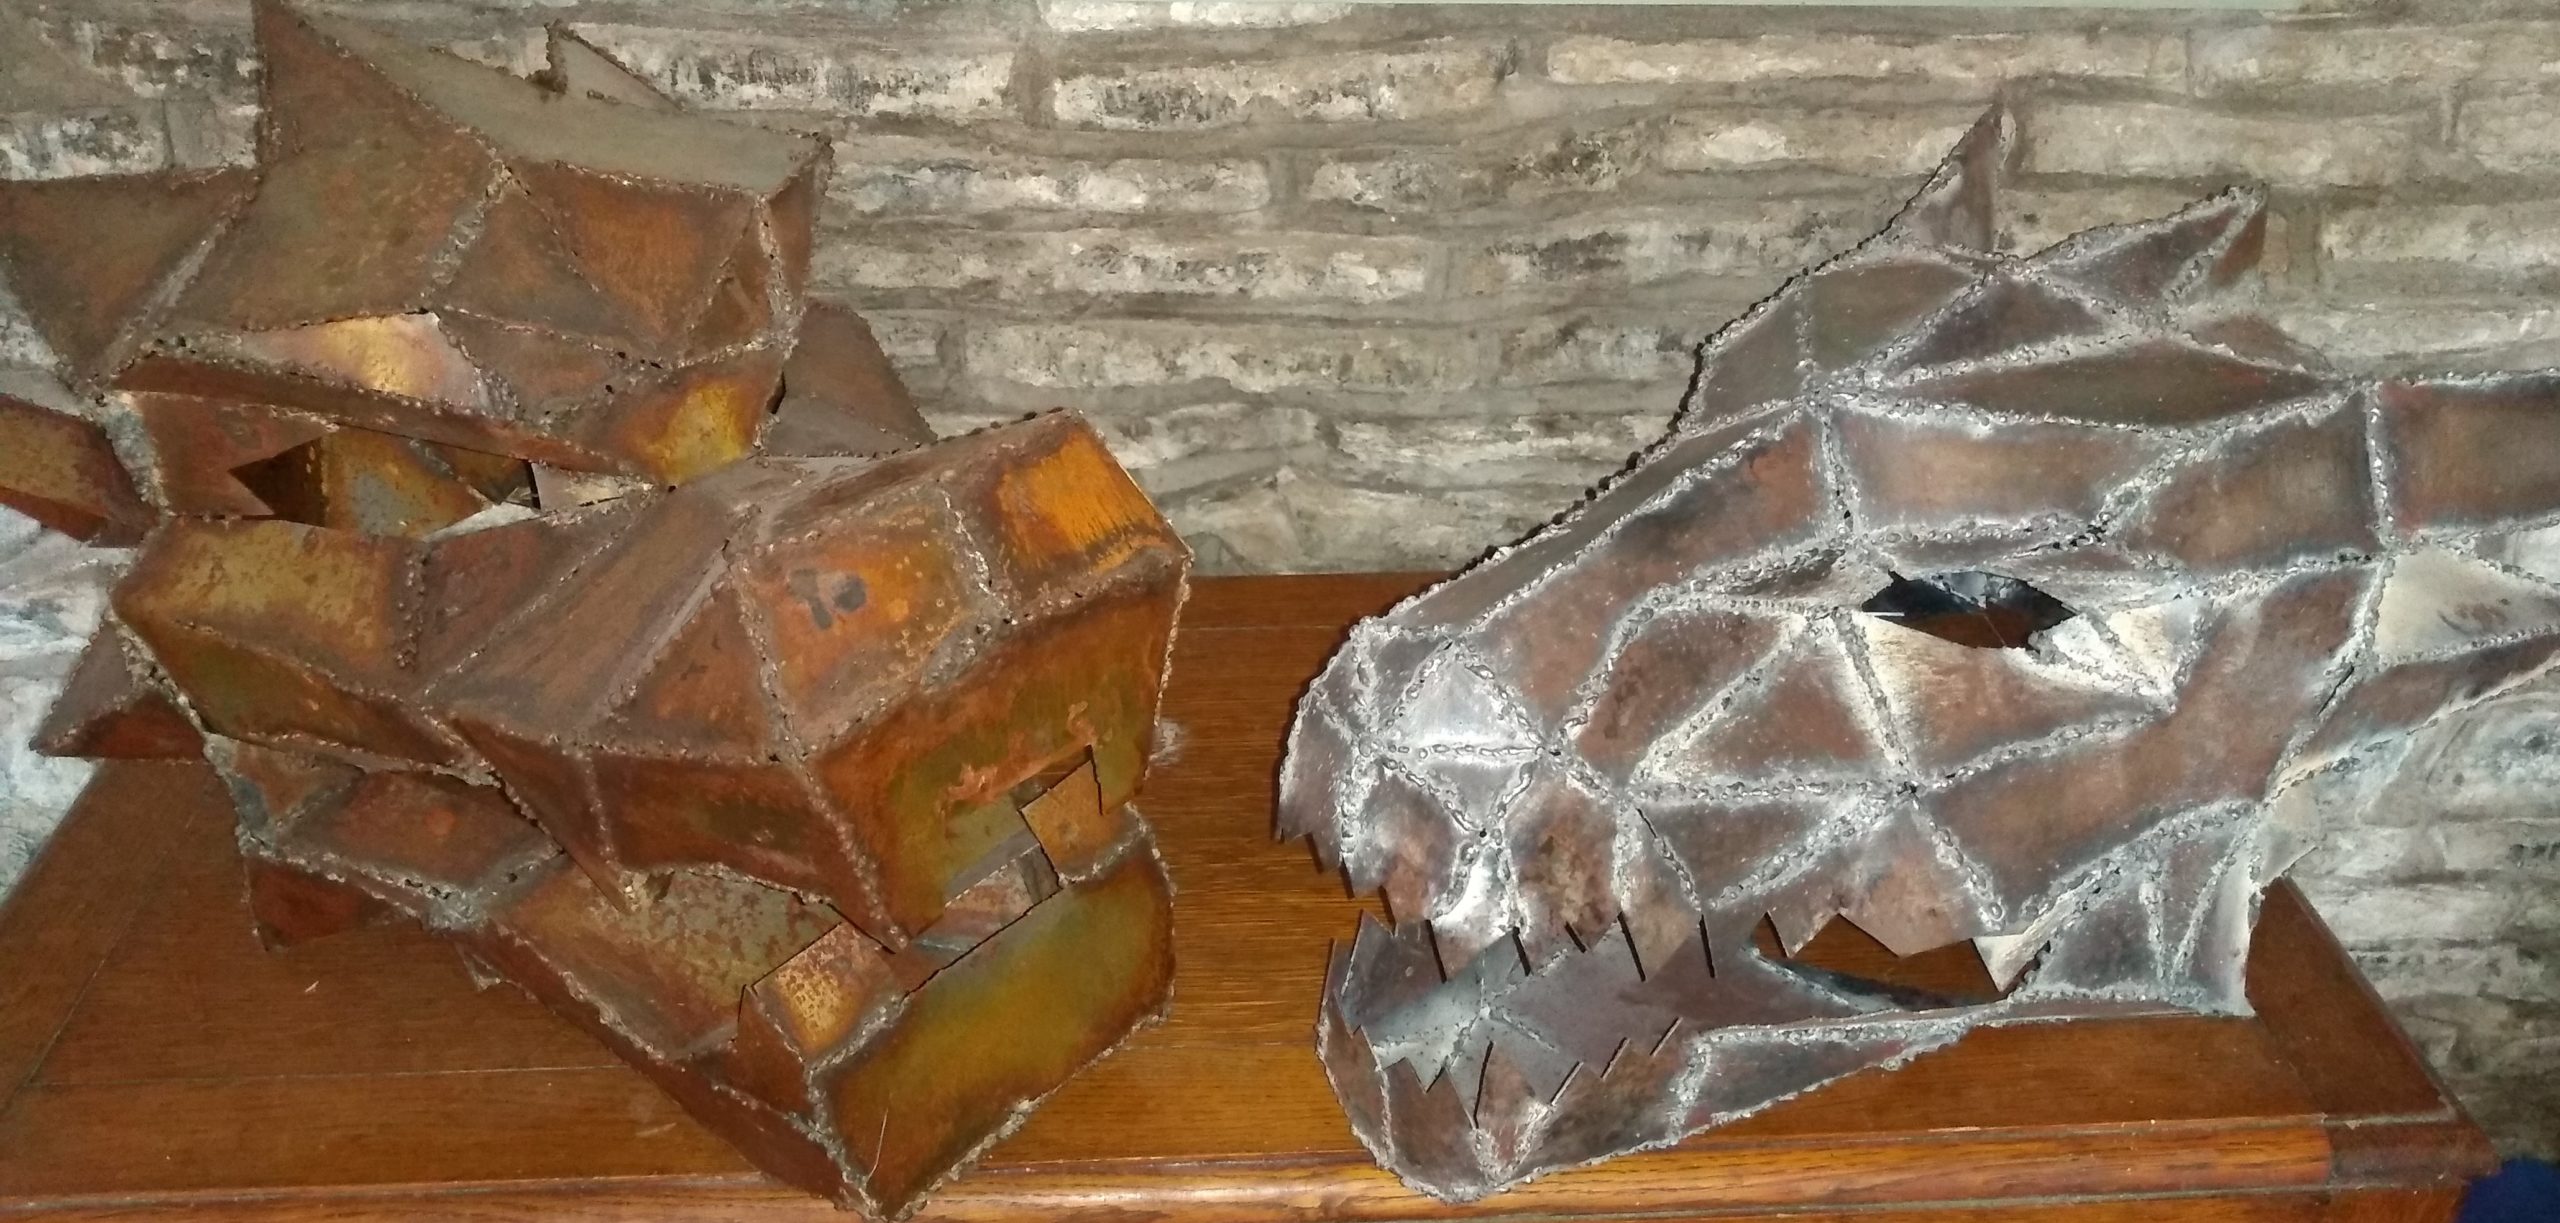
I’ve recently started doing a bit of welding. I’ve made a couple of dragon heads. Why would I do that….
Continue reading
This was a fun one with a couple of neat features to make the most of the limited parts.
Continue readingThere have been many and varied changes to the workshop in recent months, so it is time for a bit of a catchup.
To start with, the workshop is now the Glittery Girly Blue Room of Glittery Girlyness.

I’d love to be able to say that at the touch of a concealed button…
But I can’t – it’s all rather domestic now. Well, aside from the large quantity of small engineering tools which are hiding under the bed. Continue reading
I have a dovetail milling cutter.
![IMG_20160130_151417[1]](http://www.recklessengineer.com/wp-content/uploads/2016/01/IMG_20160130_1514171.jpg)
So I shall use it to cut my first set of dovetails on some holders for my lathe quick change tool post.
So, this angle grinder stand arrived today. 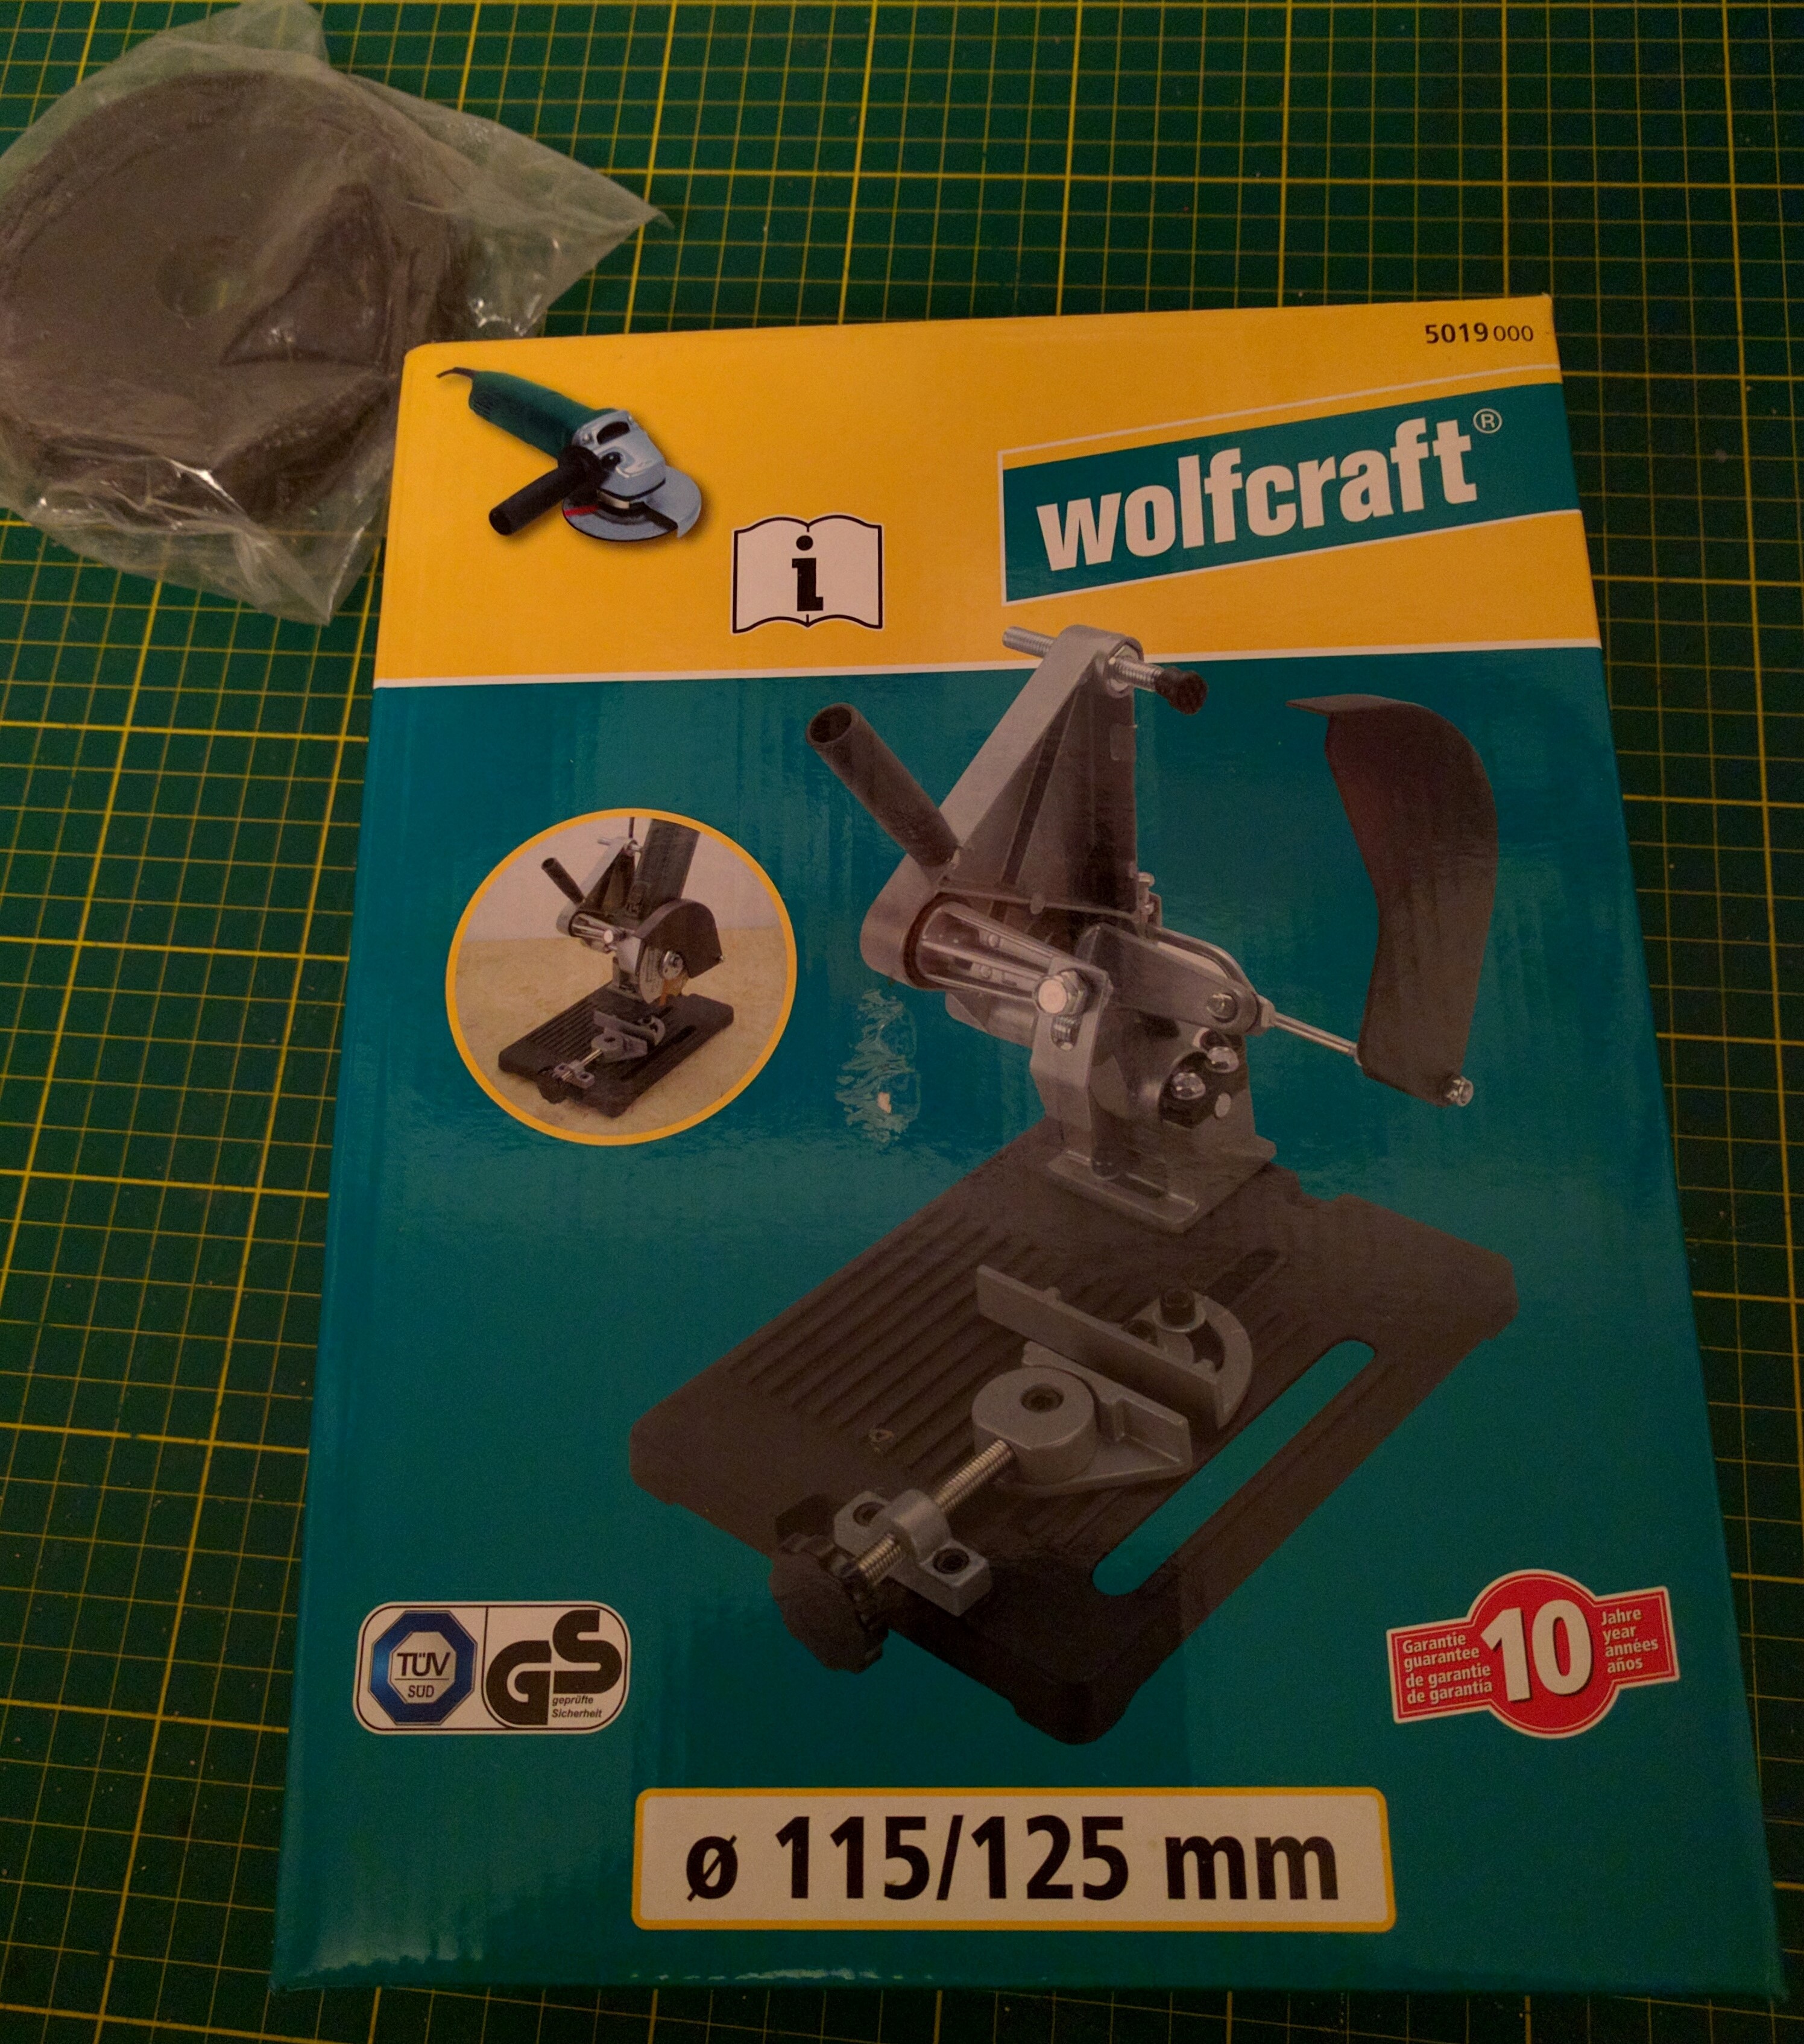
I’ve long had a bit of a Tennis Elbow problem in my right elbow. It started after a weekend at the UK Pinball Party, and it seems that it isn’t going away any time soon. Usually it’s all fine, just if I do a bit of strenuous sawing it aches a bit and I have to be a bit careful of it.
So I was after a cheap method of cutting stock without any effort. I don’t have room for the traditional metal cutting bandsaw, and as my workshop is my back bedroom, a screaming bandsaw might not go down too well with next door. They have a small baby, it screams, but I’m informed that it is “not the same thing at all”.
I unpacked it, and managed to find the angle grinder that I’d bought for cutting up an oil drum to make a furnace (still got to do that…)
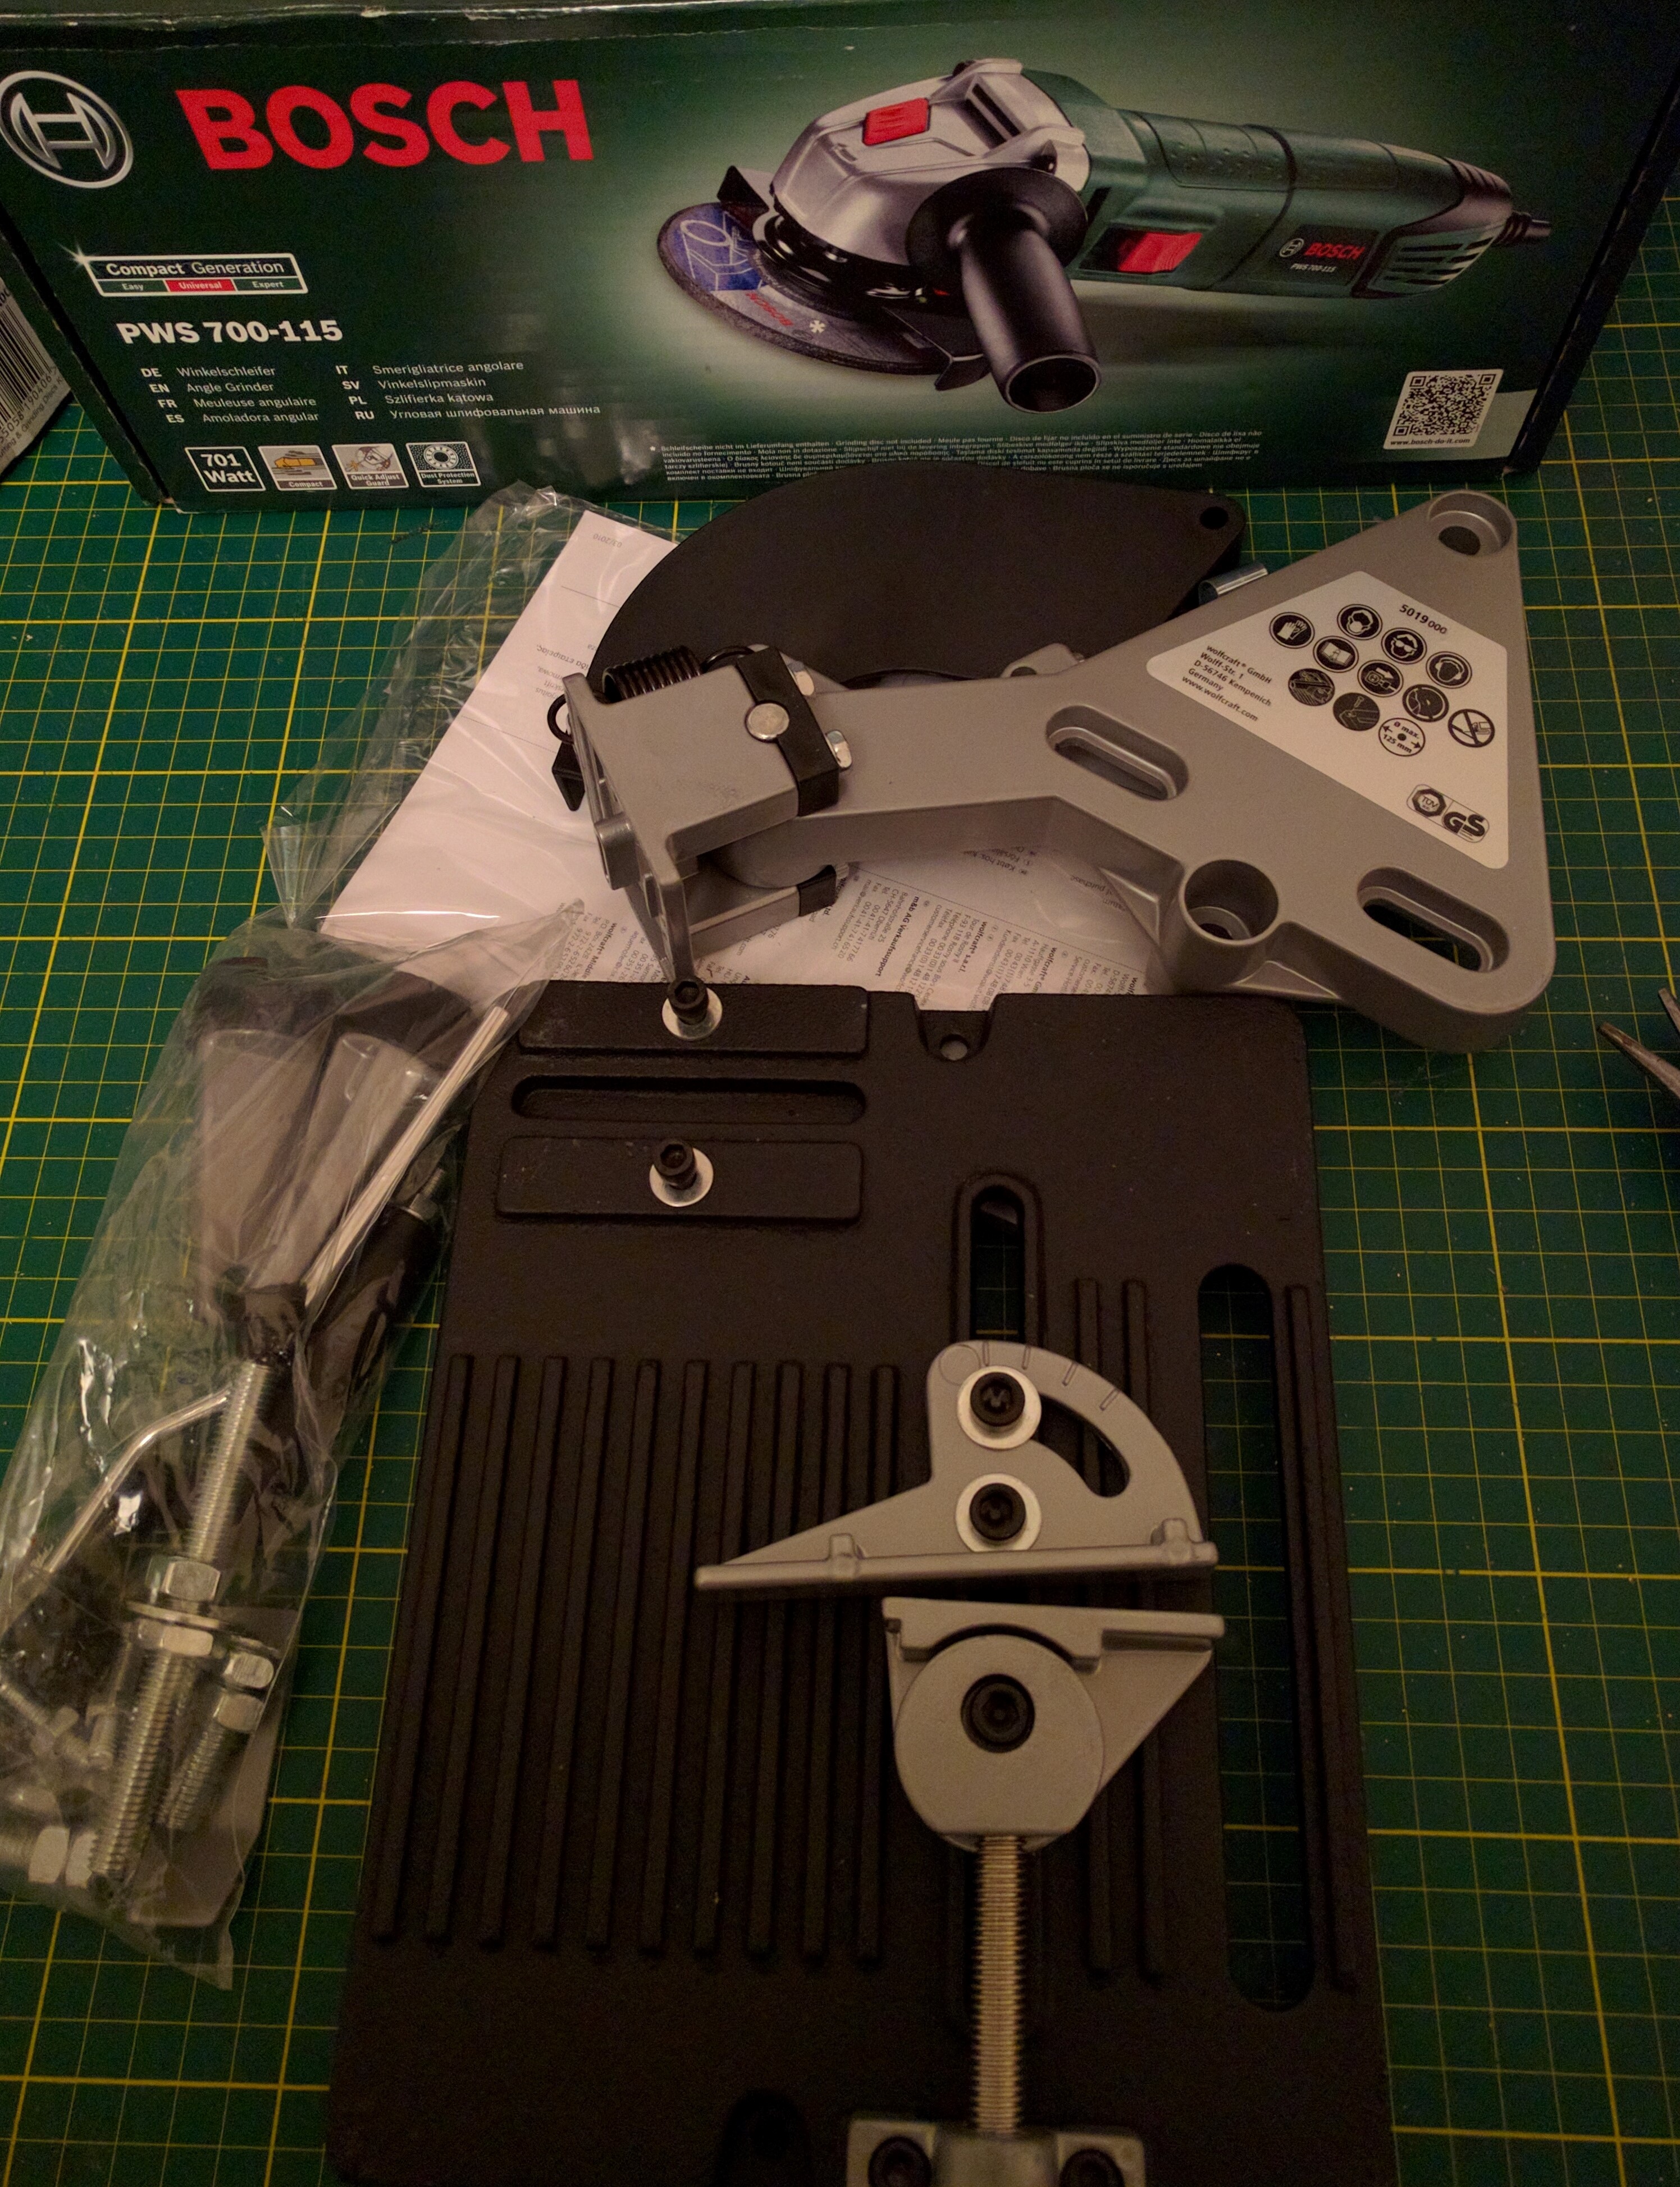
I’d seen various unboxing and assembly videos on YouTube, but was surprised to find that the base is cast iron. I’d assumed that it would be nasty plastic. The stand cost me the grand total of £18.25 and my expectations were not high.
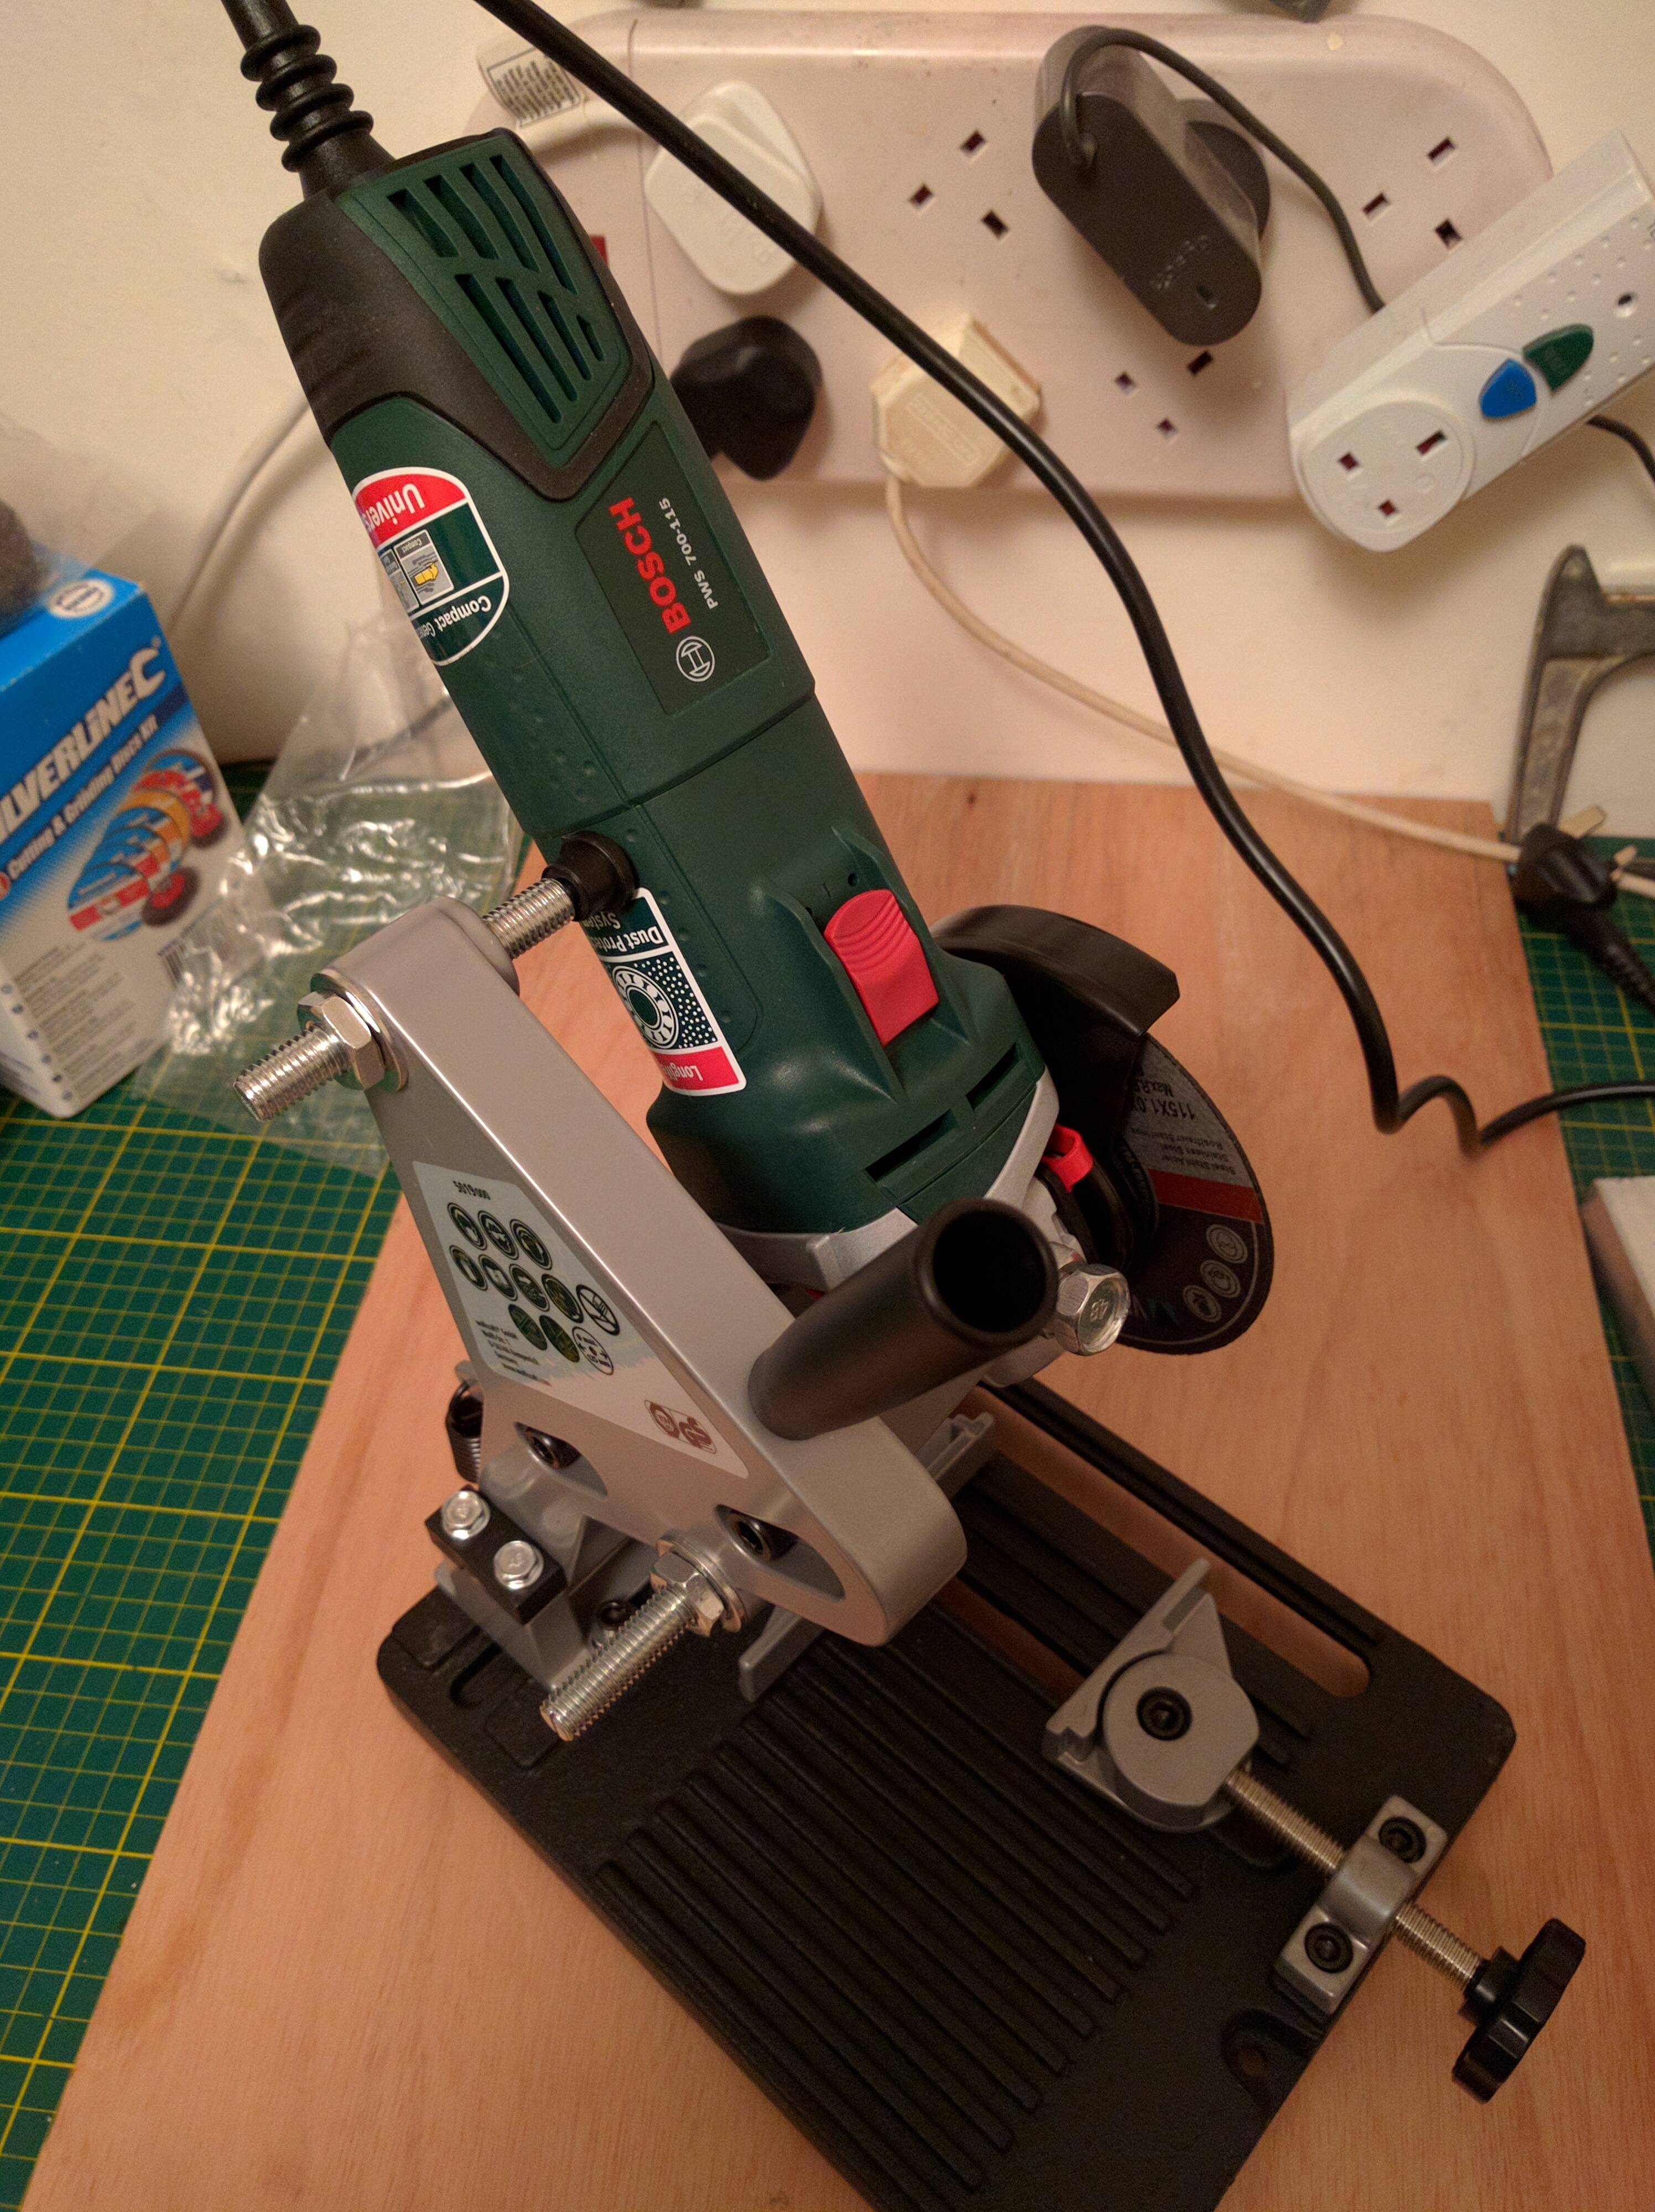
Assembly is straightforward, it coped well with the angled handle attachments on the Bosch grinder. I used a square the set the rather primitive vise back jaw square and to set the blade vertical. It’s not blob on, but I’ll be tidying the ends up on the mill so no great worries there.
I’m going to make a few tool holders (using the knurled nuts) so I thought I’d give it a try on the 1 inch square aluminium stock I’ll be using for those. All was not straighforward 😉

It seems that the grinder can’t quite cut all the way through the stock. It left a tiny whisker attached. This is no big deal, but it would be interesting to look at the reasons why.
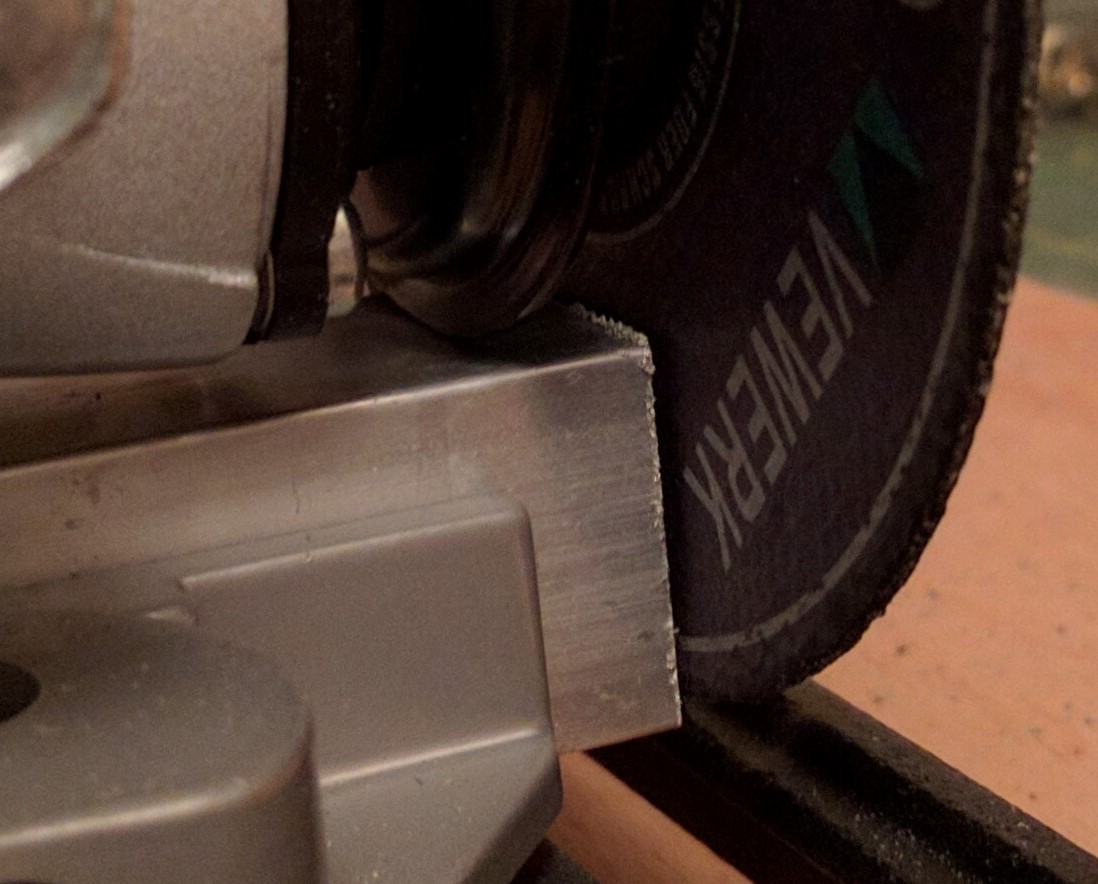
It seems that the guard on the grinder hits the stock before it cuts all the way through. This is a grinder issue – essentially the grinder is only capable of cutting through one inch – pretty much exactly. Ho hum. It’s no big issue to either flip the stock over and cut through the last bit, or just bend the cut portion off, but it does illustrate the limitations of using an angle grinder rather than one of those dandy Evolution chop saws.
Taking the guard off. Yes, I did take the guard off the angle grinder. Yes, it is a really silly idea. The nose of the grinder touched the stock and still left a whisker attached.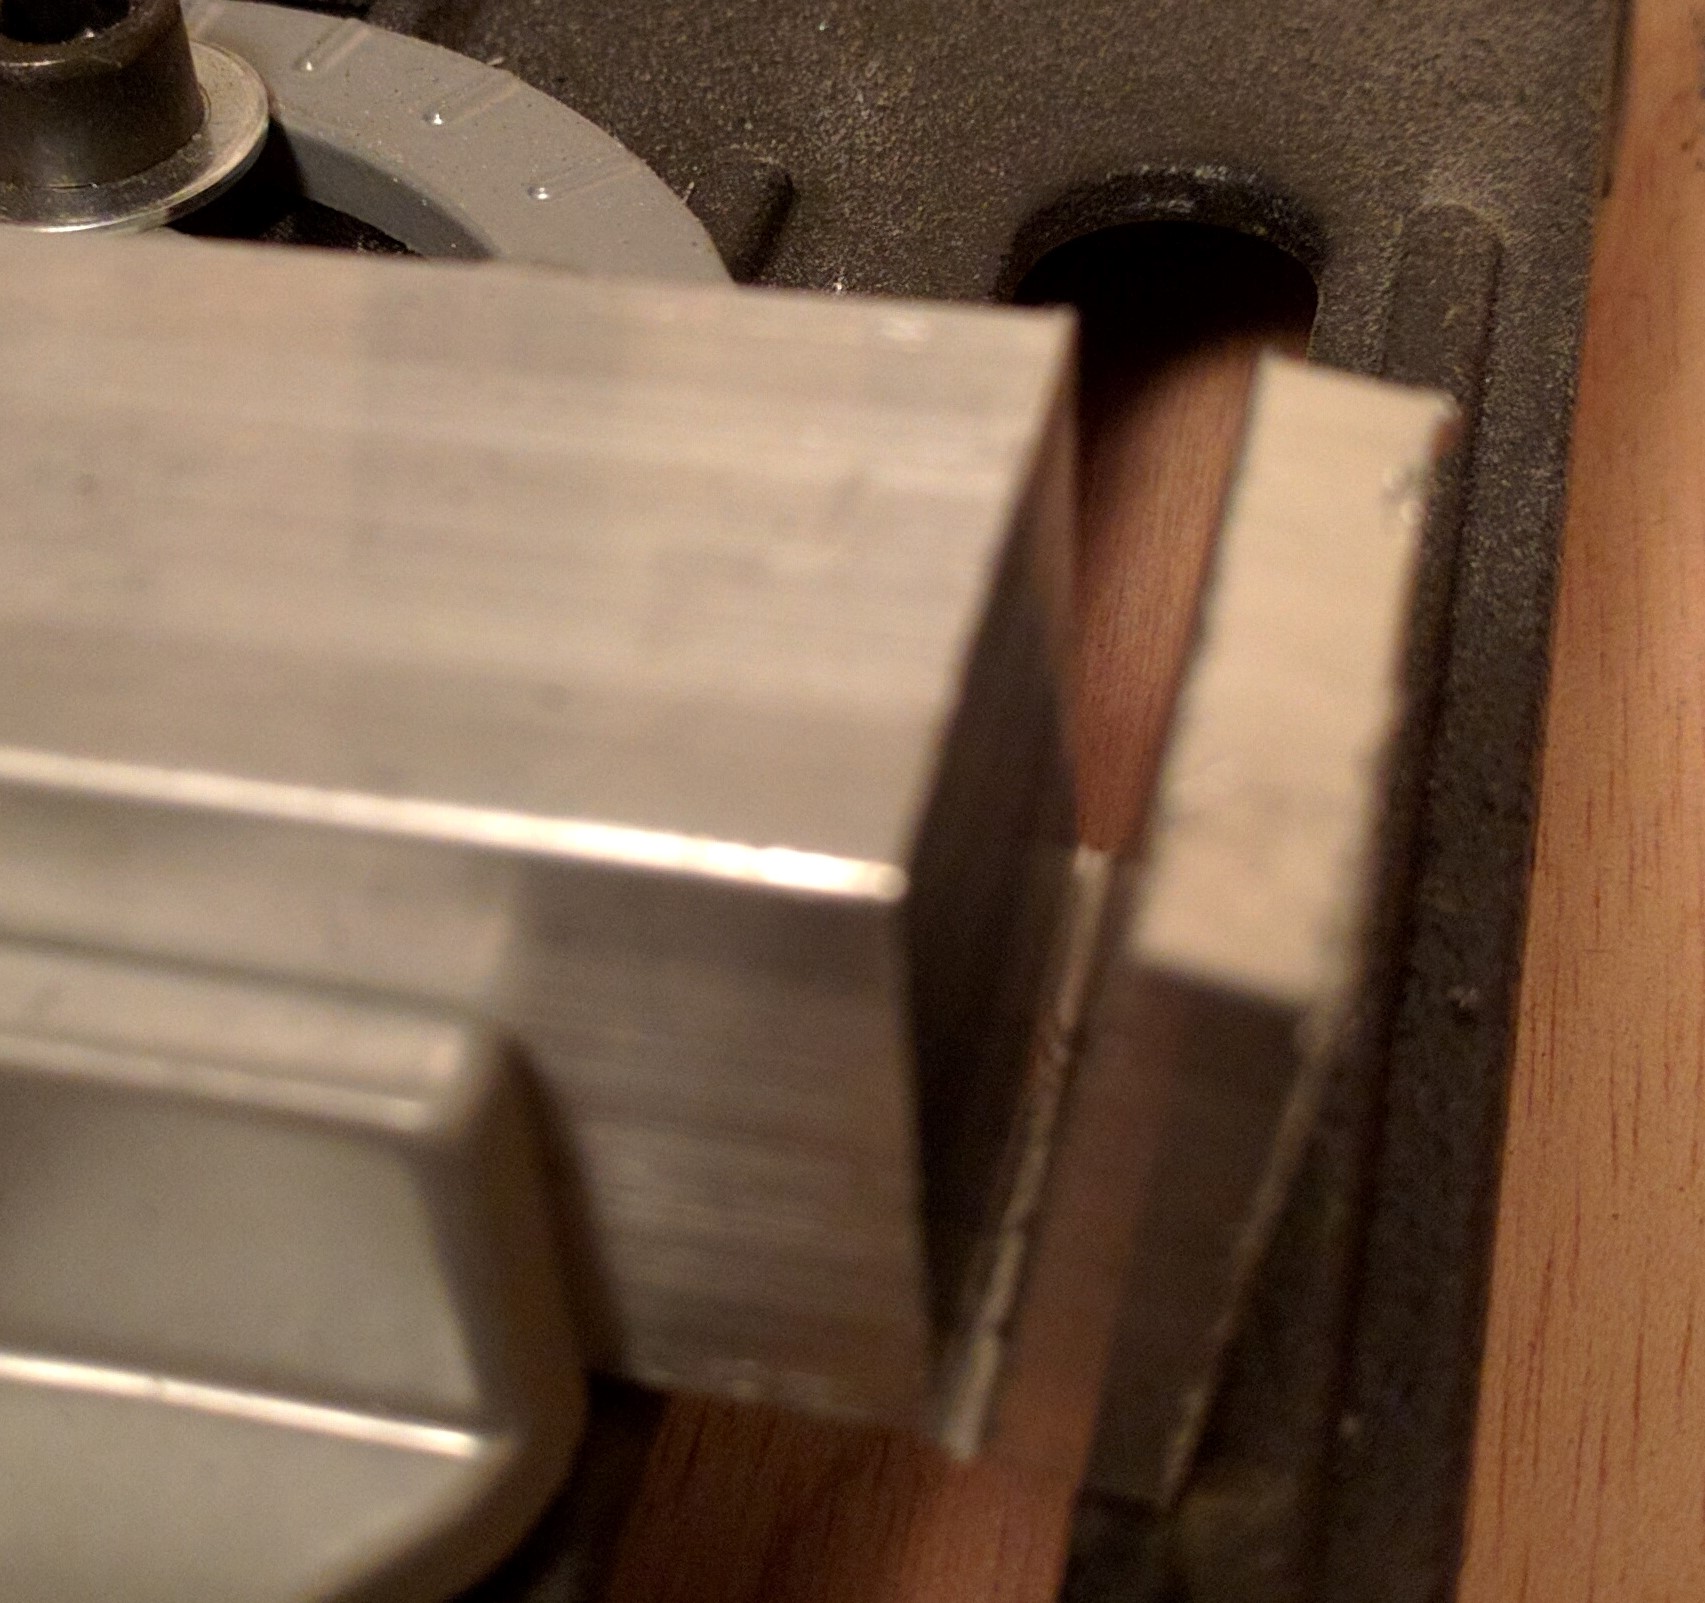
This was the point where I realised that the wear of the cutting discs was significant. I put the disc that I’d used to make two cuts through the inch square aluminium stock on top of a new disc.
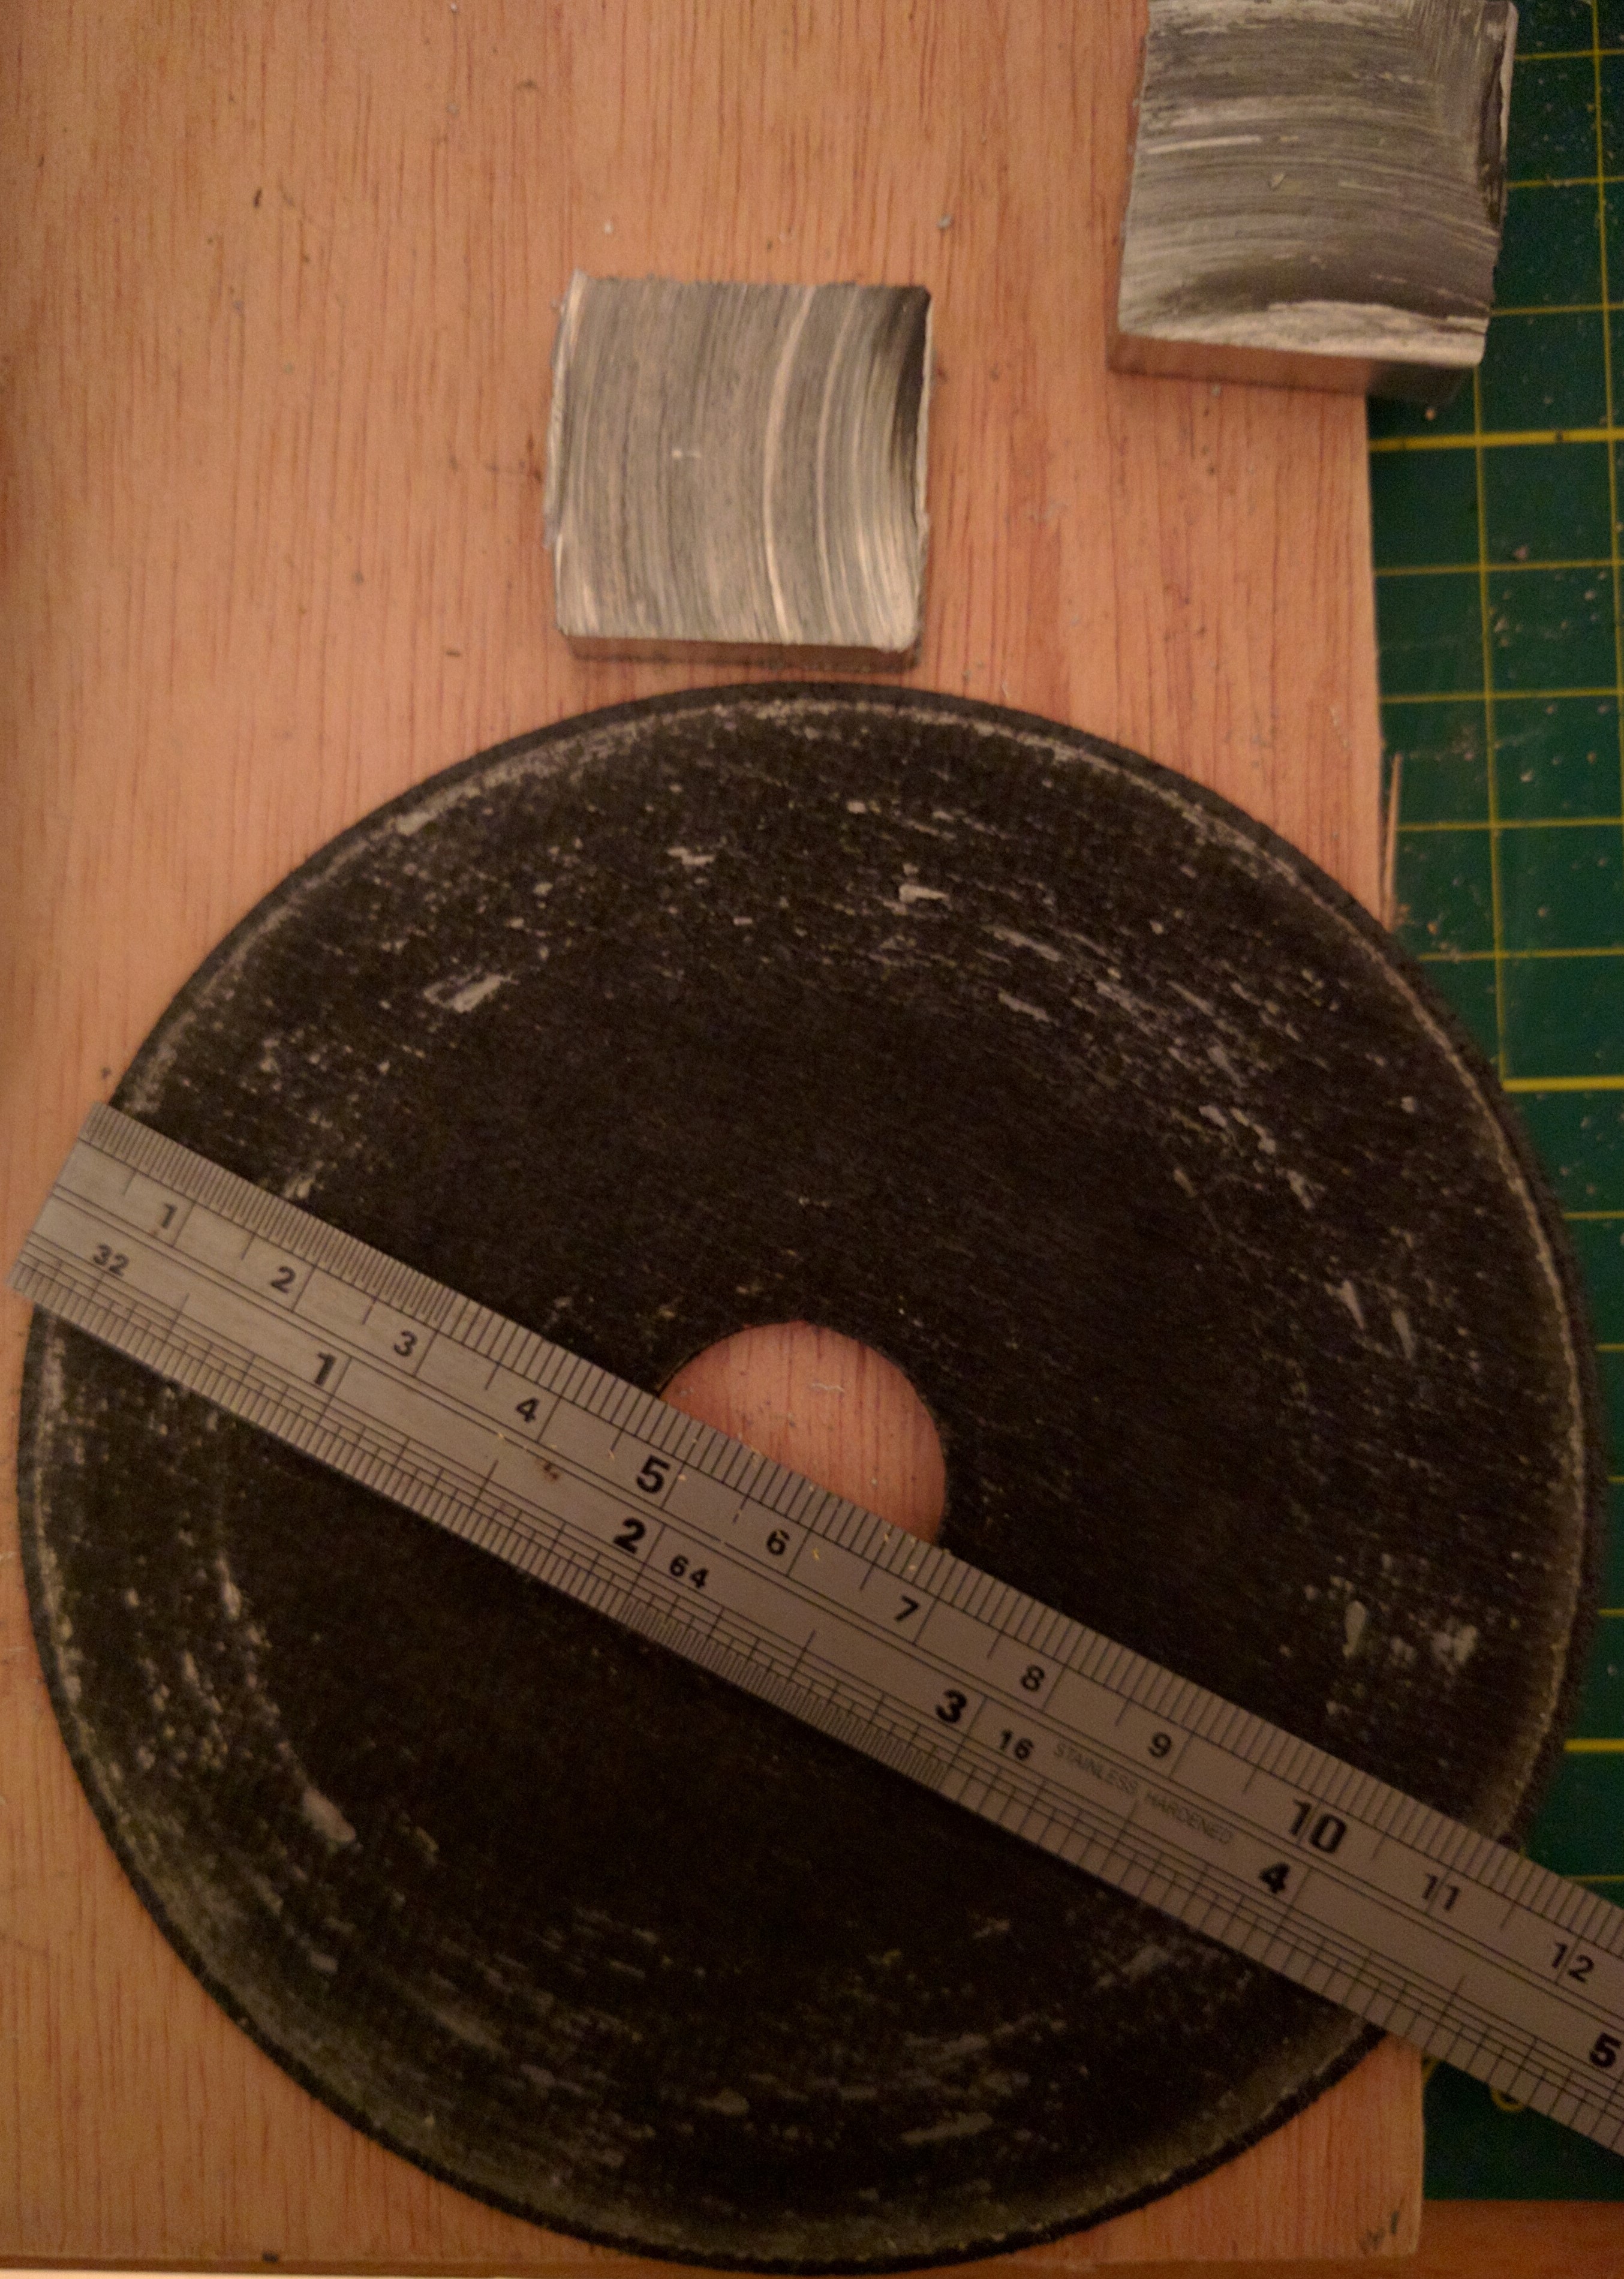
I reckon it took about 2mm off the disk on each cut. The discs are not expensive – about 60p each, but combined with the depth restriction it is a significant effect.

You can see each of the four cuts is slightly less deep than before. I was able to snap them apart by just bending them, but I did think about holding the last one in a vise (but then tried a bit harder instead).
So, well worth the few quid, takes up much less space than a gert big chopsaw, but does have restrictions. I’m satisfied with it.

A quick update on the knurling.
A little musing and I realised that the wheels on the knurling tool were 3/4″ diameter and had 48 knurl features around their circumference. This means that if they were an inch in diameter, they would leave 64 features. This is a nice round number in imperial-world.
So I needed to ensure my diameters were in 64ths of an inch for the pattern to repeat properly.
I also did a bit of reading up and discovered – much to my amazement – that you can/should feed the knurling tool across your work. Which seemed a bit counter intuitive to me.
So I gave it a go, turned my nice 14mm metric brass rod down to ‘arf hinch, set the centre of the knurling tool on the right height, clamped it reasonably tightly and started at a very slow speed.
Once the knurl had picked up, I was able to tighten the clamp nut a bit more and noted the roughened surface. I kicked in the feed and it very slowly traversed.
After it had done a bit, I gave it a squirt of cutting oil, just to see if there was a difference.
So, looking at the picture above, the knurl is pretty (there are a couple of flaws where I held the nuts in pliers to tap the holes), but I’m quite happy with that.
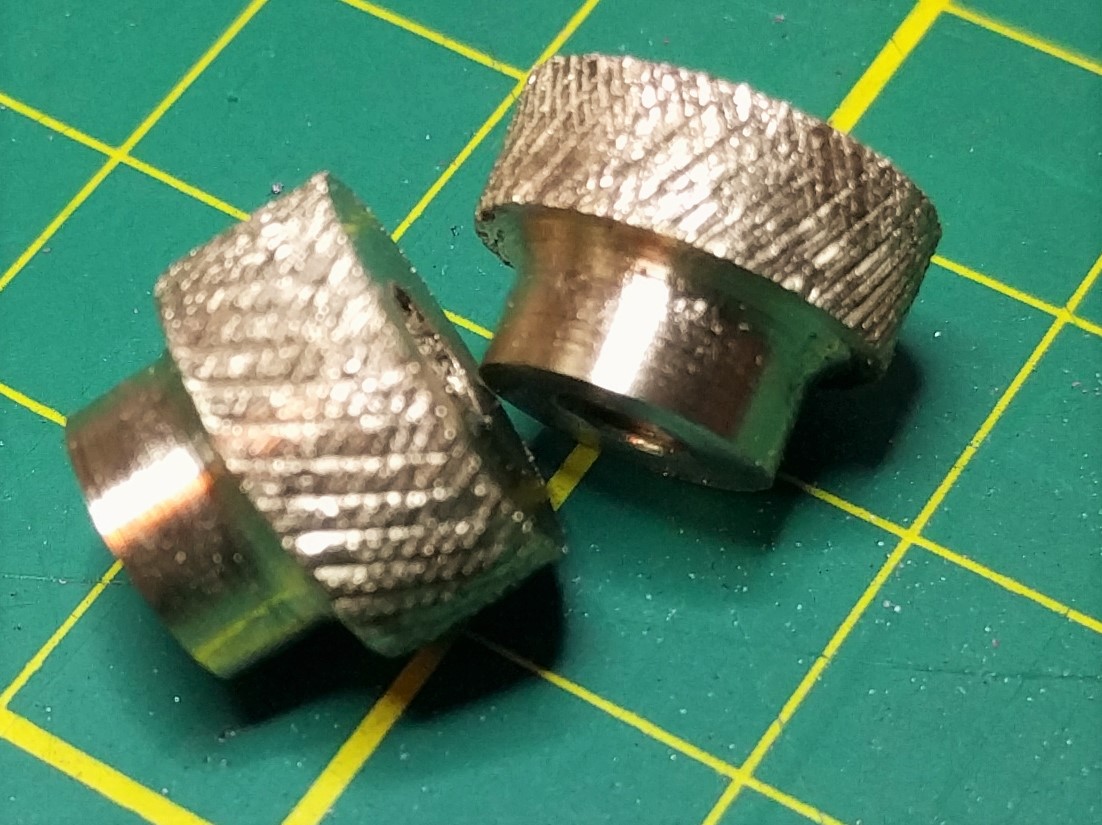
So, I now have four knurled nuts, two nice, two satisfactory (grumble) and can move on to making a batch of four tool holders.
Some time ago, I bought a cheap “Clamp type” Knurling tool from eBay there are many sellers.
I stuck it in a tool holder and bashed it onto a couple of bits of aluminium rod. One bit knurled really nicely, the other didn’t. I’ve not really played with it since.
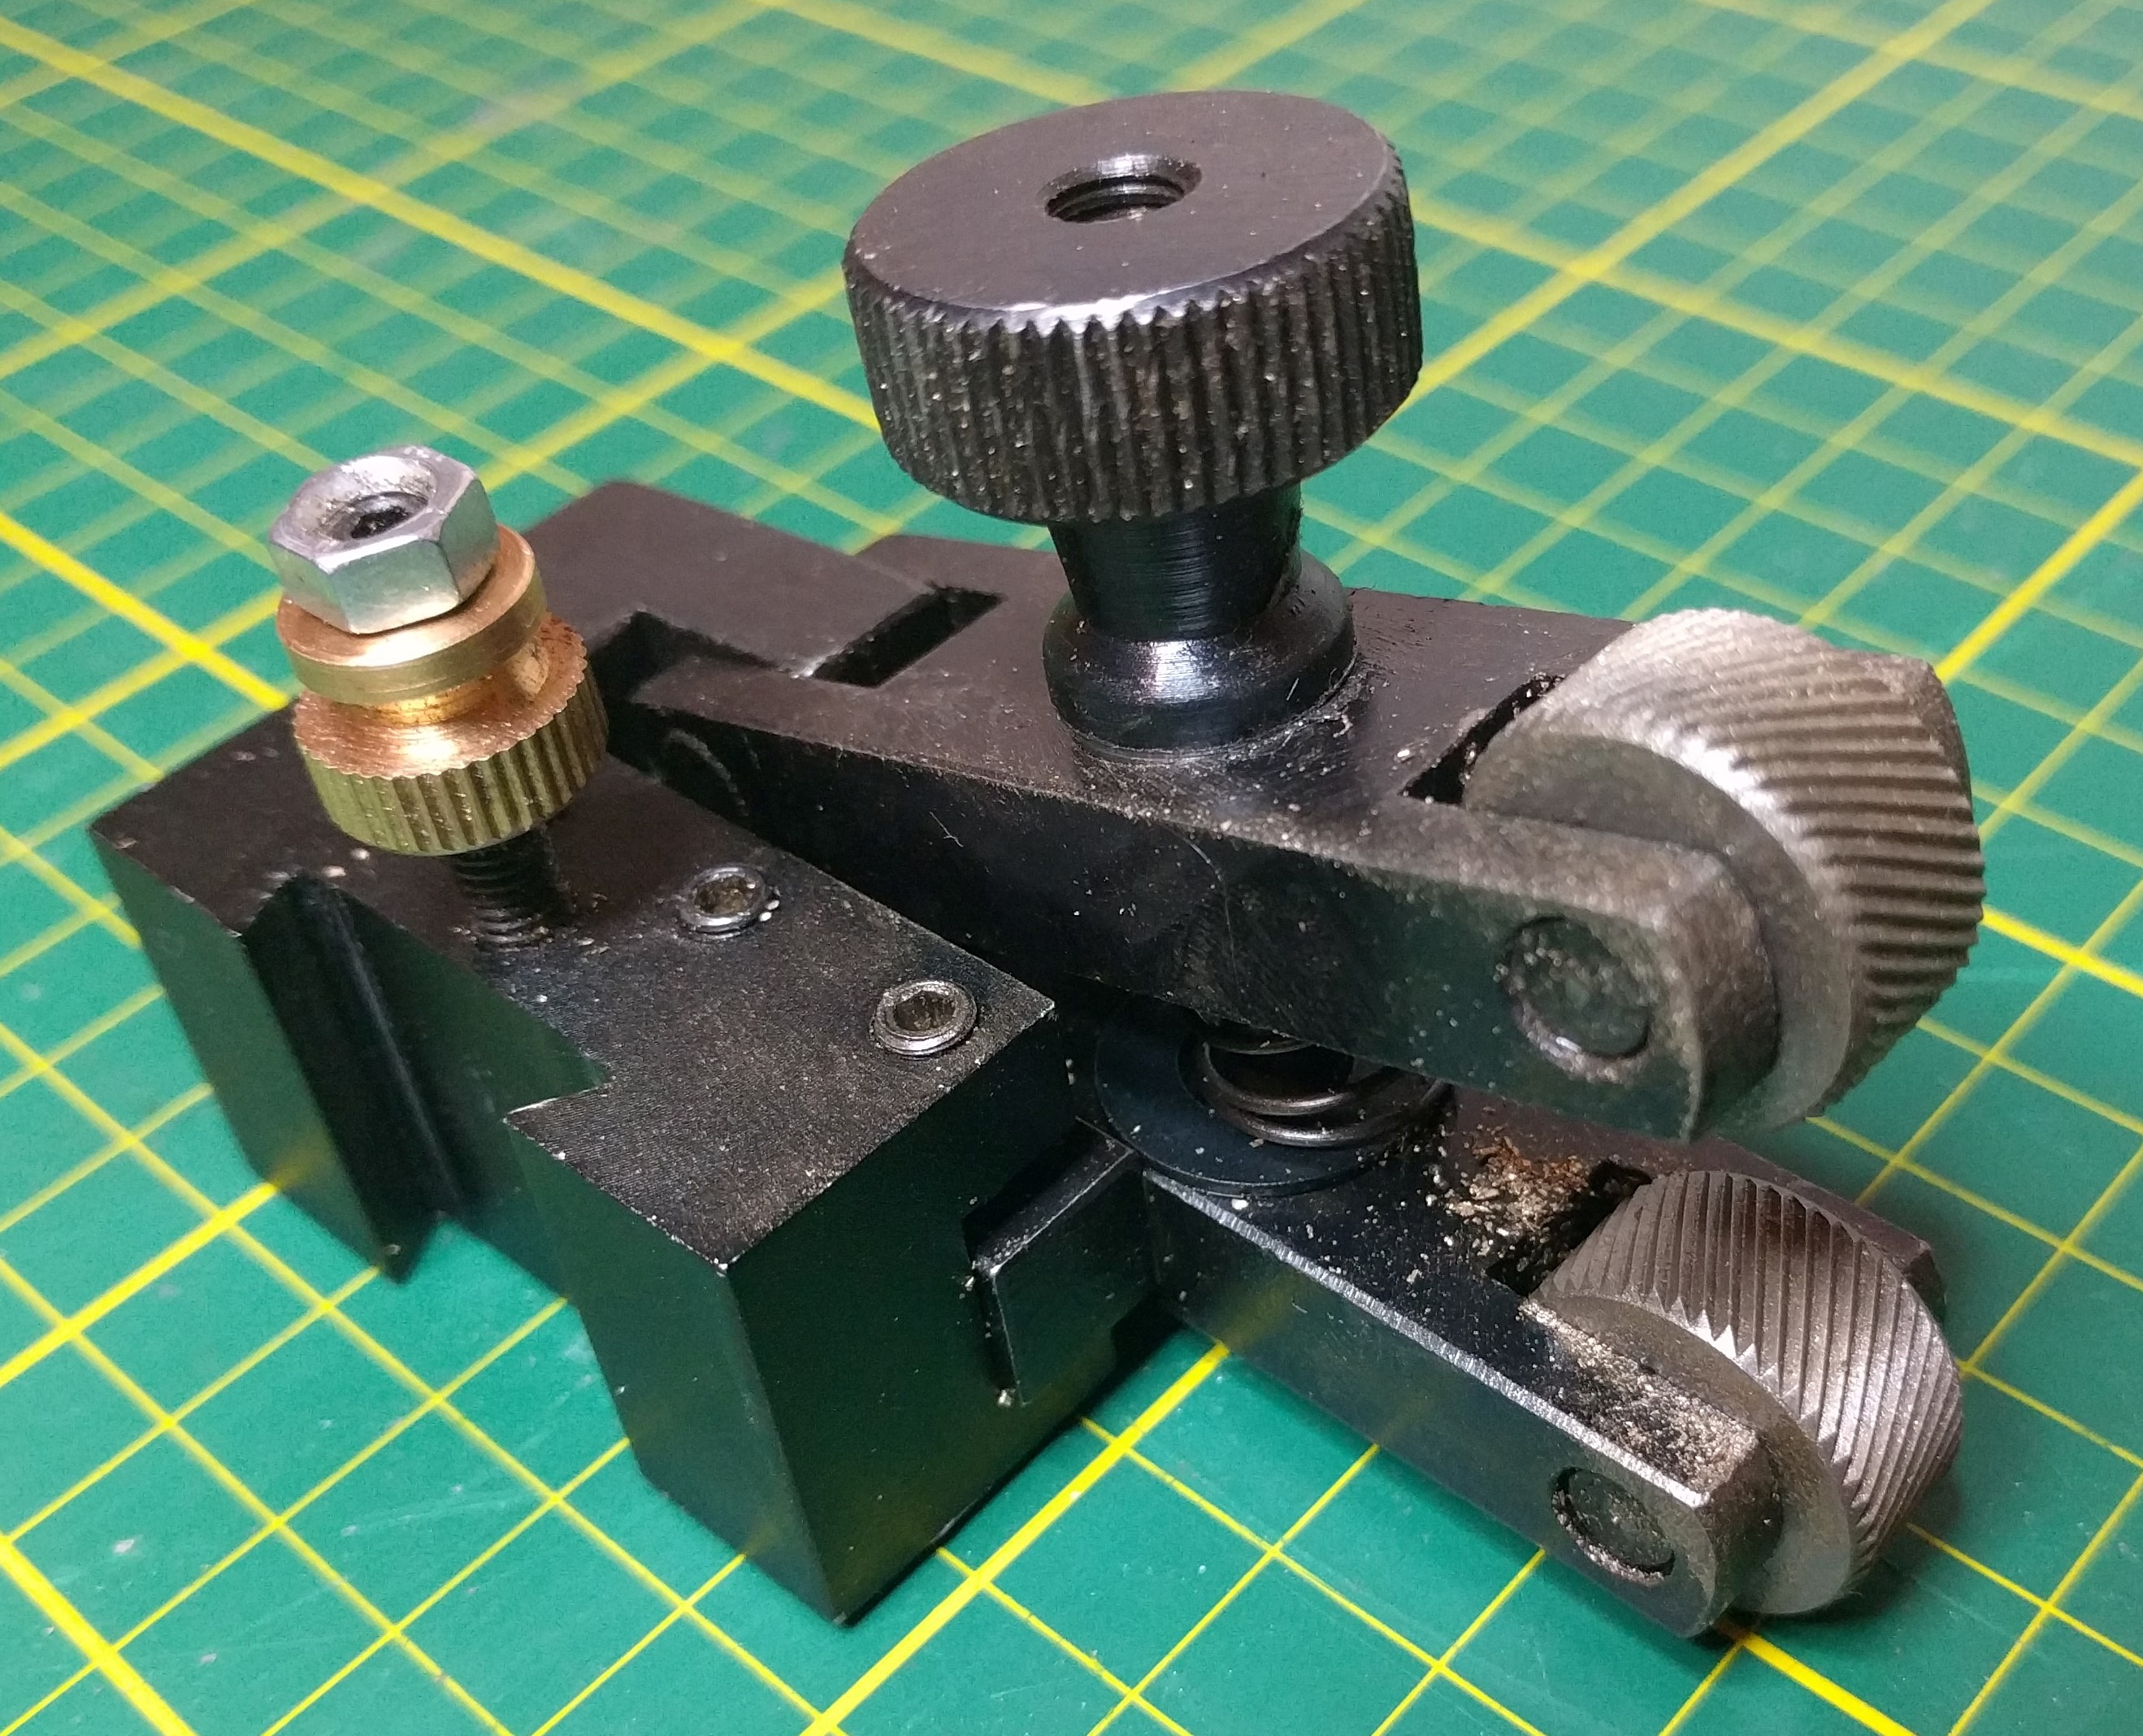
I’ve recently been making tool holders for my quick change tool post. I’ll blog about that when I get round to making half a dozen of them and can document the process. You can see the tool holder above, the ones I’m making are tighter and better…
Anyhow, these tool holders need a knurled brass knob to adjust the height of the tool.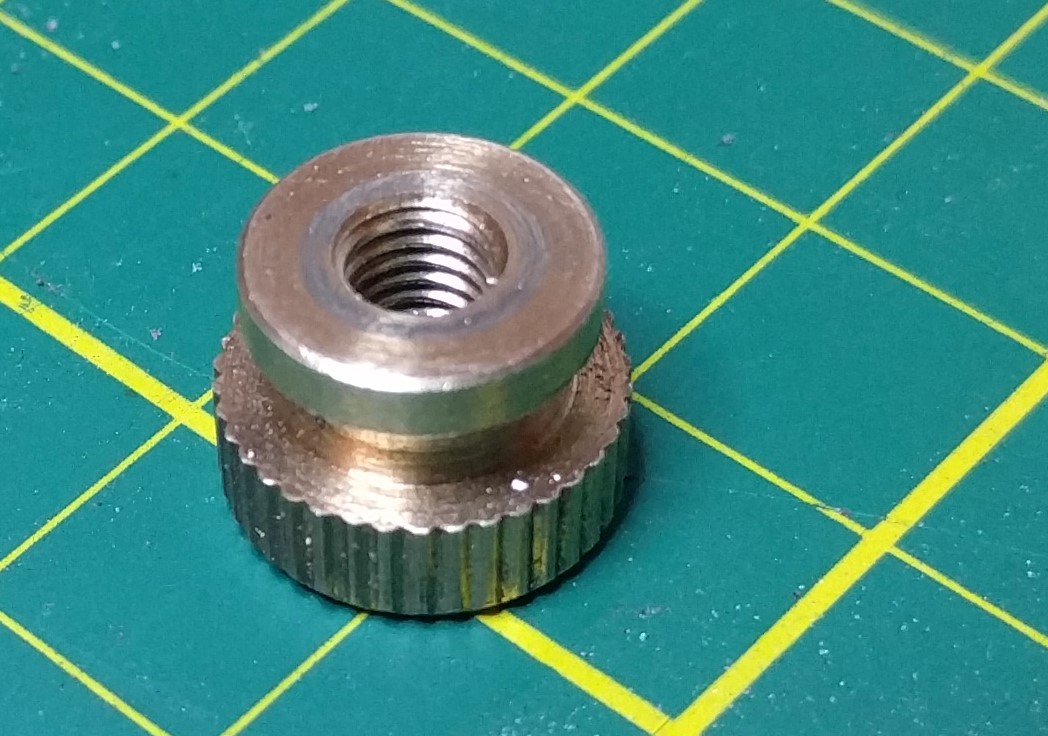
So let’s make some.
Somewhat naive, I just turned a rod to the approximate diameter required and clamped the knurling tool onto it. This merely produced a roughened indistinct surface. Clearly a bit more subtlety is required.
So I measured the knurling wheels in the tool – 19mm diameter. then I counted the number of knurling features on the wheel. There were 48 features.
So, each element of the knurling pattern occupies pi*19/48 of the circumference of the knurled part.
Using this, I turned my brass rod down to 13.06mm diameter, this is 33 knurling patterns. The results were OK, but not massively impressive. Alignment of the knurling tool is important, the pressure is important, the exact diameter is also important. I’m guessing a bit more experimentation is called for.
Anyhow, I tidied up the edges, added a bit of shape to make them similar to the original one, drilled and tapped them to M5 and while I’m not overly happy with the result, they are satisfactory for the purpose.
I think a bit more experimentation is called for to get a really crisp pattern, possibly allowing an offset of half the depth of the knurl when calculating the circumference is called for.
Still, I made a thing 🙂